10 Steps to Zero a Red Dot Sight on a Pistol
To zero your red dot sight on a pistol, start by gathering the necessary tools and ensuring your pistol is unloaded for safety.
Choosing a clear target and setting a suitable distance, usually between 7 to 15 yards, is essential for accurate sighting.
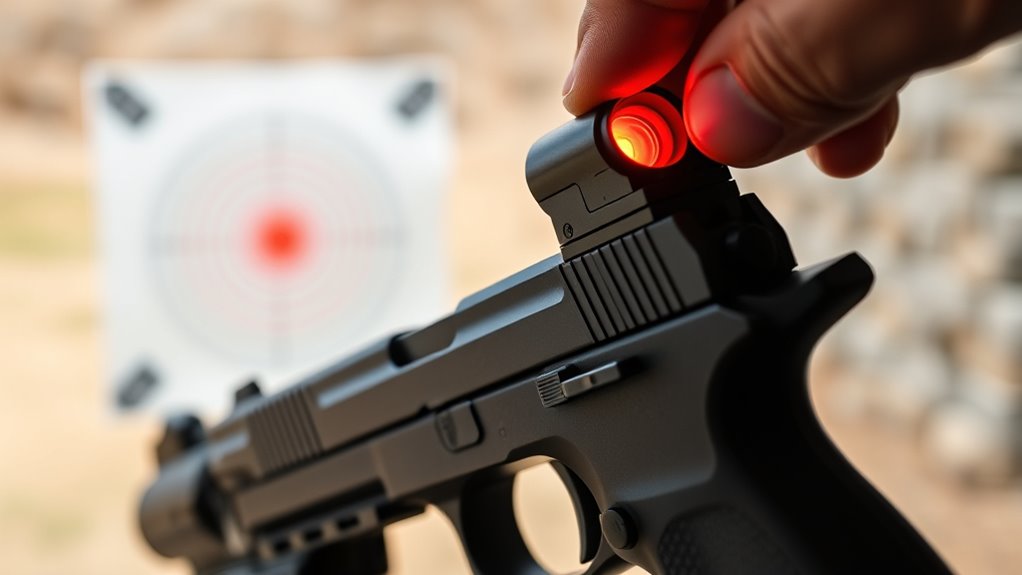
Power on your red dot sight and adjust the brightness to ensure the reticle is clearly visible in your shooting environment.
Use a bore sight to roughly align the dot with your pistol’s barrel.
Then, fine-tune the windage and elevation settings to zero in on your target.
Fire multiple groups of shots to confirm accuracy, making small adjustments as needed.
If you encounter any issues, troubleshoot and maintain your sight regularly to keep it precise.
Keep practicing these steps to confidently master zeroing your red dot sight on a pistol.
Key Takeaways
- Ensure the pistol is unloaded, clean, and the red dot sight is securely mounted with fresh batteries before starting.
- Choose a suitable zeroing distance, typically 7-10 yards for self-defense or 10-15 yards for competition use.
- Adjust brightness and familiarize yourself with windage and elevation controls for precise dot visibility and aiming.
- Bore sight the pistol by aligning the dot with the barrel, then fire controlled groups to evaluate and fine-tune adjustments.
- Confirm zero by making incremental adjustments, testing consistent shot groups, and periodically rechecking for maintenance and accuracy.
Gather Tools and Prepare Your Pistol
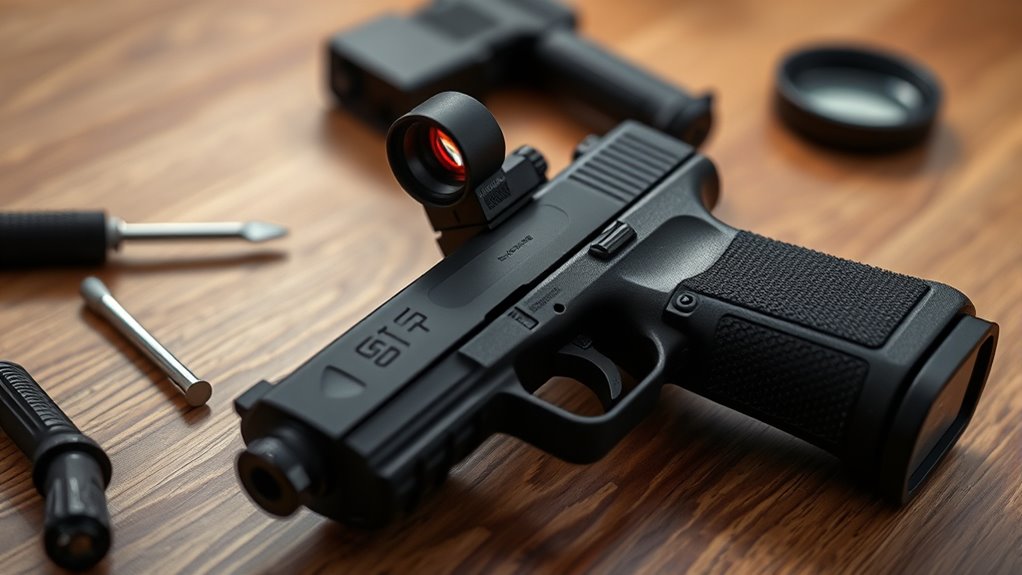
Before you begin zeroing your red dot sight, you’ll need to gather a few essential tools and get your pistol ready. First, make sure you have the right tools: a small screwdriver or the adjustment tool that came with your sight, extra batteries, and a stable shooting rest or bench to steady your pistol. You’ll also want a target stand and some targets, but those come into play later.
Before attaching or adjusting your red dot sight, confirm your pistol is unloaded and pointed in a safe direction. Remove any existing sights if necessary and securely mount your red dot sight according to the manufacturer’s instructions. Check that the sight is firmly attached and the battery is fresh to avoid interruptions.
Finally, clean your pistol’s slide and sight mounting area to ensure a solid fit. Having these tools and preparations in place will make the zeroing process smoother and more accurate.
Choose Your Target and Set the Distance
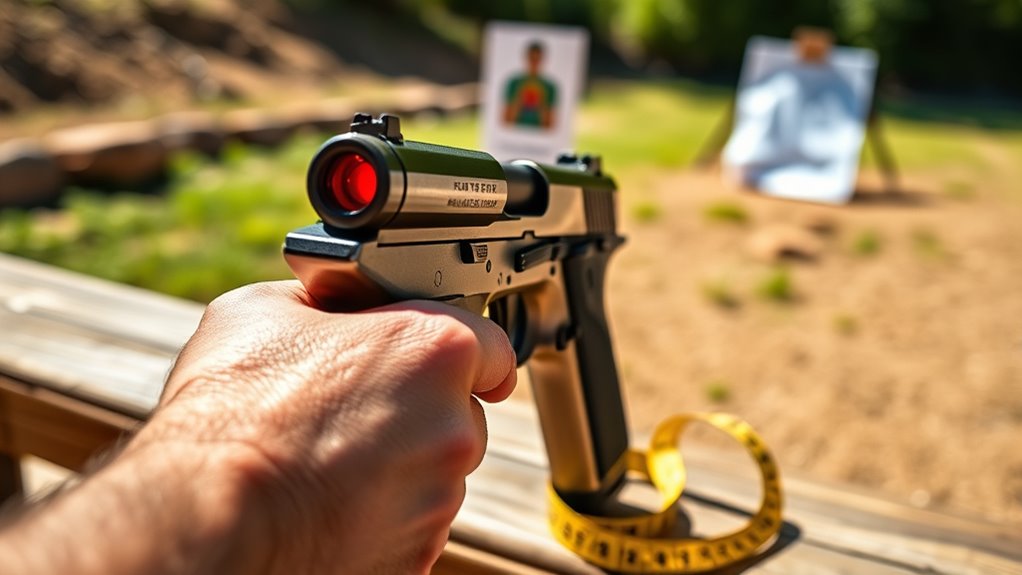
You’ll want to pick a target that clearly shows your point of impact, like a paper bullseye or a steel plate. Setting the right distance is key—usually between 7 to 15 yards for pistols, depending on your typical shooting scenario.
This helps guarantee your red dot zero matches where you actually plan to shoot.
Target Type Selection
How do you pick the right target when zeroing your red dot sight on a pistol? You want a target that’s clear, easy to see, and provides precise feedback on your shot placement. Paper targets with defined aiming points, like bullseyes or grids, work best because they let you spot your hits accurately.
Avoid targets with busy patterns or unclear markings—they’ll make it harder to judge adjustments. Also, choose a target size appropriate for your shooting distance; larger targets can mask small errors, while smaller ones demand more precision. Using reactive targets can be fun but aren’t ideal for zeroing since they don’t show exact shot locations.
Stick to simple, well-marked targets so you can quickly and confidently fine-tune your red dot sight.
Optimal Zeroing Distance
Selecting the right distance for zeroing your red dot sight on a pistol is crucial for accuracy. You want a distance that matches how you’ll typically use the pistol, whether for self-defense, competition, or target practice. Most shooters choose between 7 to 15 yards for a good balance of precision and practicality.
Consider these points when setting your zeroing distance:
- Self-defense: 7-10 yards, reflecting common close-range encounters
- Competition: 10-15 yards for typical target distances
- Target Practice: Align with your range’s standard distances
- Comfort & Safety: guarantee you have a clear, safe backdrop at your chosen distance.
Choosing the right zeroing distance ensures your red dot aligns well with your intended shooting scenarios.
Get to Know Your Red Dot Sight’s Controls
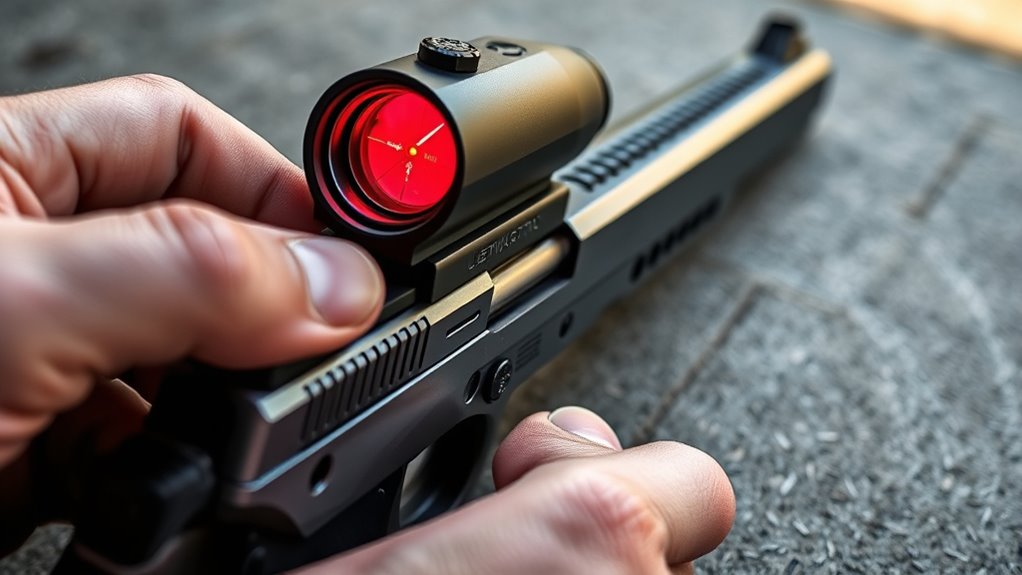
Before zeroing your red dot sight, you’ll want to familiarize yourself with its buttons and how they work. Knowing how to adjust brightness levels quickly can make a big difference in different lighting conditions.
Take a moment to test these controls so you’re comfortable using them on the range.
Understanding Button Functions
Though red dot sights might seem straightforward, getting to know each button’s function is essential for quick adjustments and reliable performance. You’ll find that every control serves a specific purpose, allowing you to customize your sight quickly without fumbling.
Familiarize yourself with these common buttons:
- Power Button: Turns the sight on and off, sometimes doubling as the brightness control.
- Brightness Adjustment: Lets you increase or decrease dot intensity for various lighting conditions.
- Windage and Elevation Buttons: Used for fine-tuning the dot’s position to align with your point of impact.
- Reset or Zero Button: Restores settings to factory defaults, useful if you need to start fresh.
Understanding these controls ensures you can make swift, confident changes on the fly.
Adjusting Brightness Levels
Now that you know what each button does, adjusting the brightness on your red dot sight becomes straightforward. Most sights have separate buttons for increasing and decreasing brightness, usually marked with plus and minus symbols.
Start by turning on the sight and pressing the brightness increase button until the dot is easily visible without being overwhelming. Brightness should be adjusted based on lighting conditions—brighter for daylight and dimmer for low light. Avoid setting it too bright, as a washed-out dot can reduce accuracy.
Some models offer automatic brightness adjustment, but manual control lets you fine-tune the setting. Practice adjusting brightness in different environments so you’re ready to quickly adapt when needed, ensuring your sight is always clear and effective.
Power On Your Red Dot Sight and Adjust Brightness
Since your red dot sight needs to be clearly visible to help you aim, you’ll want to power it on and adjust the brightness to match your shooting environment. Most red dot sights have a simple power button or switch—press or toggle it to turn the sight on.
Once powered, adjust the brightness so the dot is clear but not overpowering, which helps you maintain focus without straining your eyes.
Here’s what to do:
- Locate the power button or switch, usually on the side or top of the sight.
- Turn it on and observe the red dot’s brightness level.
- Use the brightness controls (buttons or dial) to increase or decrease intensity.
- Choose a brightness setting where the dot stands out clearly against your target but doesn’t bloom or blur.
Getting this right ensures quick target acquisition and better accuracy when zeroing your pistol.
Align the Red Dot Using a Bore Sight
After powering on your red dot and adjusting its brightness, the next step is to get your sight roughly aligned with your pistol’s barrel. To do this, use a bore sight—a tool designed to help you align the sight’s dot with the barrel’s center. First, verify your pistol is unloaded and safely secured.
Insert the bore sight into the barrel following its instructions. Then, look through the red dot sight and notice where the dot appears relative to the bore sight’s aiming point. Adjust the windage and elevation turrets on your red dot until the dot is centered over the bore sight’s target.
This process gets your sight close enough for you to start practical shooting without large adjustments. Aligning the red dot using a bore sight saves time and ammo during zeroing, making your next steps smoother and more accurate.
Fire Test Shots and Assess Your Accuracy
Now it’s time to fire some test shots while keeping a consistent shooting position.
Pay close attention to your grouping patterns to see where your rounds are landing.
Use this information to adjust your aim and fine-tune the red dot sight for better accuracy.
Establish Consistent Shooting Position
Before you fine-tune your red dot sight, you’ll need to establish a consistent shooting position that you can replicate every time. This consistency helps guarantee your shots are accurate and your adjustments meaningful.
Start by finding a comfortable stance, grip, and sight picture that feels natural and stable. Focus on these key elements:
- Feet shoulder-width apart, balanced evenly
- Firm, consistent grip on the pistol
- Proper arm extension with slight bend for recoil control
- Steady head position aligned with the sight
Analyze Grouping Patterns
Once you’ve settled into a consistent shooting position, it’s time to fire a few test shots and carefully analyze your grouping patterns. Aim to shoot at least three to five rounds without making any adjustments to your aim or grip. After each group, observe where the shots cluster on the target.
Are they tightly grouped or spread out? Consistent tight groupings indicate good control and steadiness, while wider patterns suggest you might need to refine your grip or stance. Notice if the cluster leans to one side, high, or low—that’s crucial information for later adjustments.
Keep in mind, analyzing your groupings helps you understand your shooting tendencies and the sight’s current alignment before tweaking anything. This step ensures your zeroing process will be precise and effective.
Adjust Aim Based On Impact
After reviewing your shot groupings, it’s time to adjust your aim based on where the rounds actually hit the target. Take note of how far off your point of impact is from your intended point of aim. Then, use your red dot sight’s adjustment knobs to correct for these discrepancies.
Remember, small changes can make a big difference. Here’s what to focus on:
- If shots are consistently low, adjust the elevation knob up.
- If shots are to the left, turn the windage knob right.
- Make incremental adjustments—usually one click at a time.
- Fire another group after adjustments to confirm accuracy.
Adjust Windage and Elevation Settings
Although you’ve mounted your red dot sight securely, you’ll need to fine-tune the windage and elevation settings to guarantee your point of impact matches your point of aim. Start by identifying the adjustment knobs—usually, windage controls horizontal movement, and elevation controls vertical movement. Each click typically moves the point of impact by a specific measurement, often 1/2 MOA or 1/4 MOA.
To adjust windage, turn the knob in the direction you want your shot to shift. For example, if your shots are landing to the left, adjust the windage knob to move the dot right. For elevation, if shots are hitting low, adjust the elevation knob to raise the point of impact.
Make small, deliberate adjustments and avoid over-correcting. After each tweak, recheck your aim through the sight to see how the dot aligns with your target. This careful process ensures your red dot sight zeroes accurately for precise shooting.
Confirm Your Zero by Shooting Multiple Groups
How do you know your red dot sight is truly zeroed? The best way is to confirm by shooting multiple groups. This guarantees your adjustments hold consistently across several shots, not just a lucky single group.
Here’s how to do it effectively:
- Fire at least three groups of 3-5 shots each, maintaining the same aiming point.
- Take note of the point of impact for each group relative to your red dot.
- Make sure the groups are tight and consistently centered on the target.
- Use a stable shooting position and consistent grip to reduce variables.
Troubleshoot Common Zeroing Issues
When your red dot sight isn’t aligning as expected, it’s important to identify common zeroing issues to avoid frustration and wasted ammo. First, double-check that your sight is securely mounted; even slight movement can throw off your zero.
Next, verify that the batteries are fresh and installed correctly—dim or flickering dots can mislead your aim. If your shots consistently group off target, ensure you’re using the same ammunition type for zeroing that you plan to carry, as variations affect point of impact.
Check battery health and use consistent ammo to maintain accurate sight alignment and shot placement.
Also, check the windage and elevation adjustments to confirm they’re functioning smoothly without sticking. Sometimes, parallax errors occur; make sure you maintain a consistent eye position behind the sight.
Finally, inspect the sight lens for dirt or smudges that could distort the dot. Addressing these issues will help you troubleshoot effectively and get your pistol zeroed accurately.
Maintain Your Red Dot Sight Zero for Consistency
To keep your red dot sight reliable, you’ll need to maintain its zero regularly. Even a perfectly zeroed sight can shift with recoil, rough handling, or environmental changes.
Staying on top of maintenance ensures your shots stay accurate and consistent every time you draw your pistol.
Here are key steps to maintain your red dot sight zero:
- Check zero before each use: Quickly verify your point of impact at a known distance.
- Tighten mounting screws: Ensure your sight is securely attached; loose screws cause shifts.
- Clean lenses and housing: Remove dirt and debris that can affect your sight picture.
- Store your pistol properly: Avoid impacts or pressure on the sight during storage or transport.
Frequently Asked Questions
Can I Zero a Red Dot Sight on Other Firearms Besides Pistols?
Yes, you can zero a red dot sight on other firearms like rifles and shotguns. Just make sure to use appropriate targets and distances for each firearm to guarantee accuracy and proper alignment with your shooting needs.
Consider the specific characteristics of the firearm, such as barrel length and typical engagement distances, to optimize the zeroing process.
This ensures that your red dot sight performs effectively across different shooting scenarios.
How Often Should I Re-Zero My Red Dot Sight?
You should re-zero your red dot sight whenever you notice a change in accuracy, after cleaning or maintenance, or if your pistol experiences a significant impact.
Regular checks keep your shots consistently on target.
What Is the Difference Between Red Dot Sights and Holographic Sights?
Imagine a bright red dot floating on your target—that’s a red dot sight, simple and clear.
Holographic sights project a detailed reticle like a tiny hologram, offering faster target acquisition, especially in dynamic shooting situations.
Can Weather Conditions Affect the Zeroing Process?
Yes, weather conditions like wind, rain, and temperature can affect your zeroing process by shifting your point of impact or obscuring the sight.
You’ll want calm, clear conditions for the most accurate zeroing results.
Is It Safe to Use Red Dot Sights for Self-Defense Situations?
You can definitely use red dot sights for self-defense—they improve target acquisition speed by up to 50%. Just make sure you’re familiar with the sight and practice regularly to guarantee accuracy when it counts the most.
Consistent training with your red dot sight will help build muscle memory and confidence.
Conclusion
Now that you’ve followed these steps, your red dot sight should be zeroed perfectly, ready for action.
Remember, just like a knight sharpening his sword before battle, taking the time to zero your sight guarantees accuracy when it counts.
Keep practicing, maintain your settings, and don’t hesitate to troubleshoot if things go off.
With patience and care, your pistol will be as precise as ever, making every shot count.
Zeroing your red dot sight on a pistol is essential for consistent accuracy and confidence at the range or in the field.
Stay dedicated to these 10 steps to zero a red dot sight on a pistol, and your shooting performance will improve significantly.