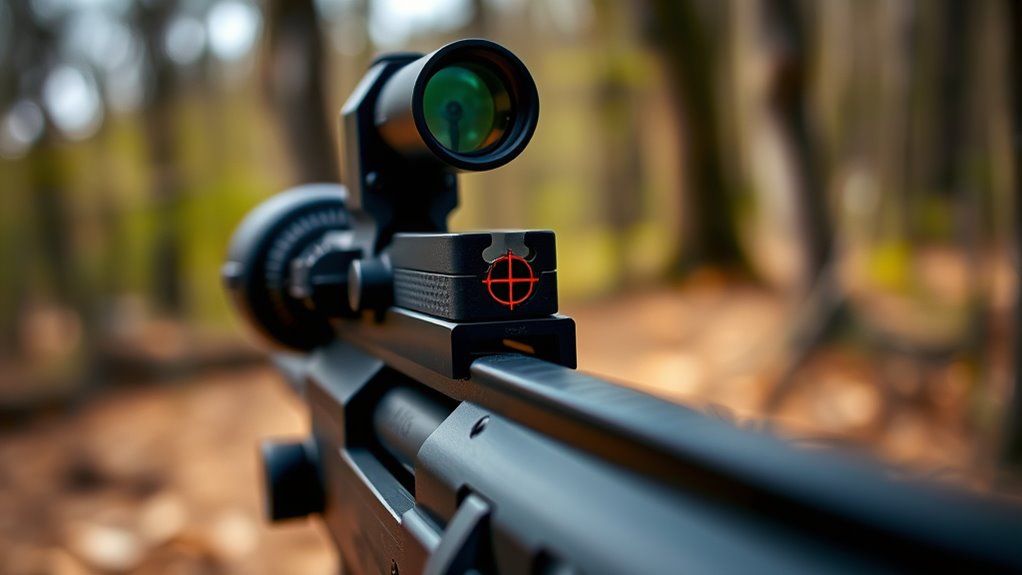
How Should You Align a Red Dot Sight With Your Front Sight?
Aligning a red dot sight with your front sight is crucial for achieving accurate shot placement and improving overall aim. Proper alignment ensures that the red dot and front sight work together seamlessly, providing a clear and consistent point of reference.
This process involves careful adjustment of the sight to match the position of the front sight.
You should align your red dot sight directly over your front sight, ensuring both are centered and level for accurate shot placement.
Hold your firearm steady and focus on the front sight through the red dot, adjusting windage and elevation knobs in small increments until the dot sits perfectly atop the front sight.
Regularly verify your zero to maintain consistency and troubleshoot any misalignment.
Understanding these steps will help you improve your aim and reliability.
Key Takeaways
- Hold the firearm naturally and focus your eye on the front sight through the red dot sight.
- Center the red dot directly over the front sight post, ensuring both are level and aligned.
- Use the windage and elevation knobs to adjust the red dot until it perfectly overlays the front sight.
- Maintain consistent eye position and sight picture while making small incremental adjustments.
- Verify alignment by firing groups at a target, then fine-tune until shots consistently hit the point of aim.
Why You Should Still Care About Front Sight Alignment
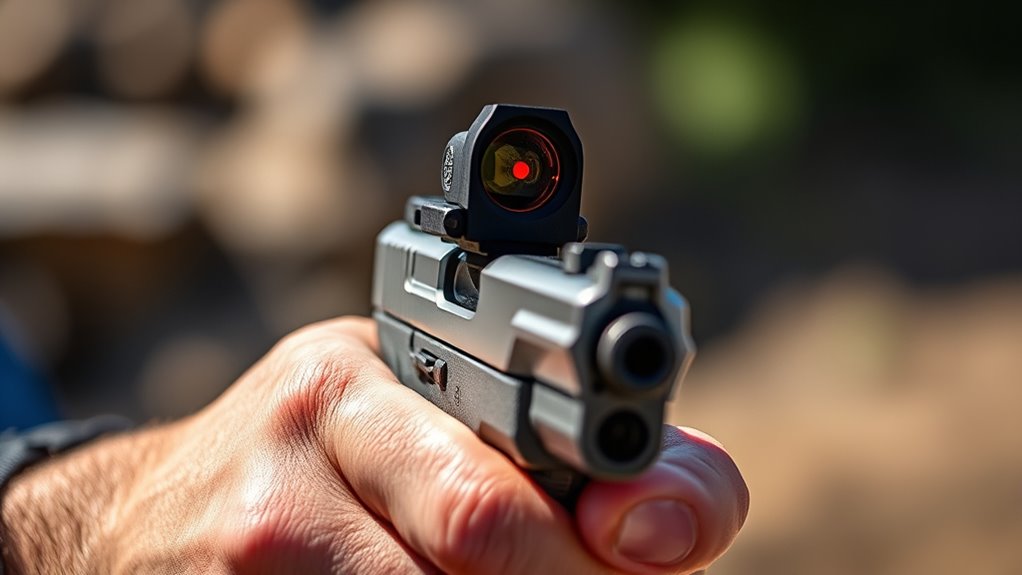
Although red dot sights simplify aiming, you should still care about front sight alignment because it guarantees backup accuracy when your optic fails or isn’t ideal. Red dot sights rely on batteries or electronics, which can unexpectedly die or malfunction. When that happens, your front sight becomes your primary aiming reference, so knowing how to align it properly guarantees you won’t be caught off guard.
Additionally, environmental factors like bright sunlight or fog can make your red dot hard to see. In these situations, your front sight remains a reliable and consistent point of aim. Developing proficiency with front sight alignment also sharpens your overall shooting fundamentals, improving your ability to engage targets accurately under any conditions.
Step-by-Step Alignment of Red Dot and Front Sight
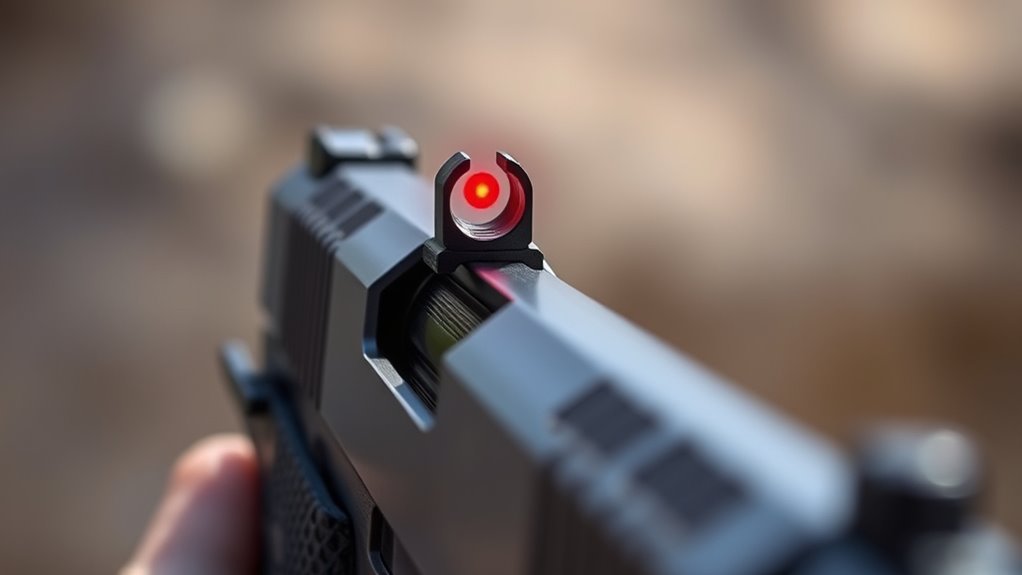
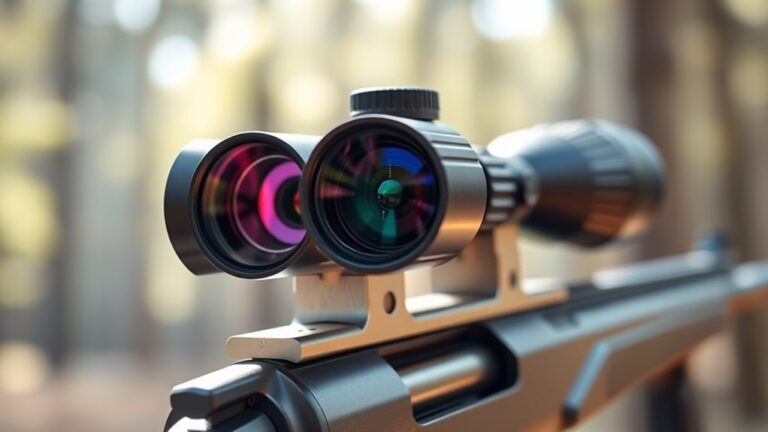
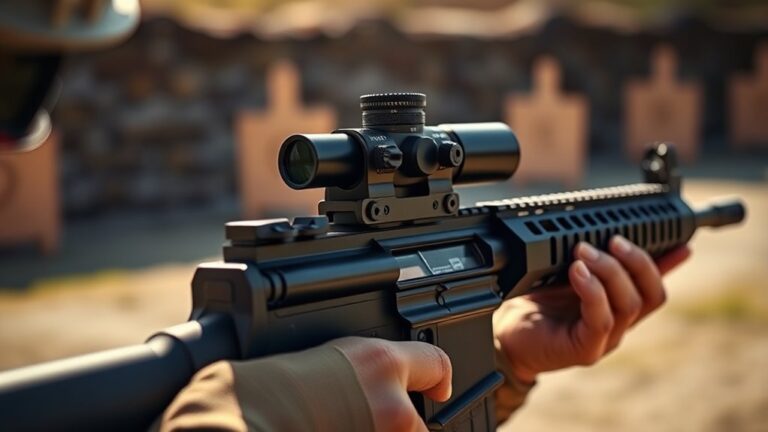
Knowing how to align your front sight is just as important as mastering your red dot sight itself. Start by holding your firearm in a natural shooting position, ensuring a steady grip. Look through the red dot sight and focus your eye on the front sight post.
Mastering your red dot starts with steady grip and focusing on aligning the front sight post through the sight.
The red dot should appear directly over the top of the front sight, perfectly centered. This alignment means the red dot and front sight are on the same plane, giving you a clear aiming reference.
Next, check that the front sight is level with the red dot, not tilted or off-center. If the dot drifts left, right, up, or down from the front sight, you’re not aligned. Keep your eye relaxed and consistent in position to maintain this sight picture.
Practicing this step-by-step alignment regularly will help you quickly bring the sights together, improving accuracy without needing to explicitly adjust the red dot’s settings.
How to Adjust Red Dot Height and Windage to Match Front Sight
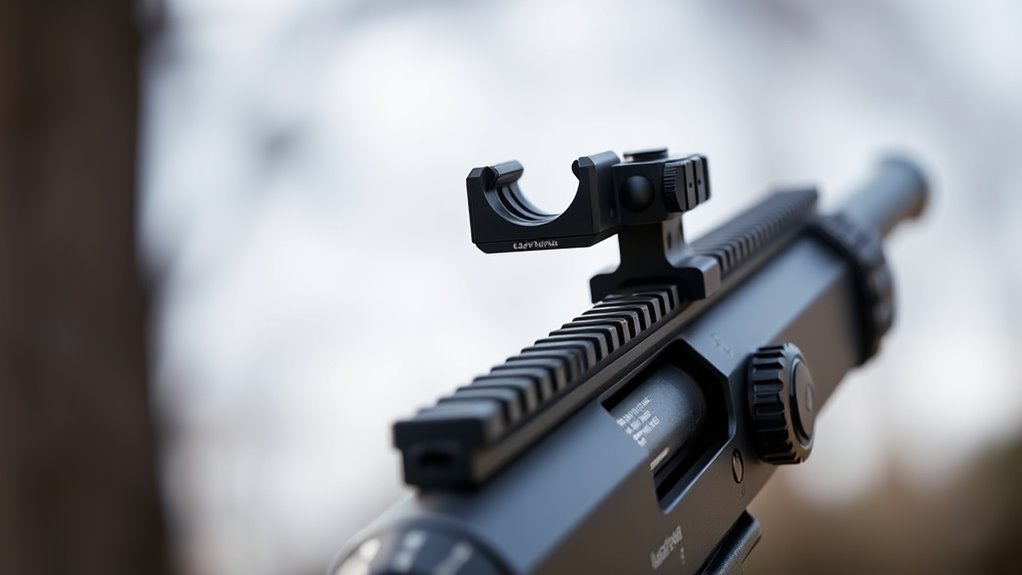
Before you can shoot accurately, you’ll need to adjust the red dot’s height and windage to align perfectly with your front sight. Begin by mounting your red dot securely, then look through it while aiming at a target.
Use the adjustment knobs—usually marked for elevation (height) and windage (left/right)—to shift the dot until it sits right on top of your front sight.
Here’s a quick reference table for adjustments:
| Adjustment Type | Direction to Move Dot | Effect on Point of Impact |
|---|---|---|
| Elevation | Turn knob up/down | Moves point of impact up/down |
| Windage | Turn knob left/right | Moves point of impact left/right |
| Small Click | One click | Minor adjustment (1/4 MOA typical) |
| Large Click | Several clicks | Larger adjustment |
| Recheck | After adjustments | Confirm alignment |
When to Focus on Front Sight vs. Red Dot
Once you’ve aligned your red dot sight properly, deciding whether to focus on the front sight or the red dot depends on your shooting scenario and preference. Generally, you’ll want to emphasize one over the other based on speed, distance, and accuracy needs.
Choosing to focus on the front sight or red dot hinges on your shooting context and desired balance of speed and accuracy.
- Close-quarters shooting: Focus on the red dot itself for quick target acquisition and minimal distractions.
- Precision shooting at longer ranges: Shift your focus to the front sight to ensure the dot aligns precisely with your target.
- Training or unfamiliar firearms: Concentrate on the front sight to build solid fundamentals and confirm your red dot alignment.
- Rapid-fire or dynamic scenarios: Rely more on the red dot for faster reaction times, accepting slight trade-offs in pinpoint accuracy.
Understanding these situations helps you decide where your eyes should rest, improving both speed and accuracy depending on what the moment demands.
Common Red Dot and Front Sight Alignment Mistakes
Although aligning your red dot sight might seem straightforward, many shooters make common mistakes that can throw off accuracy and consistency. One frequent error is not maintaining a proper sight picture—focusing on the red dot while neglecting the front sight or vice versa can cause misalignment. You might also place the red dot off-center on your target, assuming it compensates for your front sight’s position, which leads to poor shot placement.
Another mistake is inconsistent eye position; if your head or eye shifts even slightly, the alignment changes, affecting accuracy. Additionally, some shooters fail to verify their zero after mounting the red dot, assuming it’s accurate out of the box. Overlooking parallax errors or not accounting for them at different distances can also cause misalignment.
Being aware of these common pitfalls helps you avoid costly errors and guarantees your red dot and front sight work together for reliable precision.
Tips for Practicing and Verifying Red Dot and Front Sight Alignment
When you start practicing with your red dot sight, focusing on consistent eye alignment and a steady sight picture will greatly improve your accuracy. To guarantee your red dot and front sight are aligned properly, try these practical tips:
Consistent eye alignment and a stable sight picture are key to ensuring your red dot and front sight align perfectly.
- Use a Stable Rest: Support your firearm on a bench or sandbag to reduce movement and help maintain consistent alignment.
- Practice at Close Range: Begin at 5-7 yards to quickly see how your red dot aligns with the front sight before moving further.
- Check Your Eye Relief: Position your head the same way every time to keep the red dot and front sight in your natural line of sight.
- Confirm Zero Regularly: Periodically verify your sight’s zero by shooting groups and adjusting if the point of impact shifts.
Troubleshooting Alignment Issues for Better Accuracy
If your shots aren’t hitting the mark, you might be facing common alignment problems. You’ll need to adjust windage and elevation to fine-tune your sight.
Don’t forget to verify your sight zero regularly to maintain accuracy.
Common Alignment Problems
Since getting your red dot sight perfectly aligned can be tricky, you might run into a few common issues that affect accuracy. Here are some problems you may face:
- Parallax error – The dot appears off-center if your eye isn’t perfectly aligned with the sight, causing missed shots.
- Loose mounting – A sight that’s not securely mounted shifts during recoil, throwing off your aim.
- Improper sight height – If your red dot isn’t level with the front sight, your point of impact will be inconsistent.
- Dot brightness too high or low – A dot that’s too bright can blur your focus, while a dim dot makes it hard to see the aiming point.
Recognizing these issues helps you troubleshoot before adjusting windage and elevation.
Adjusting Windage And Elevation
After identifying common alignment problems like parallax error or loose mounting, the next step is adjusting windage and elevation to fine-tune your red dot sight’s accuracy. Windage controls horizontal movement, so if your shots land left or right of the target, turn the windage knob accordingly. Elevation adjusts vertical placement; if your shots hit too high or low, tweak the elevation dial.
Make small, deliberate adjustments—usually in quarter or half MOA increments—and test your changes by aiming at a consistent target. Remember, the goal is to center your red dot directly over your front sight post for precise alignment. If your sight has audible clicks, count them to track adjustments.
This systematic approach guarantees better accuracy and confidence when shooting.
Verifying Sight Zero
When your shots don’t land where you expect despite adjustments, verifying your sight zero is essential to identify any lingering alignment issues. You want to confirm that both your red dot and front sight are properly aligned to ensure consistent accuracy.
Here’s how to verify your sight zero:
- Secure your firearm on a stable rest or sandbag to minimize movement.
- Aim at a target placed at your zeroing distance (usually 25 or 50 yards).
- Fire a three-shot group and observe the point of impact relative to the aiming point.
- Adjust the red dot sight based on the group’s deviation, then repeat the process until your shots consistently hit your intended point of aim.
This troubleshooting ensures your sight alignment translates to precise shot placement.
Frequently Asked Questions
Can I Use a Red Dot Sight Without a Front Sight Installed?
Yes, you can use a red dot sight without a front sight installed. Red dots are designed to provide a clear aiming point on their own, so you don’t need a front sight to shoot accurately with them.
How Does Ambient Light Affect Red Dot Sight Visibility?
Ambient light affects your red dot sight’s visibility by making the dot appear brighter or dimmer. Too much light can wash it out, while low light might require you to increase brightness for clear aiming.
Adjusting the brightness settings is essential to maintain optimal visibility. In bright conditions, lowering the brightness can prevent glare. Conversely, in darker environments, increasing brightness helps the dot stand out clearly.
Are There Specific Firearm Types Better Suited for Red Dot and Front Sight Alignment?
Like a knight choosing the perfect sword, you’ll find pistols and carbines often suit red dot and front sight alignment best. Their compact design lets you quickly acquire targets with precision, enhancing your shooting experience.
These firearms offer a balance of speed and accuracy. Red dots complement their size, making target acquisition intuitive and fast. This combination is ideal for both beginners and seasoned shooters alike.
What Are the Maintenance Tips for Keeping Red Dot Sights Functional?
You’ll want to keep the lens clean, avoid harsh chemicals, regularly check battery life, and guarantee the sight is securely mounted.
Also, store it in a protective case to prevent damage and moisture buildup when not in use.
Can Red Dot Sights Be Used Effectively for Long-Range Shooting?
You won’t magically hit a bullseye from a mile away with a red dot sight alone. They’re best for close to mid-range shots, but for long-range, you’ll need magnification and precise adjustments to be effective.
Conclusion
Aligning your red dot sight with your front sight guarantees faster, more accurate shooting, especially under pressure. For example, imagine you’re in a competitive shooting match; a slight misalignment could cost you precious seconds and points.
By following the steps to adjust height and windage, and regularly practicing, you’ll build muscle memory that keeps your shots true. Remember, mastering this alignment isn’t just technical—it’s key to consistent, confident shooting.
Proper alignment of the red dot sight with the front sight ensures better accuracy and quicker target acquisition. This alignment is essential for improving overall shooting performance and reliability. Consistent practice with this technique will make you a more effective shooter.