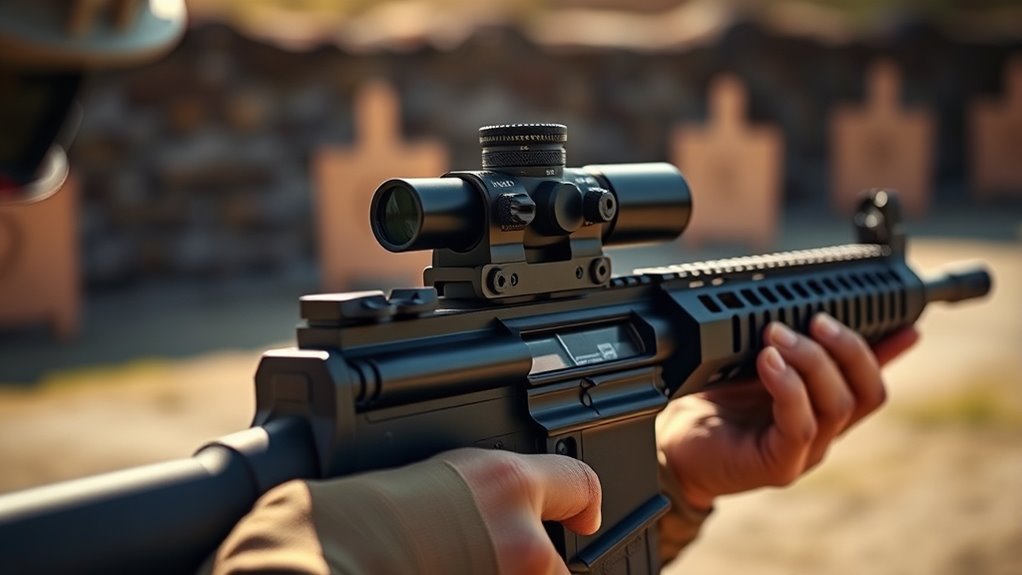
How to Zero M Iron Sights Army in 7 Simple Steps
To zero your M iron sights Army-style, start by gathering essential tools like a stable rest, a target, and sight adjustment wrenches. Properly zeroing the M iron sights is crucial for accuracy and consistency in shooting.
Set up your shooting station at a distance of 25-50 meters and assume a steady, comfortable shooting position.
Align the front sight post so it is centered and level within the rear sight aperture. Adjust elevation by carefully raising or lowering the front sight post.
Correct windage by making small adjustments to the rear sight.
Fire groups of shots, observe the point of impact, and make incremental adjustments as needed.
Confirm your zero under various conditions to ensure reliability.
Stick with this proven method, and you’ll gain deeper insight into fine-tuning your sight picture and improving shooting accuracy.
Key Takeaways
- Secure the rifle using a stable rest or sandbags at a 25-50 meter range for initial zeroing.
- Align the front sight post centered and level within the rear aperture, using a 6 o’clock hold on the target.
- Fire a group, then adjust the front sight post incrementally to correct elevation based on shot placement.
- Adjust rear sight windage in small increments to correct horizontal shot drift, keeping elevation steady.
- Confirm zero in various light and environmental conditions, maintaining consistent shooting stance and sight cleanliness.
Gather Tools Needed for Zeroing M Iron Sights
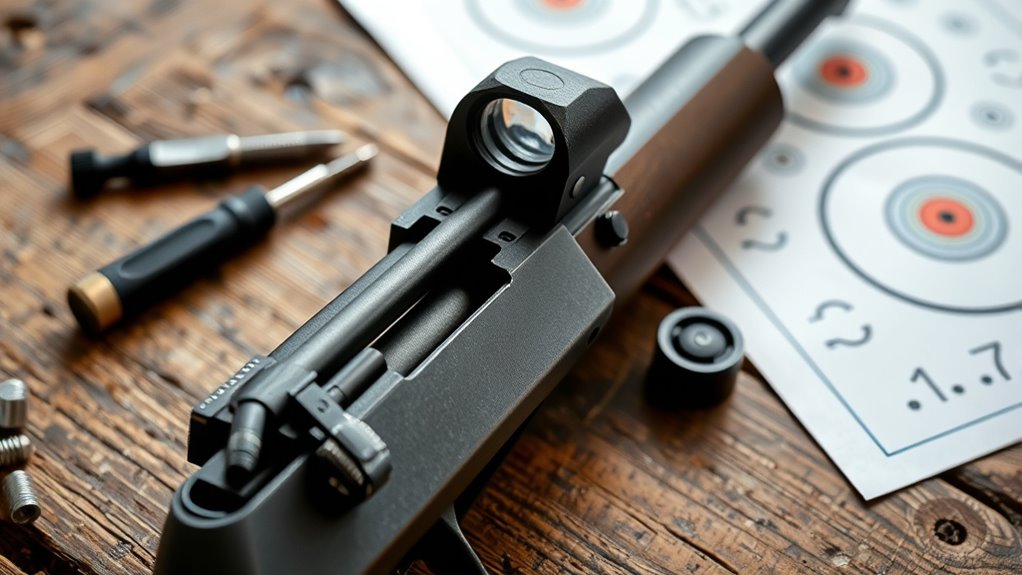
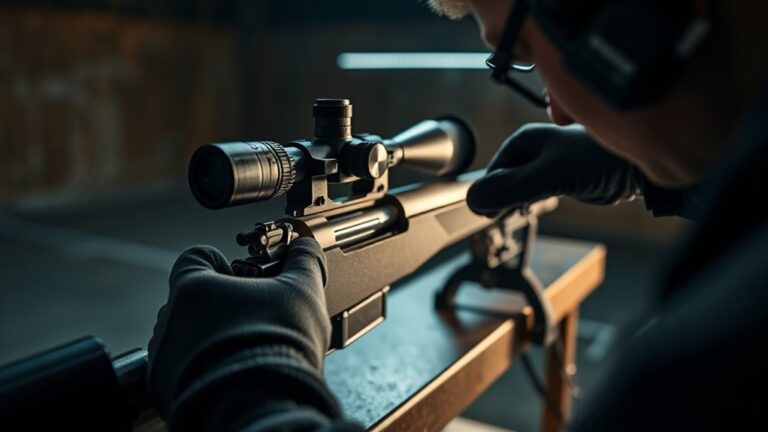
Before you begin zeroing your M iron sights, you’ll need to gather a few essential tools to guarantee accuracy and efficiency. First, make sure you have a reliable shooting rest or sandbags to stabilize your rifle; this reduces human error during sight adjustments. You’ll also want target paper or a proper shooting target placed at the standard zeroing distance, typically 25 or 300 meters, depending on your requirements.
Don’t forget a good quality spotting scope or binoculars to clearly see where your shots land without having to walk downrange constantly. A set of Allen wrenches or the specific tool for your sight adjustments is vital for precise tuning. Additionally, bring a pen and notebook to record your adjustments and shot groupings.
Finally, make certain you have ear and eye protection for safety. With these tools ready, you’ll be set to zero your M iron sights methodically and accurately.
Learn M Iron Sight Alignment Basics
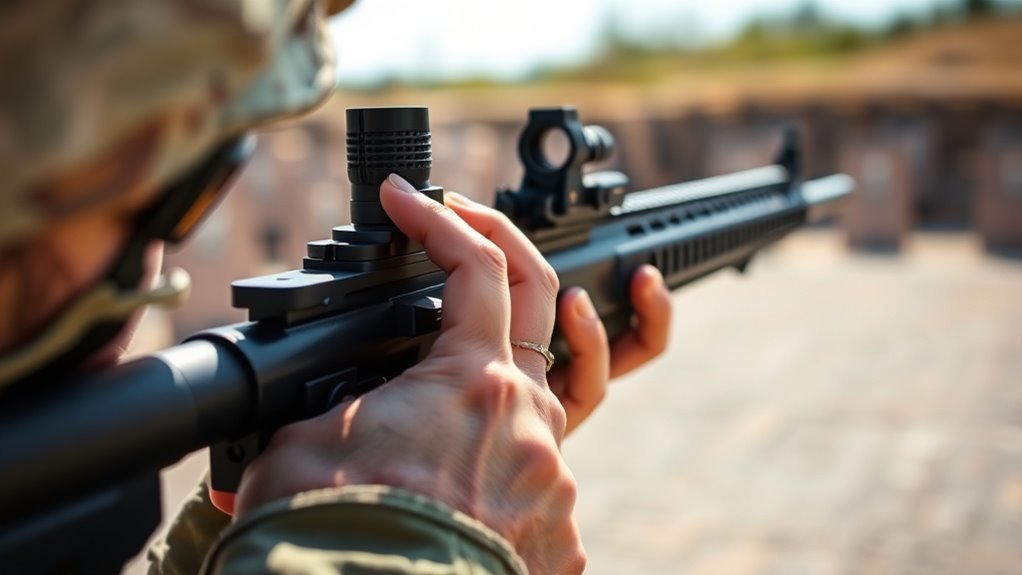
Now that you’ve gathered all the tools needed to zero your M iron sights, it’s time to understand how to properly align them. Correct alignment assures your shots hit exactly where you intend. Here’s what you need to focus on:
Properly aligning your M iron sights ensures every shot lands exactly where you aim.
- Front Sight Post – Center the front sight post in the rear sight aperture. It should be sharp and clear, standing straight up without leaning.
- Rear Sight Aperture – Look through the rear aperture and position the front sight post dead center horizontally and vertically. The top of the front post should be level with the top of the rear aperture.
- Sight Picture – Your target should appear just above the front sight post. This “6 o’clock hold” gives you the most accurate point of aim.
Set Your Shooting Position and Target Range for M Iron Sights
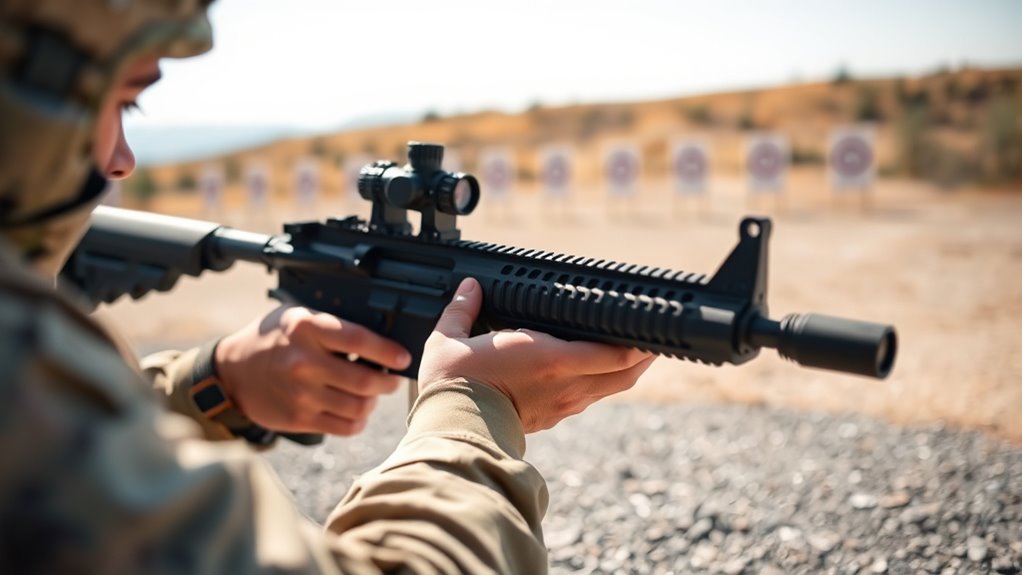
Once you’ve mastered aligning your M iron sights, you’ll want to set a stable shooting position and select an appropriate target range to guarantee consistent zeroing. Start by choosing a position that minimizes movement—whether that’s prone, kneeling, or standing—depending on your training or mission needs. Use a solid rest or sandbag to reduce rifle sway, ensuring your shots stay true.
Next, pick a target range that matches your zeroing goal—commonly 25 to 50 meters for initial zeroing of M iron sights. This distance allows you to identify and correct sight alignment without excessive bullet drop. Make certain the target is clearly visible and well-lit to help you focus on the front sight and target simultaneously.
Avoid distractions and maintain consistent breathing and trigger control. Setting your position and range carefully sets the foundation for precise adjustments, so take your time here before moving on to front sight elevation tweaks.
Adjust the Front Sight for Elevation Accuracy
Now that you’ve set your shooting position, it’s time to focus on adjusting the front sight post to fine-tune your elevation. Understanding how small changes affect your point of impact is key to accuracy.
You’ll learn simple techniques to make precise adjustments that keep your shots on target.
Front Sight Post Adjustment
How do you guarantee your shots hit the target at the right height? It all starts with properly adjusting the front sight post. This adjustment controls elevation, letting you raise or lower your point of impact.
Here’s how to approach it:
- Identify elevation error: Fire a group and note whether the shots hit above or below the target center.
- Adjust the front sight post: Use the front sight tool or a cartridge to turn the post. Turning it clockwise typically lowers the point of impact; counterclockwise raises it.
- Confirm by firing: After each adjustment, shoot another group to verify your point of impact aligns with the target’s center.
This precise control ensures your iron sights are dialed in for accurate elevation without guessing.
Elevation Impact Explained
Why does adjusting the front sight post affect where your shots land vertically? When you raise or lower the front sight post, you’re effectively changing the angle at which you’re aiming your barrel relative to the target. Moving the front sight up causes your barrel to tilt down slightly, making shots hit lower.
Conversely, lowering the front sight raises the barrel angle, so shots land higher. This happens because the front sight acts as a pivot point in your sight picture. By adjusting it, you alter the vertical alignment between the front and rear sights, directly influencing elevation.
Getting this right is essential for hitting targets accurately at different distances. Remember, small adjustments can make a big difference in where your rounds impact.
Fine-Tuning Techniques
Although adjusting the front sight post may seem straightforward, fine-tuning it for precise elevation accuracy requires careful, incremental changes. You’ll want to make small adjustments, then test your shots to see how the elevation shifts.
Here’s a simple approach to help you zero in:
- Adjust in small increments: Move the front sight post up or down by one click at a time to avoid overcompensation.
- Shoot and observe: Fire a group of shots after each adjustment to check the new point of impact.
- Repeat as needed: Continue adjusting and shooting until your shots consistently hit the desired elevation.
Fine-Tune the Rear Sight for Windage Precision
Once you’ve set your elevation, you’ll want to fine-tune the rear sight to compensate for any wind drift. Begin by firing a few rounds at your target while paying close attention to where the bullets are grouping horizontally. If your shots are consistently right of the target, you’ll need to adjust the rear sight to the left.
Conversely, if they’re left, move the sight to the right. Use small, incremental adjustments, typically one click at a time, to avoid overcorrecting. After each adjustment, fire another group to observe changes.
Remember, windage adjustments only affect horizontal alignment, so keep elevation settings stable while doing this. Also, consider the wind’s direction and strength; a mild breeze may require minimal tweaks, while stronger winds call for more precise modifications.
Confirm M Iron Sights Zero at Different Distances and Conditions
You’ll want to confirm your M iron sights zero at various distances to guarantee accuracy across ranges. Keep in mind that environmental factors like wind and lighting can affect your point of impact. Testing in both daylight and low-light conditions helps you adjust for real-world scenarios.
Varying Distance Adjustments
When adjusting your M Iron Sights for varying distances, it’s essential to verify the zero under different conditions to guarantee accuracy. Start by checking your zero at a close range, like 25 yards, to ensure your point of impact aligns with your point of aim.
Next, move out to a mid-range distance, such as 50 or 100 yards, and make any necessary windage or elevation tweaks. Finally, test at longer distances if possible, adjusting to maintain consistent grouping.
- Confirm zero at short range (25 yards) for initial alignment.
- Adjust and verify at mid-range (50-100 yards) for practical accuracy.
- Test and fine-tune at longer distances to account for bullet drop.
This method ensures your sights stay reliable across varied shooting scenarios.
Environmental Impact Effects
Although you’ve carefully zeroed your M Iron Sights at various distances, environmental factors like wind, temperature, and humidity can still affect your point of impact. You’ll need to confirm your zero under different conditions to maintain accuracy.
Wind can push your bullet off target, while temperature affects air density, changing bullet trajectory. Humidity also plays a role, slightly altering bullet flight.
Here’s a quick reference table to help you understand these effects:
| Environmental Factor | Effect on Point of Impact |
|---|---|
| Wind | Causes horizontal drift |
| Temperature | Alters bullet drop (higher temp = less drop) |
| Humidity | Slightly reduces bullet drop |
| Altitude | Thinner air causes flatter trajectory |
| Weather Conditions | Rain can slow bullet, affecting range |
Daylight Versus Low-Light
How can you guarantee your M Iron Sights remain accurate in varying light conditions? You need to confirm your zero in both daylight and low-light settings because sight visibility and target contrast change drastically. Daylight offers clear sight pictures, but shadows and glare can mislead you.
Low-light conditions require you to adjust for reduced visibility and potential sight misalignment.
To ensure accuracy:
- Test your zero at different distances during bright daylight to identify any elevation or windage shifts.
- Repeat zero confirmation at dusk or dawn, when light begins to fade, to account for sight picture changes.
- Practice in near-dark conditions using ambient light to verify your iron sights are still reliable without supplemental illumination.
Consistent checks across lighting conditions keep your M Iron Sights dependable.
Fix Common M Iron Sight Zeroing Problems in the Field
If you’ve ever struggled to get your M iron sights zeroed in the field, you’re not alone. Common problems like inconsistent shooting positions or environmental factors often throw off your zero. First, verify your shooting stance and cheek weld are consistent.
Struggling to zero your M iron sights? Consistent stance and cheek weld are key to reliable accuracy.
Even slight changes can shift your point of impact. Next, check your wind and lighting conditions; they affect how you see the sights and bullet trajectory. If your shots are grouping but off target, fine-tune your elevation and windage adjustments in small increments.
Also, make sure your sights are clean and free from debris that can obscure your sight picture. If your zero keeps shifting after adjustments, double-check that the sight screws are tight. Finally, don’t rush—take your time between shots to confirm your sight picture and control your breathing.
With patience and these steps, you’ll quickly fix common zeroing issues right in the field.
Frequently Asked Questions
What Is the History of M Iron Sights?
You’ll find M iron sights evolved from early military rifle designs, improving accuracy and durability. They’ve been essential since World War I, adapting through conflicts to meet soldiers’ needs with reliable, simple aiming solutions.
Can M Iron Sights Be Used on Other Rifles?
You’ll find M iron sights can often make friends with other rifles, but it’s not always a perfect match. Compatibility depends on mounting style and rifle design, so double-check before expecting a seamless fit or flawless performance.
How Often Should I Zero My M Iron Sights?
You should zero your M iron sights whenever you change ammo types, notice accuracy issues, or after rough handling.
Regularly checking before each shooting session guarantees your shots stay precise and reliable under varying conditions.
Are There Any Safety Precautions When Zeroing Iron Sights?
Oh, of course, safety’s just a suggestion, right? But seriously, you should always wear eye and ear protection, make sure your target area is clear, and never point your weapon at anything you don’t intend to shoot.
Stay sharp!
What Materials Are M Iron Sights Typically Made Of?
M iron sights are typically made of durable materials like steel or aluminum alloy, ensuring toughness and resistance to wear. You’ll find some parts coated for corrosion protection, helping maintain accuracy and longevity in various conditions.
Conclusion
Now that you’ve fine-tuned your M iron sights, you’re ready to hit the bullseye like a seasoned marksman. Think of zeroing your sights as tuning a musical instrument—once perfectly adjusted, every shot sings true. With steady hands and sharp eyes, your aim will dance with precision through any range.
Keep practicing these steps, and you’ll turn the unpredictable battlefield into your own silent symphony of accuracy. Mastering how to zero M iron sights Army style ensures your shots are consistently on target. Follow the simple process, and your marksmanship will improve with every round fired.