How to Sight in a Leupold Rifle Scope in 10 Easy Steps
To sight in your Leupold rifle scope accurately, start by securely mounting the scope to your rifle and selecting consistent ammunition. Proper sighting is essential for precision shooting, and using quality ammo helps maintain reliability.
Begin the process by bore sighting your scope at about 25 yards to get on target quickly.
Next, set up a stable shooting position at your preferred zero distance, which is usually 100 yards. Fire groups of 3-5 shots to observe the bullet impacts and adjust the windage and elevation turrets in small increments accordingly.
After making adjustments, confirm your zero with follow-up shots to ensure consistent accuracy.
Finally, keep your scope well-maintained for lasting performance. Keep going to explore detailed tips for achieving a perfect zero every time.
Key Takeaways
- Mount the Leupold scope securely and align it properly on a stable rest or bipod. Bore sight the rifle at 25 yards by aligning the barrel with the target and adjusting the reticle.
- Fire a 3-5 shot group at 100 yards without adjustments to assess initial impact location. Adjust windage and elevation turrets in small increments to center the group on the target.
- Confirm zero by shooting additional groups and fine-tuning adjustments until consistent accuracy is achieved.
Prepare Your Rifle and Leupold Scope for Sighting In
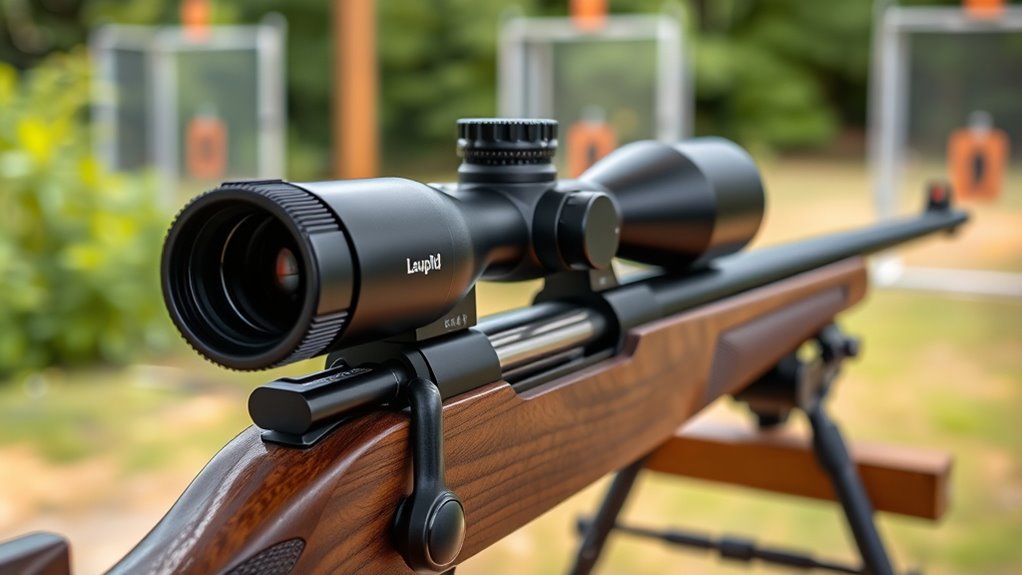
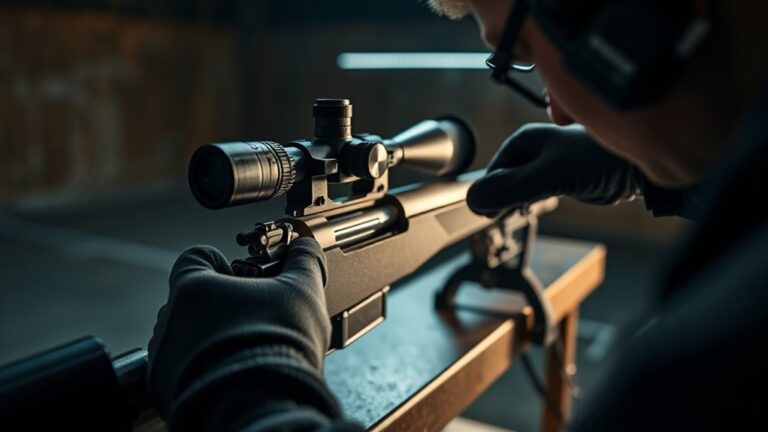
Before you begin sighting in your rifle scope, make sure your rifle is securely mounted on a stable rest or bipod to minimize movement. This stability is crucial for consistent accuracy. Next, check that your Leupold scope is properly mounted and tightened to avoid any shifts during shooting.
Confirm the scope rings and bases are aligned and securely fastened without overtightening, which could damage the scope tube. Adjust the eye relief by positioning your head comfortably so you get a full, clear sight picture without straining. Before you start zeroing, clean your rifle barrel and scope lenses to ensure nothing affects your shooting or clarity.
Also, verify that your rifle’s safety is on and your firearm is unloaded while making these preparations. Taking these steps sets a solid foundation for efficient and precise scope sight-in, saving you time and effort when you move on to adjusting your point of impact.
Choose the Best Ammunition for Zeroing Your Leupold Scope
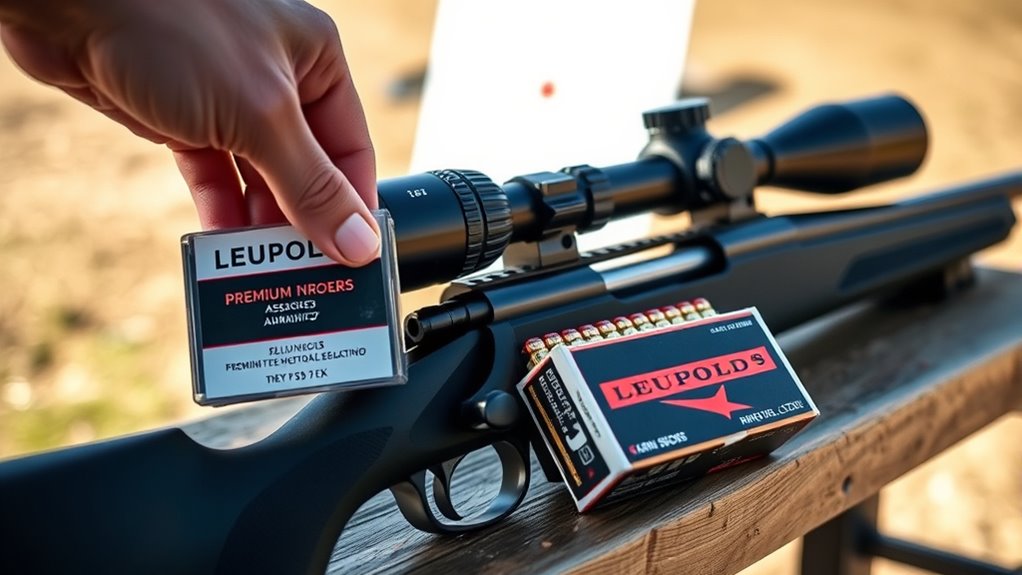
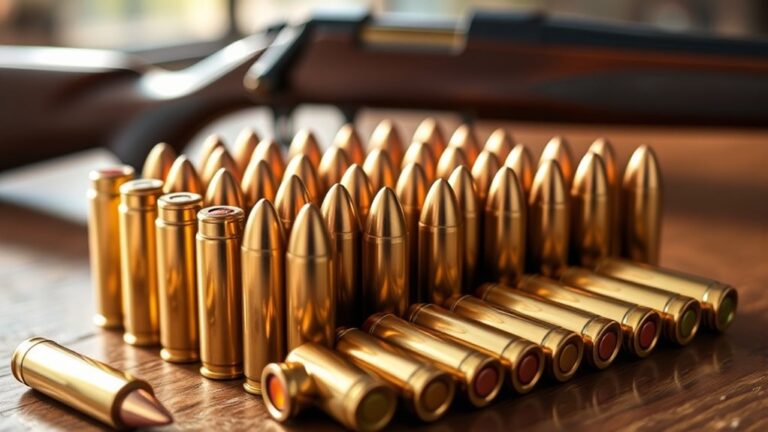
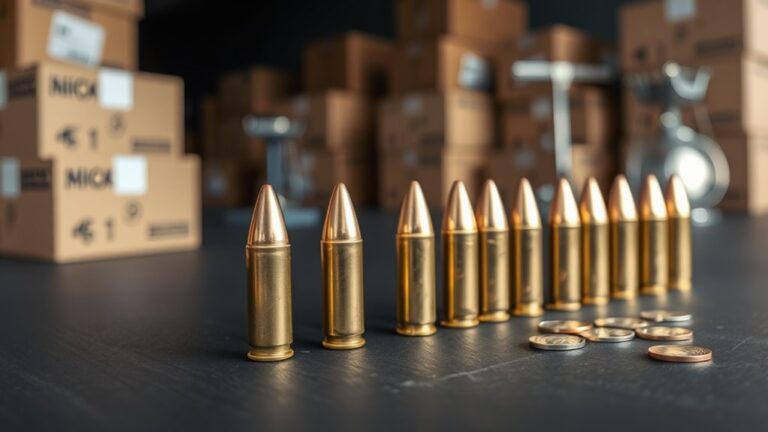
How do you pick the right ammunition to zero your Leupold scope effectively? The key is consistency. Use the exact ammo you plan to hunt or target shoot with because different brands and bullet weights impact your point of impact.
Stick to one type during zeroing to avoid confusion.
Here’s a quick look at common ammo types and their benefits for sighting in:
| Ammunition Type | Best For |
|---|---|
| Match Grade | Precision shooting |
| Hunting Ammo | Real-world hunting scenarios |
| FMJ (Full Metal Jacket) | Practice and cost-efficiency |
| Handloaded Ammo | Customized performance |
Match grade ammo offers tighter groups, helping you fine-tune your zero. Hunting ammo mirrors real conditions, ensuring accurate shots in the field. FMJ is budget-friendly for practice but may not match your hunting load’s trajectory.
Handloads let you tailor velocity and consistency, but require more effort. Choose ammo wisely for a reliable zero every time.
Bore Sight Your Scope for Reticle Alignment
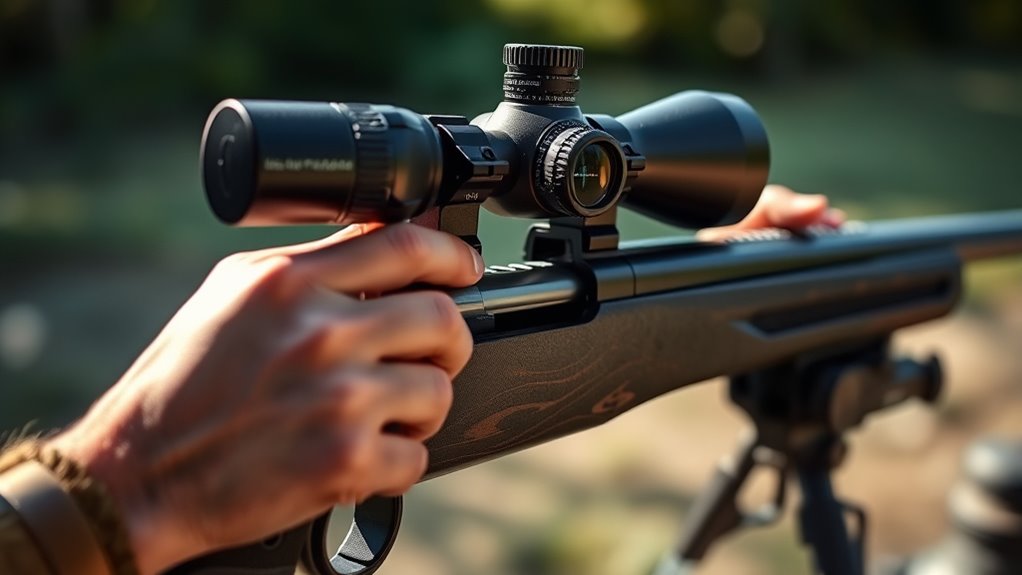
While zeroing your scope, bore sighting is an essential step that helps you align the reticle roughly with your rifle’s barrel. This saves you time and ammo by getting your scope on target before you start fine-tuning at the range.
Here’s how you can bore sight your scope for reticle alignment:
- Secure the Rifle: Place your rifle on a stable rest to keep it steady.
- Remove the Bolt: Take out the bolt to look straight through the barrel from the breech end.
- Align the Target: Find a target about 25 yards away and center it in the bore’s view.
- Adjust the Scope: Without moving the rifle, adjust the scope’s windage and elevation turrets until the reticle matches the target centered through the barrel.
This method gets your scope and barrel roughly aligned so you can make precise adjustments once you start shooting.
Set Up a Stable Shooting Position and Target Range
Once you’ve bore sighted your scope, you’ll want to set up a stable shooting position and a clear target range to guarantee consistent and accurate shots. Find a flat, solid surface like a shooting bench or sturdy table where you can comfortably rest your rifle. Use a shooting rest, sandbags, or a bipod to minimize movement and absorb recoil.
This stability helps maintain your point of aim and allows you to focus on adjusting the scope. Next, pick a target placed at a known distance, typically 25 or 50 yards for initial zeroing. Make sure the target is well-lit and uncluttered so you can clearly see the bullseye or aiming point through your scope.
Avoid shooting in windy or adverse weather conditions, as they can affect bullet trajectory and accuracy. Setting up this controlled environment ensures your adjustments are based on reliable shot placement, making the sight-in process smoother and more effective.
Fire a Group and Check Your Initial Shot Placement
Now that you’re set up, pick a clear target to fire a group of shots. Pay close attention to your shot patterns to see where they’re landing.
This will help you make the right adjustments for better accuracy.
Choosing The Right Target
How do you pick the right target to begin sighting in your rifle scope? Choosing an appropriate target is essential to accurately assess your initial shot placement. Here’s what to take into account:
- Size: Start with a target that’s large enough to easily see bullet impacts, like a standard 8-inch bullseye.
- Contrast: Use targets with high contrast colors—black on white or bright orange—to quickly identify your shots.
- Distance Markings: Select a target that has clear distance or grid markings. This helps you measure adjustments without guessing.
- Material: Opt for paper or cardboard targets that show holes clearly, making it easier to evaluate where your shots land.
Analyzing Shot Group Patterns
After setting up your target, the next step is to fire a group of shots to see where they land on the target. Aim carefully, and shoot at least three to five rounds without changing your scope settings. This group will give you a clear picture of your rifle’s initial accuracy and the scope’s current zero.
When you examine the shot group, look for how tightly the rounds cluster together—this indicates consistency in your shooting. Also, note where the group centers on the target relative to your aiming point. This initial placement shows whether you’re hitting left, right, high, or low.
Understanding this pattern is essential before making any adjustments, as it guarantees you know exactly how your scope and rifle are performing together from the start.
Adjusting For Initial Placement
Once you’ve fired your initial group and noted where the shots landed, it’s time to adjust your scope to bring your point of impact closer to your point of aim. This step is essential for accuracy and confidence in your shooting.
Follow these steps to adjust for initial placement:
- Determine the distance between your group’s center and your aiming point, both vertically and horizontally.
- Use your scope’s turrets to make the necessary adjustments—turn the elevation turret for vertical shifts and the windage turret for horizontal shifts.
- Adjust in small increments, usually in clicks specified by your scope (e.g., 1/4 MOA per click).
- Fire another group to verify your adjustments and continue fine-tuning until your shots consistently hit the target where you aim.
Adjust Windage and Elevation on Your Leupold Scope
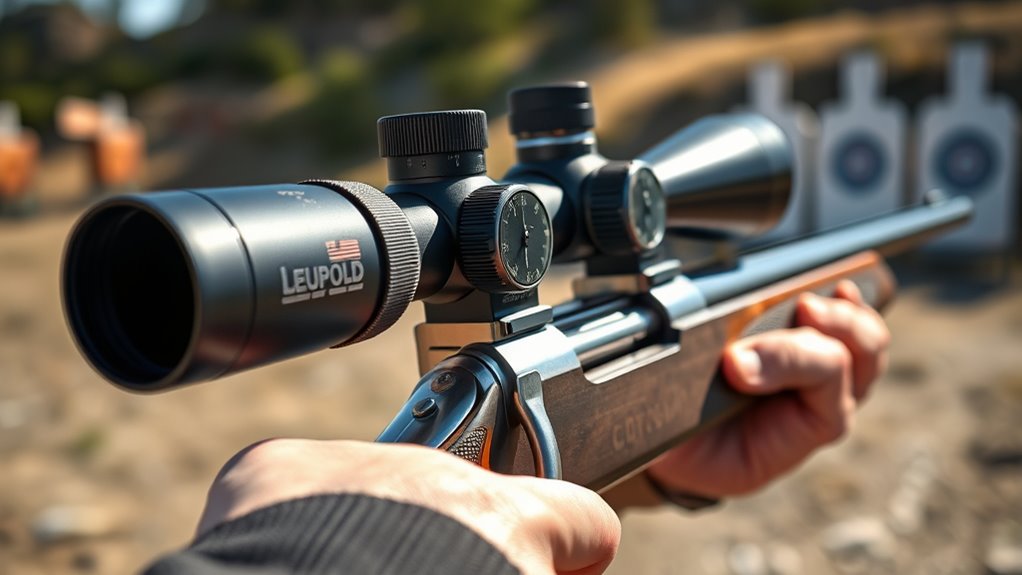
Now that you’ve seen where your shots land, it’s time to adjust the windage and elevation on your Leupold scope.
You’ll use the windage knob to move the reticle left or right and the elevation dial to move it up or down. Fine-tuning these settings will help you zero in on perfect accuracy.
Understanding Windage Adjustment
Although you’ve already zeroed in your scope for elevation, adjusting windage is equally important to guarantee your shots land accurately left or right. Windage adjustment compensates for horizontal bullet drift caused by wind or slight misalignment of your scope.
Here’s how to handle it:
- Identify the direction your shots are consistently grouping—left or right of the target.
- Use the windage turret on your Leupold scope, typically located on the side, to move the reticle in the opposite direction of the shot group.
- Make small adjustments, usually in 1/4 MOA increments, then fire another group to check changes.
- Repeat until your shots consistently hit the center of the target, ensuring accurate horizontal alignment.
Elevation Dial Calibration
After fine-tuning your windage to correct horizontal alignment, it’s important to focus on elevation adjustments to guarantee your shots hit the target at the right height. Start by zeroing in at a known distance, usually 100 yards. Look through your Leupold scope and note where your bullet impacts vertically compared to the bullseye.
Use the elevation dial, typically located on top of the scope, to make precise adjustments. Turn the dial in the direction needed—up if your shots are hitting low, down if they’re too high. Each click usually corresponds to a ¼ MOA change, moving your point of impact roughly ¼ inch at 100 yards.
Take your time making small corrections, then fire a few more rounds to confirm your adjustments before finalizing your zero.
Fine-Tuning for Accuracy
How exactly do you guarantee your shots consistently hit the mark? Fine-tuning your Leupold scope’s windage and elevation adjustments is key. Here’s how to sharpen your accuracy:
- Confirm your initial zero by shooting a group at 100 yards and note the impact point.
- Adjust windage by turning the dial left or right to move the point of impact horizontally.
- Adjust elevation by turning the dial up or down to shift the point of impact vertically.
- Shoot another group to verify adjustments and repeat until your shots consistently land on target.
Confirm Your Leupold Scope Zero at Preferred Distance
Why is it important to verify your Leupold scope zero at your preferred distance? Because this guarantees your scope is accurately aligned with your bullet’s trajectory exactly where you intend to shoot most often. Zeroing at the preferred distance guarantees consistent shot placement, reducing the need for constant adjustments.
After sighting in, shoot a group at your chosen range—say 100 yards—to verify your point of impact. If your shots don’t land close to the bullseye, adjust the windage and elevation turrets accordingly.
Here’s a quick reference for common zero distances:
| Distance (yards) | Typical Use | Adjustment Tip |
|---|---|---|
| 50 | Close-range hunting | Use lower elevation |
| 100 | General shooting | Standard zero distance |
| 200 | Long-range precision | Fine-tune elevation |
Verifying your zero at the preferred distance saves time and builds shooting confidence, ensuring your Leupold scope performs exactly as you expect.
Adapt Your Scope to Shooting Conditions
Though your scope may be perfectly zeroed, you’ll still need to adjust it based on changing shooting conditions like wind, light, and distance. These factors can affect your shot placement, so adapting your scope guarantees accuracy in real-world scenarios.
Even a perfectly zeroed scope needs adjustments for wind, light, and distance to ensure accurate shots.
- Wind Adjustments: Use the windage turret to compensate for crosswinds. Estimate wind speed and direction, then dial your scope accordingly to keep your shot on target.
- Light Conditions: Bright sunlight or low light can change how you see your reticle and target. Adjust the brightness or switch to an illuminated reticle if your Leupold scope has one.
- Distance Changes: If you’re shooting beyond your zero range, use the elevation turret to compensate for bullet drop at longer distances.
- Environmental Factors: Consider temperature and humidity, as they can slightly influence bullet trajectory, requiring minor scope tweaks.
Secure Your Leupold Scope and Check Mount Tightness
Before you start fine-tuning your scope, make sure it’s securely mounted on your rifle. A loose scope can cause inconsistent shots and frustration. Begin by checking that the rings and bases are properly aligned and tightened to the manufacturer’s recommended torque settings.
Avoid overtightening, which can damage your scope or mounts. Use a torque wrench if you have one to ensure accuracy.
Next, verify that the scope itself is firmly seated in the rings without any movement. Gently try to twist or wiggle the scope—if it shifts, you’ll need to adjust the mounting and retighten the screws. Don’t forget to check the recoil lug or any anti-rotation features your mount may have, as these help maintain stability under recoil.
Once everything feels solid, you’re ready to proceed with sighting in your Leupold scope confidently, knowing it won’t shift during shooting. Secure mounting is key to consistent accuracy.
Keep Your Scope Accurate With Simple Maintenance
Even the best scope won’t stay accurate if you neglect basic upkeep. Keeping your Leupold scope in top shape ensures consistent performance and accuracy every time you take a shot. Here’s how you can maintain it simply and effectively:
- Clean the lenses regularly – Use a microfiber cloth and lens cleaner designed for optics to avoid scratches and keep your sight picture clear.
- Check and tighten mounts – Vibration and recoil can loosen mounts over time, so ensure screws and rings are secure before every trip.
- Protect from moisture – Store your scope in a dry place and use covers in wet conditions to prevent fogging and internal damage.
- Inspect for damage – Regularly look for dents, cracks, or loose parts that could affect accuracy and address issues promptly.
Frequently Asked Questions
How Do I Choose the Right Leupold Scope Model for My Rifle?
You’ll want to think about your rifle type, shooting distance, and purpose. Think about magnification, reticle style, and durability.
Leupold offers models for hunting, tactical, and long-range shooting, so pick one matching your specific needs.
What Is the Warranty Policy on Leupold Rifle Scopes?
Imagine your scope fails after years of use—Leupold’s warranty covers it for life, no questions asked.
You’ll get repairs or replacements, ensuring your gear stays reliable without extra cost or hassle.
Can I Use My Leupold Scope for Night Hunting?
You can use your Leupold scope for night hunting, but you’ll want a model with illuminated reticles or compatible night vision features. Otherwise, it might be tough to see targets clearly in low-light conditions.
How Do I Clean the Lenses Without Damaging Coatings?
You should use a soft brush or air blower to remove loose dirt, then gently wipe lenses with a microfiber cloth. Avoid harsh chemicals or rough materials to protect the coatings and keep your scope crystal clear.
Are There Specific Accessories Recommended for Leupold Scopes?
You might think accessories aren’t necessary, but Leupold recommends lens covers, scope rings, and bubble levels to protect your scope and improve accuracy.
These small additions can make a big difference in performance and durability.
Conclusion
Sighting in your Leupold rifle scope is like tuning a fine instrument—each step sharpens your accuracy and confidence. By preparing your rifle, choosing the right ammo, and adjusting carefully, you’ll hit your target with ease.
Remember to maintain your scope and check your mounts regularly, so your setup stays reliable shot after shot. With patience and practice, your Leupold scope will become an extension of your skill, guiding every bullet true.
Consistent maintenance and proper adjustments are key when you sight in a Leupold rifle scope. This ensures your scope remains accurate and dependable in every shooting situation. Following these steps will help you master your Leupold scope and improve your shooting precision.