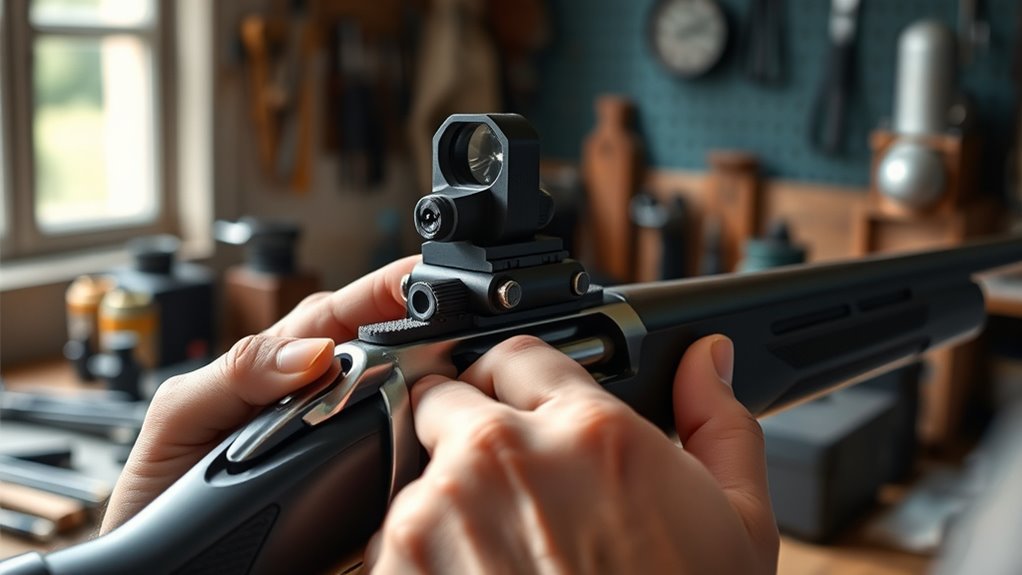
How to Adjust a Peep Sight in 7 Easy Steps
To adjust your peep sight effectively, follow these seven easy steps to ensure accuracy and comfort in your shooting. The peep sight is a crucial component on your bowstring, and aligning it properly with your dominant eye at your anchor point enhances your aim and consistency. Mastering peep sight adjustment can significantly improve your archery performance.
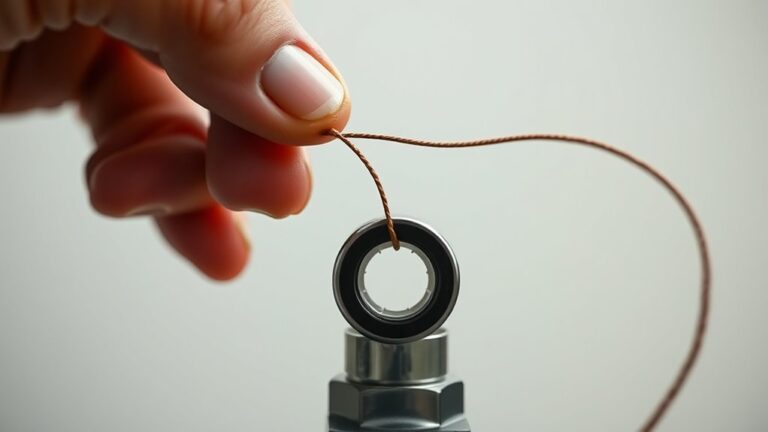
First, locate the peep sight on your bowstring and check its alignment with your dominant eye. Loosen the screws carefully to slide it up or down to a comfortable height.
Next, rotate the sight to achieve perfect alignment.
Center the aperture using the bowstring as your guide. Adjust windage by sliding the sight side to side until it’s precisely positioned.
Once aligned, securely tighten all screws to hold the sight in place.
Finally, test your shots to evaluate accuracy. Make small tweaks as needed to fine-tune your adjustment.
With practice, you’ll master peep sight adjustments for consistent, accurate shooting.
Key Takeaways
- Align the peep sight on the bowstring with your dominant eye for a clear, centered sight picture at full draw.
- Loosen screws to adjust peep sight height and rotation for a comfortable, repeatable anchor point.
- Center the bowstring inside the peep aperture by twisting the sight slightly while drawn.
- Adjust windage by sliding the peep sight left or right, testing arrow impact after each change.
- Shoot test groups, make fine adjustments, and securely tighten all screws to maintain consistent accuracy.
Locate and Align Your Peep Sight
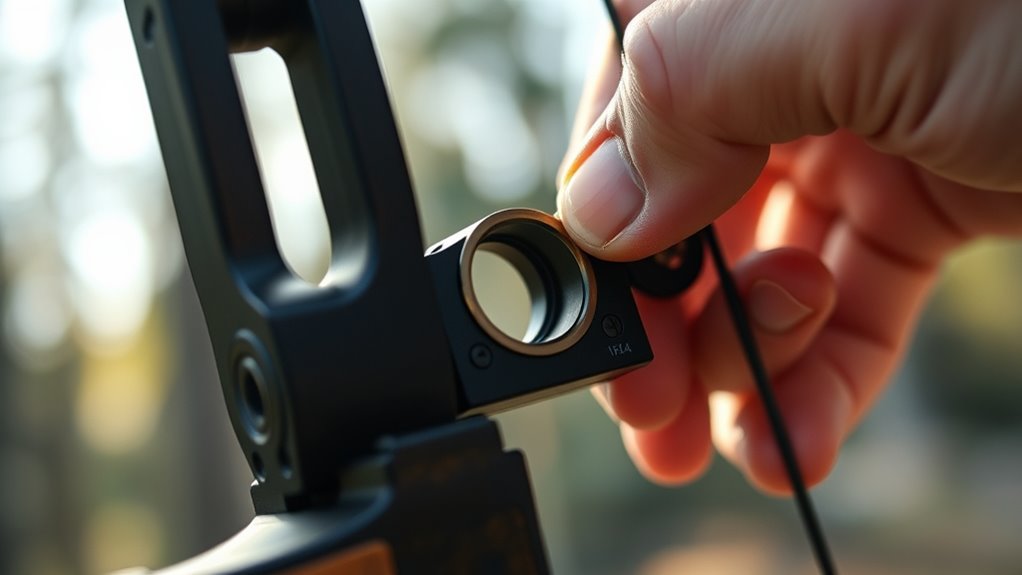
Before you can make any adjustments, you need to locate your peep sight on your bowstring and verify it’s properly aligned with your eye. Start by drawing your bow to your anchor point as you normally would. Look through the peep sight with your dominant eye and check if the sight ring is centered and clear.
If it’s off-center or hard to see, you’ll have trouble aiming accurately. Make certain that the peep sight is positioned so you can comfortably see through it without shifting your head or eye position. The string should pass directly through the center of the peep sight, and the sight ring should frame your target area clearly.
If you notice any twisting or misalignment of the peep sight on the string, address that first by rotating or repositioning it before moving on to height adjustments. Proper initial alignment is vital for consistent shooting and effective peep sight use.
Adjust Peep Sight Height for Proper Eye Position
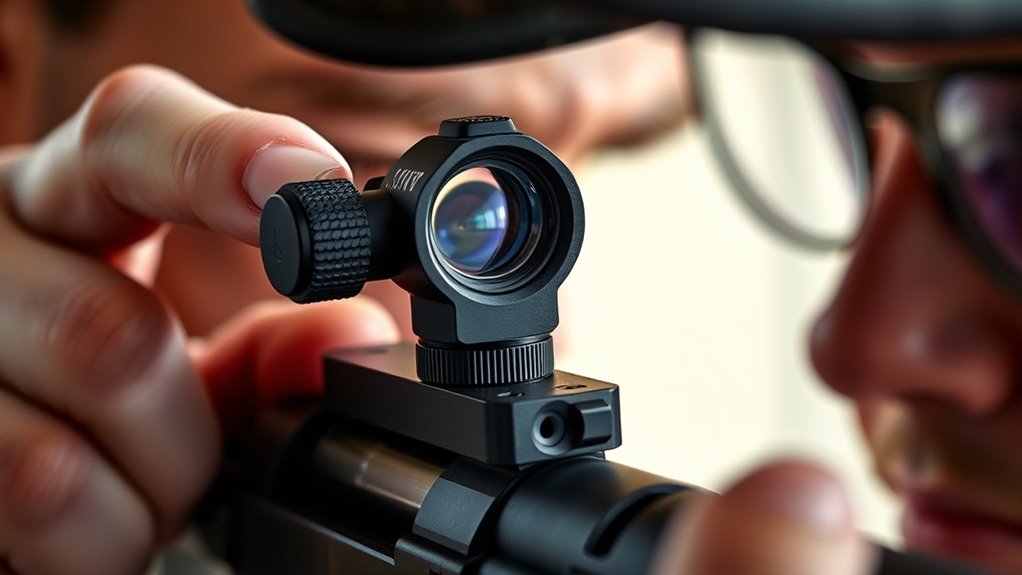
Once you’ve confirmed your peep sight is properly aligned, you’ll need to adjust its height to guarantee your eye naturally looks through the center of the sight ring when you draw your bow. Start by drawing your bow to your full anchor point and observe where your eye aligns relative to the peep sight.
If your eye is too high or low, loosen the peep sight’s mounting screws just enough to slide it up or down along the bowstring. Make small adjustments, then draw again to check your eye position. Aim for a comfortable, repeatable anchor point where your eye consistently peers through the center of the peep ring, ensuring a clear, unobstructed view of your front sight or target.
Once you achieve this, securely tighten the screws without overdoing it, to hold the peep sight firmly in place. Proper height adjustment minimizes parallax and improves accuracy, so take your time getting it right.
Rotate Your Peep Sight to Fit Your Anchor Point
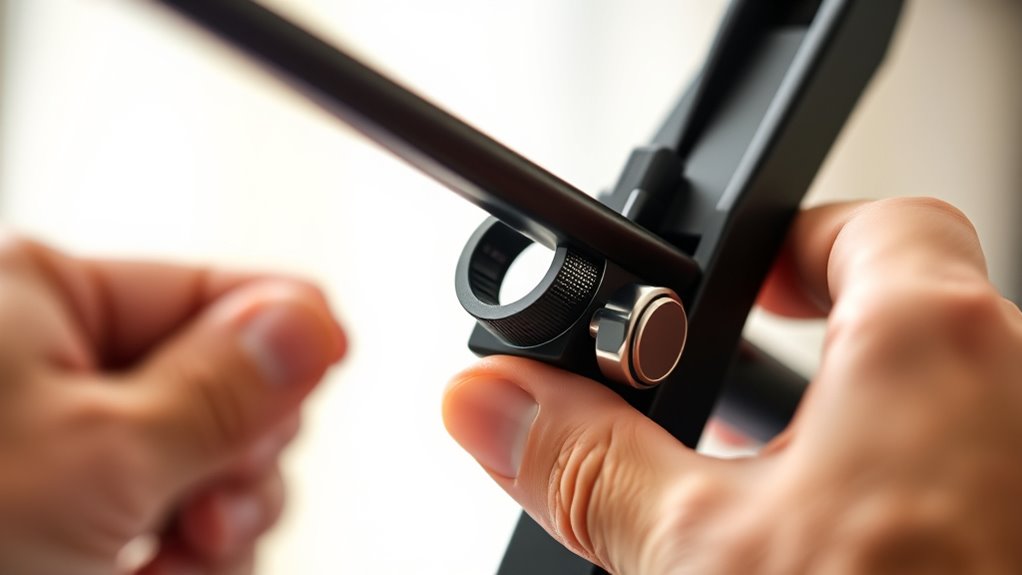
Although adjusting the height is essential, rotating your peep sight guarantees it aligns perfectly with your unique anchor point. Once the sight is at the correct vertical position, you’ll notice that the aperture may not sit squarely when you draw your bow. This misalignment can throw off your sight picture and affect accuracy.
To fix this, gently rotate the peep sight clockwise or counterclockwise until the aperture matches your exact anchor point. Make small adjustments and draw your bow repeatedly to check the alignment. The goal is to have the aperture perfectly centered in your field of vision when you reach full draw, ensuring a consistent sight picture every time.
Avoid over-rotating; subtle tweaks usually do the trick. Once you find the right rotation, tighten the screws securely to maintain that position. Properly rotating your peep sight helps you shoot more consistently by matching your natural shooting posture.
Center the Peep Sight Aperture Using the Bowstring
When you draw your bow, the peep sight aperture should line up perfectly with the bowstring to give you a clear, consistent view. Centering the peep sight aperture is crucial because any misalignment can cause inconsistent shots or difficulty in aiming.
Aligning the peep sight aperture with the bowstring is essential for clear, consistent aiming and accurate shots.
Here’s how to center the peep sight aperture using the bowstring:
- Draw your bow to your full anchor point and look through the peep sight.
- Observe how the bowstring aligns within the peep aperture. The string should run straight through the center.
- If it’s off-center, adjust the peep sight by twisting it slightly on the bowstring until it’s perfectly aligned.
- Hold the bow at full draw and verify that the peep sight remains centered over multiple draws to ensure consistency.
Proper centering improves your sight picture and helps maintain accuracy shot after shot.
Fine-Tune Windage by Moving the Peep Sight Side to Side
After you’ve centered the peep sight aperture on the bowstring, the next step is to fine-tune the windage by adjusting the peep sight side to side. This adjustment helps align your shot to compensate for any left or right drift caused by wind or your shooting stance.
To do this, slightly loosen the peep sight’s set screw or clip, then gently slide the sight left or right. Make small movements and test shoot to observe changes. Always move in small increments to avoid overcorrecting.
Here’s a quick guide to help you understand the adjustments:
| Direction Moved | Effect on Arrow Impact |
|---|---|
| Move Peep Right | Arrow hits more left |
| Move Peep Left | Arrow hits more right |
| Small Adjustments | More precise windage control |
| Test After Each Move | Ensures correct alignment |
Secure Your Peep Sight Without Changing Its Position
Since you’ve carefully adjusted your peep sight for ideal alignment, you’ll want to secure it firmly without shifting its position. This guarantees consistent accuracy and prevents frustrating readjustments later.
To lock your peep sight in place:
- Tighten Set Screws Gradually: Use a properly sized Allen wrench to tighten each set screw incrementally, alternating between them to maintain alignment.
- Apply Thread Locker: Dab a small amount of medium-strength thread locker on each screw to prevent loosening from recoil or vibration.
- Avoid Over-Tightening: Tighten screws just enough to hold the sight firmly; over-tightening can strip threads or warp components.
- Check for Movement: After tightening, gently wiggle the sight to confirm it’s securely fixed without any play.
Following these steps will keep your peep sight stable, so your aim stays true without the hassle of constant adjustments.
Test and Readjust Your Peep Sight
Although you’ve secured your peep sight carefully, you’ll need to test it in real shooting conditions to guarantee accuracy. Begin by shooting a group of arrows at a standard distance, ideally where you plan to use your bow most often. Observe where your arrows land in relation to your intended target.
Test your peep sight under real conditions by shooting groups at your typical range to ensure accuracy.
If they’re consistently off-center, you’ll need to make adjustments. To fine-tune, adjust the peep sight slightly left, right, up, or down depending on your shot pattern. Remember to make small, incremental changes—usually just a fraction of an inch—then shoot another group to see the effect.
Repeat this process until your arrows cluster tightly where you aim. Keep in mind environmental factors like wind or lighting that may influence your shots. Once you’re satisfied with your grouping, confirm your peep sight remains securely in place.
Regularly recheck and readjust as needed to maintain consistent accuracy over time.
Frequently Asked Questions
What Tools Do I Need to Adjust a Peep Sight?
You’ll need a small screwdriver or Allen wrench, depending on your sight’s screws. Sometimes a punch or peep sight tool helps with fine adjustments.
A stable rest and good lighting will make the process easier for you.
How Often Should I Check My Peep Sight Alignment?
You should check your peep sight alignment regularly, ideally before every shooting session or after any impact or movement.
Consistent checks guarantee accuracy, so don’t skip it, especially if you’ve been adjusting other equipment.
Can Peep Sights Be Used on All Types of Bows?
About 85% of archers prefer peep sights, and yes, you can use them on most bows like compound and recurve. However, traditional longbows often don’t support peep sights due to their design and string setup.
What Is the Ideal Peep Sight Aperture Size?
The ideal peep sight aperture size is usually around 1/8 inch to 3/16 inch. You’ll want one that’s small enough for precision but large enough to see your target clearly, balancing accuracy and visibility.
How Do Weather Conditions Affect Peep Sight Performance?
Weather can mess with your peep sight’s clarity and accuracy. Fog, rain, or bright sunlight can obscure your view or cause glare, so you’ll need to adjust your aim or clean the sight to maintain good performance.
Conclusion
Now that you’ve gently tuned your peep sight, you’re well on your way to a smoother shooting experience. Remember, a little patience and subtle adjustments go a long way in finding that sweet spot. Don’t worry if it’s not perfect right away—think of it as a fun puzzle rather than a chore.
Keep testing and refining your peep sight adjustments regularly. With consistent practice, your aim will improve significantly. Soon, using your peep sight will feel more like second nature than a challenge.
Mastering how to adjust a peep sight is key to enhancing your shooting accuracy. By following these steps and staying patient, you’ll enjoy a more precise and enjoyable shooting experience.