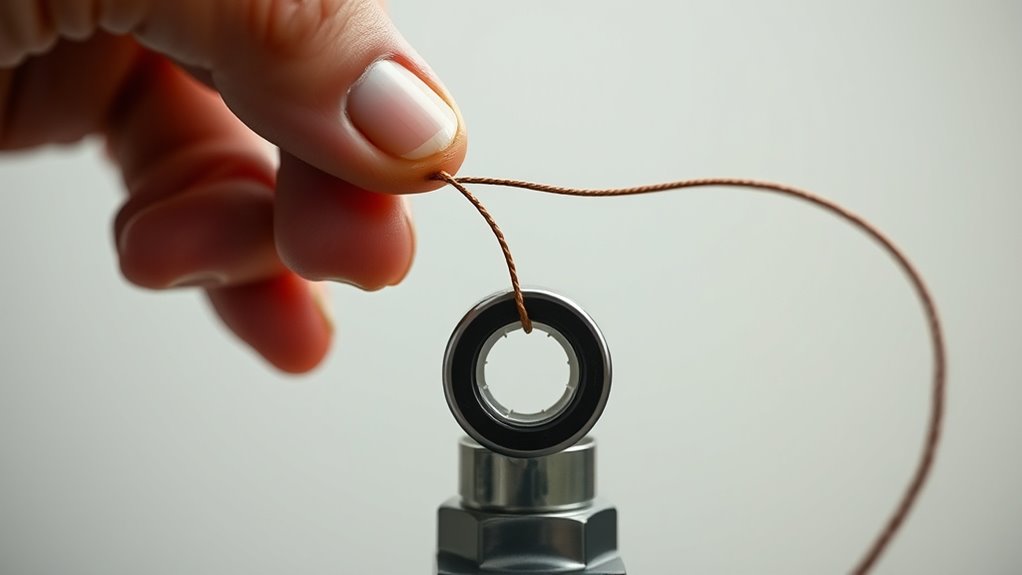
How Do You Tie a Peep Sight in 7 Easy Steps?
To tie a peep sight effectively, it’s important to understand its purpose in enhancing your archery accuracy. A peep sight acts as a small ring on your bowstring, helping you align your shot more precisely.
Before starting, gather essential tools like thread, scissors, and a needle to ensure a smooth installation process.
Next, find the perfect spot on your bowstring by drawing to your anchor point and marking it carefully.
Thread the peep loop onto the string with attention to detail.
Then, tie a secure and adjustable knot by wrapping the thread 2-3 times and tightening it firmly.
Check the alignment by looking through the peep sight, making adjustments as needed for optimal accuracy.
Finally, test your shots to fine-tune the setup, and you’ll be ready for precise aiming.
Discover more tips to perfect your peep sight installation easily.
Key Takeaways
- Slide the peep sight loop gently onto the relaxed bowstring at the desired anchor point.
- Create a loop with serving thread and pass it through the peep sight.
- Wrap the thread tightly around the bowstring and peep sight 2-3 times for security.
- Thread the end back through the last loop, then pull tight to lock the knot in place.
- Trim excess thread and test alignment by drawing the bow and adjusting the peep sight position if needed.
Understand Why You Need a Peep Sight
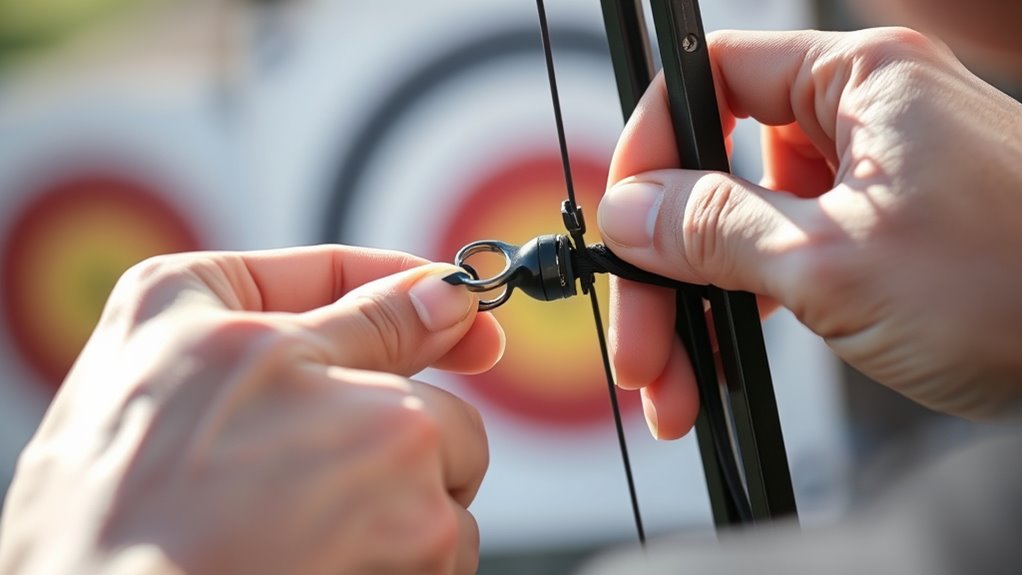
Although you might be used to open sights, a peep sight offers greater accuracy by helping you align your eye directly with the target. When you look through a peep sight, you create a consistent aiming point that reduces parallax error, meaning your shot placement becomes more precise. This is especially important in archery, where small deviations can impact your score or effectiveness.
You’ll also find that peep sights improve your focus by blocking distractions and encouraging proper eye positioning. Using one means you’ll develop better shooting habits, such as consistent anchor points and proper form. Plus, a peep sight works well in various lighting conditions, making it a reliable choice whether you’re practicing or hunting.
Understanding why you need a peep sight sets the foundation for learning how to tie one correctly, ensuring you get the most from your equipment and improve your performance over time.
Gather Tools and Materials for Tying Your Peep Sight
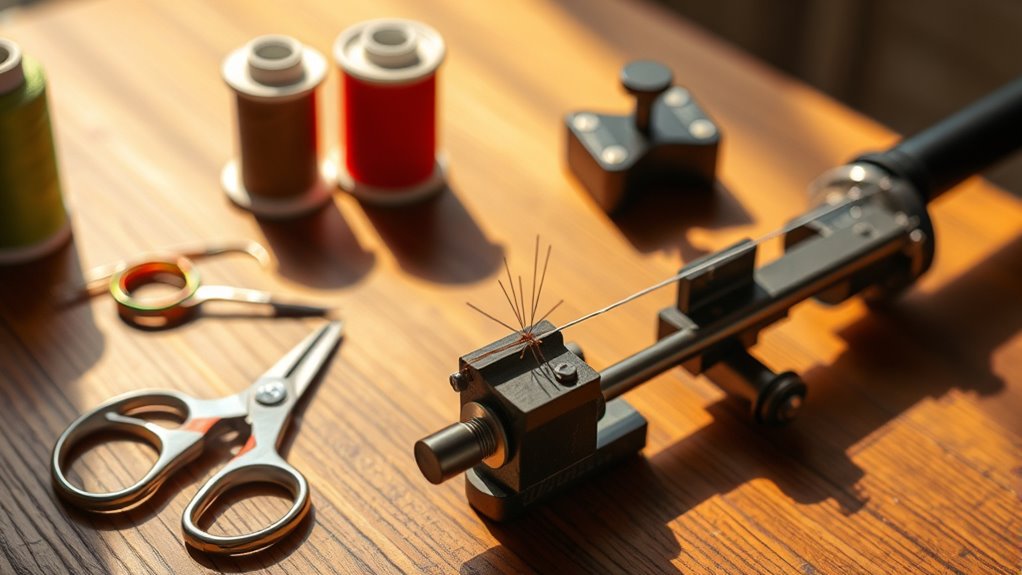
Before you start tying your peep sight, make sure you have all the essential tools ready and choose quality materials for durability. A well-organized workspace will help you work more efficiently and avoid frustration.
Let’s go over what you’ll need to get set up properly.
Essential Tools Checklist
To tie your peep sight effectively, you’ll need to have the right tools and materials on hand. Having everything ready before you start saves time and helps you achieve a secure, clean knot.
Here’s a quick checklist of essential tools you’ll want:
- Peep Sight Ring – The core component that you’ll be attaching.
- High-Quality Thread or Cord – Strong enough to hold the peep sight firmly.
- Small Scissors or Thread Snips – For trimming excess thread neatly.
- Needle or Awl – Useful for guiding thread through tight spots.
Make sure each tool is within reach so you can focus on precision. With these essentials, you’re well-prepared to move on smoothly to the actual tying process.
Selecting Quality Materials
When you’re ready to tie your peep sight, choosing quality materials is vital for a durable and reliable result. Using the right thread, peep sight ring, and adhesives ensures your sight stays put and functions well under different conditions. You want materials that resist wear, moisture, and heat.
Here’s a simple guide to help you pick the best:
| Material | Purpose | Key Feature |
|---|---|---|
| Waxed Thread | Binding peep sight | Strong and water-resistant |
| Peep Sight Ring | Main sight component | Lightweight and durable |
| Super Glue | Securing thread ends | Quick drying and strong |
| Sandpaper | Prepping bow surface | Smooths rough areas |
| Alcohol Wipes | Cleaning surfaces | Removes oils and dirt |
With these materials, you’re set for a solid peep sight installation.
Organizing Workspace Efficiently
Although gathering your tools and materials might seem straightforward, organizing your workspace efficiently can make tying your peep sight much easier and faster. You want everything within reach to avoid unnecessary interruptions.
Start by clearing your work surface to give yourself ample space. Then, arrange your essential items logically. Here’s a quick checklist:
- Place your peep sight and thread where you can grab them easily.
- Keep your tying tools like scissors, bobbins, and tweezers grouped together.
- Use small containers or trays to hold tiny parts securely.
- Have a clean cloth handy to wipe your hands or tools as needed.
Locate the Perfect Peep Sight Spot on Your Bowstring
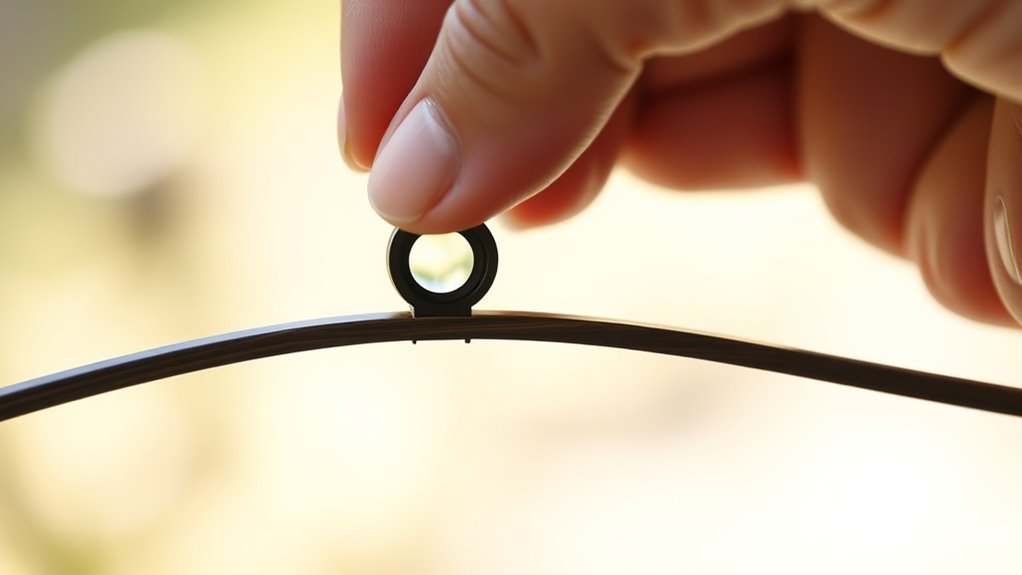
Since the peep sight needs to align perfectly with your eye, you’ll want to find the exact spot on your bowstring where it sits comfortably and provides a clear sight picture. Start by drawing your bow to your usual anchor point, then have a friend hold the bow steady while you look through the string to gauge where your eye naturally aligns.
This spot is your target location for the peep sight.
Consider these factors when choosing the spot:
| Factor | Description | Importance |
|---|---|---|
| Eye Alignment | Position where your eye lines up | Critical for accuracy |
| Comfort | No interference during draw | Ensures consistent use |
| Visibility | Clear, unobstructed sight picture | Essential for aiming |
Carefully Thread the Peep Sight Loop Onto Your Bowstring
Before you thread the peep sight loop onto your bowstring, make sure the bow is relaxed to prevent any damage. This step is essential because a taut bowstring can snap or stretch, compromising both your safety and equipment.
Always relax your bow before threading the peep sight loop to avoid damage and ensure safety.
Once relaxed, take your time to carefully slide the peep sight loop onto the string.
Follow these steps to guarantee smooth threading:
- Hold the peep sight loop firmly but gently to avoid twisting or deforming it.
- Align the loop with the selected spot on your bowstring, keeping it straight.
- Slowly slide the loop onto the string, making sure it doesn’t snag on the fibers.
- Adjust the loop’s position slightly if needed, but don’t force it past any resistance.
Tie a Secure, Adjustable Peep Sight Knot
When you’re ready to secure the peep sight, tying an adjustable knot is key to ensuring it stays in place while allowing fine-tuning for perfect alignment. Start by creating a loop with the serving material around the bowstring where the peep sits. Pass the serving end through the peep sight loop, then wrap it around both the bowstring and the peep loop two to three times.
Make sure these wraps are tight and neat, as this will prevent slipping. Next, thread the serving end back through the last loop you created before pulling it snug. This forms a no-slip knot that’s still adjustable.
You can slide it slightly to position the peep sight, but it won’t move under tension once tightened. Finish by pulling all ends firmly and trimming any excess serving material. This knot balances security and adjustability, giving you a reliable setup without compromising future adjustments.
Check and Adjust the Peep Sight’s Alignment With Your Bow and Arrow
Although you’ve secured the peep sight with a reliable knot, you’ll need to check its alignment carefully to guarantee your shots stay accurate. Proper alignment ensures that when you look through the peep sight, your eye, the sight, and the arrow are perfectly in line. Here’s how to check and adjust it:
Secure the peep sight firmly, then carefully align it to ensure your eye, sight, and arrow are perfectly in line.
- Draw your bow at full draw and look through the peep sight to see if you can clearly align the front sight pin.
- If the peep sight isn’t centered or the view is obstructed, slightly loosen the knot and modify the peep’s position up or down on the bowstring.
- Re-tighten the knot securely, making sure the peep sight doesn’t twist or move out of place.
- Repeat the process until your eye naturally centers the front sight pin when aiming, ensuring consistent and precise shots.
This alignment step is key before moving on to testing your peep sight setup.
Test Your Peep Sight Setup and Fine-Tune as Needed
Now it’s time to test your peep sight setup by taking a few shots to check your alignment.
Pay close attention to where your arrows land and adjust the sight as needed to improve accuracy.
Small tweaks can make a big difference in hitting your target consistently.
Align Sight Properly
How can you be sure your peep sight is perfectly aligned? Proper alignment ensures accuracy and consistency when aiming. To check and align your peep sight, follow these steps:
- Look through your peep sight with both eyes open, focusing on the front sight.
- Adjust your eye position until the front sight is centered in the peep aperture.
- Ensure the top of the front sight is level with the target’s bullseye.
- Confirm your head and bow position remain consistent each time you aim.
If the sight feels off or the front sight isn’t centered, make small adjustments to the peep sight’s position on the bowstring. Repeat this process until your sight picture is clear and consistent for every shot.
Proper alignment sets the foundation for accurate shooting.
Adjust For Accuracy
Once your peep sight is properly aligned, the next step is to test how well it performs in real shooting conditions. Start by taking a few shots at a target from a comfortable distance. Pay close attention to where your arrows or bullets hit relative to the bullseye.
If your shots consistently land off-center, you’ll need to make adjustments. Slightly move the peep sight left or right to correct horizontal errors, or raise and lower it for vertical shifts. Make small changes and test again after each adjustment to avoid overcorrecting.
Frequently Asked Questions
What Is the Best Type of Peep Sight for Beginners?
The best peep sight for you as a beginner is a simple, fixed aperture with a clear, small opening. It’s easy to align, durable, and helps you focus on your target without complicated adjustments or distractions.
How Often Should I Replace My Peep Sight?
You should replace your peep sight when it’s scratched, foggy, or damaged. Check it regularly, clean it carefully, and swap it out yearly or whenever your accuracy drops to keep your shots sharp and consistent.
Can I Use a Peep Sight on a Compound Bow?
Yes, you can use a peep sight on a compound bow. It helps improve your aim by aligning your eye with the front sight, giving you better accuracy.
Just make sure it’s properly installed and adjusted for your setup.
What Materials Are Peep Sights Commonly Made From?
Think of peep sights as tiny windows forged from strength—usually made from durable materials like stainless steel, aluminum, or high-grade plastic. These keep your aim steady, no matter how intense your shooting session gets.
Are There Any Legal Restrictions on Using Peep Sights in Competitions?
Yes, some competitions have rules restricting peep sights based on division or equipment class. You’ll want to check specific event regulations before competing to guarantee your setup complies and avoids disqualification or penalties.
Conclusion
Now that you know how to tie a peep sight in just seven easy steps, you’re set to improve your archery accuracy considerably. Did you know that archers using properly aligned peep sights can increase their shooting precision by up to 30%? By carefully following these steps and fine-tuning your setup, you’ll gain better control and consistency with every shot.
Keep practicing, and you’ll see your skills soar in no time! Remember, mastering the peep sight tie technique is essential for enhancing your aim and overall archery performance. With patience and dedication, your ability to shoot accurately using a peep sight will continue to improve steadily.