How to Make a Gun Holster in 7 Easy Steps
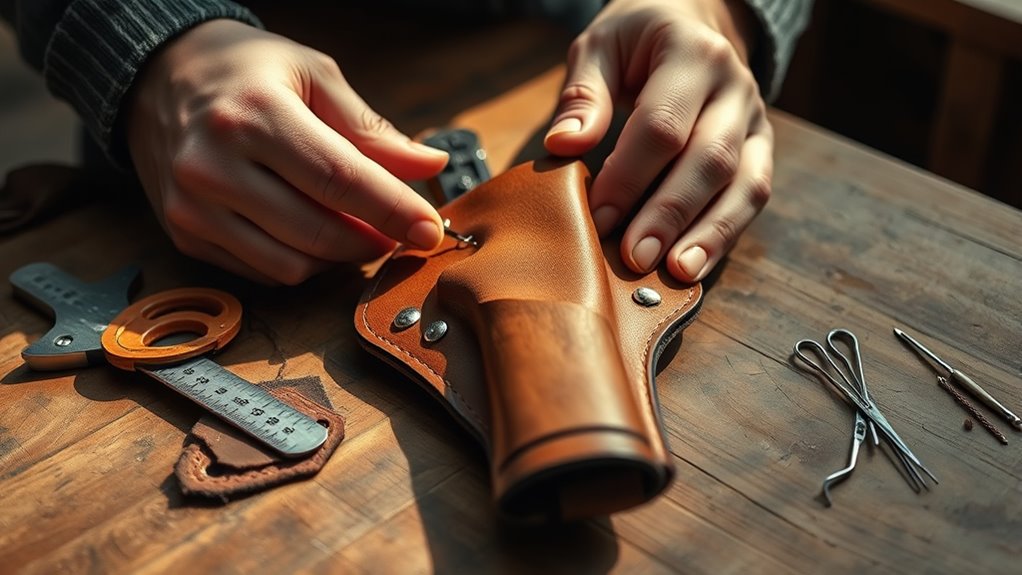
To make a gun holster in seven easy steps, start by gathering durable materials like leather or Kydex, essential for crafting a strong and reliable holster. Measuring your gun carefully is crucial to ensure a perfect fit and secure retention. These initial steps set the foundation for a functional and custom-made holster.
Cut and shape the material to match your firearm’s contours, creating a snug and precise form. Securely assemble the pieces using strong stitching or rivets to enhance durability and longevity. This ensures your holster can withstand regular use.
Mold the holster to your gun and add retention features like snaps or straps for added security. Finish by conditioning and customizing the holster for both durability and style.
Follow these steps closely, and you’ll gain all the details needed to craft a reliable holster.
Key Takeaways
- Measure the gun carefully for length, height, and width to ensure a perfect holster fit.
- Cut and shape durable leather or Kydex to the gun’s outline, smoothing edges for comfort.
- Assemble holster pieces securely using stitching or rivets, reinforcing stress points for durability.
- Mold the holster around the gun with heat or moisture, then add retention features like straps or snaps.
- Finish by conditioning the material, customizing appearance, and inspecting all components for safety and fit.
Gather Materials and Tools for Your Gun Holster
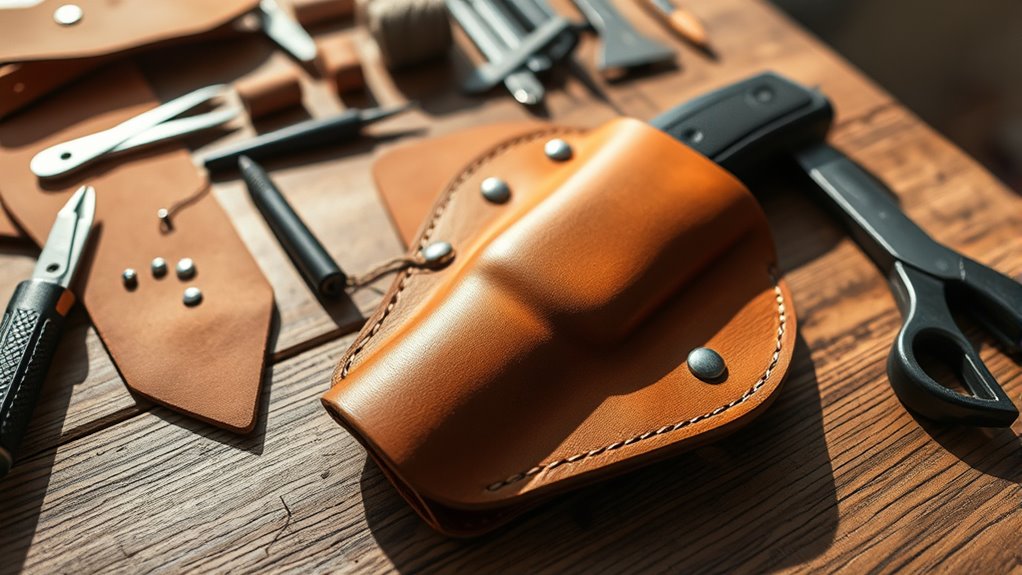
Before you start crafting your gun holster, you’ll need to gather all the necessary materials and tools. First, choose the right material—leather is popular for durability and flexibility, but Kydex offers a rigid, custom fit. Pick a thickness that suits your comfort and style.
Start by selecting durable leather or rigid Kydex in a comfortable thickness for your custom gun holster.
You’ll also need strong thread or rivets for assembly, plus a sturdy needle if you plan to sew by hand or a sewing machine designed for heavy materials. Don’t forget hardware like snaps, belt clips, or loops to secure your holster to your belt.
For tools, a sharp utility knife or rotary cutter helps cut your material precisely. A hole punch or awl is essential for making holes for stitching or rivets. Finally, a ruler, pencil, and possibly templates will keep your design accurate.
Once you have everything ready, you’ll be set to move on confidently to the next step in making your perfect gun holster.
Measure Your Gun to Ensure a Perfect Fit
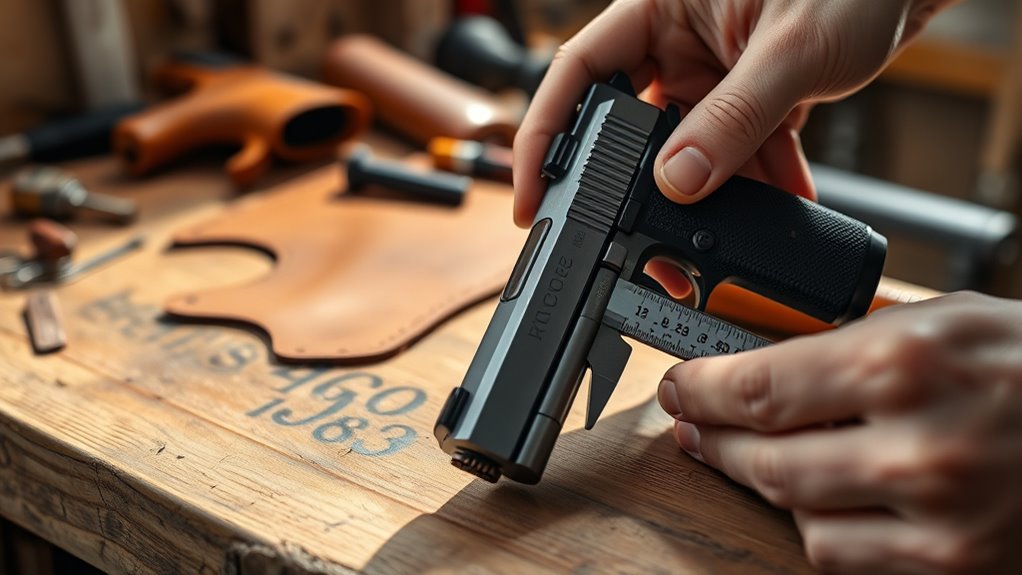
While precise measurements might seem tedious, they’re essential to guarantee your gun holster fits perfectly and securely. Start by measuring the overall length of your gun from the tip of the barrel to the back of the slide. Next, measure the height from the bottom of the grip to the top of the slide.
Don’t forget to measure the width at the widest part, usually the slide or cylinder. Use a caliper or a ruler for accurate results. Record these dimensions carefully since they’ll guide the size and shape of your holster.
Keep in mind that a snug fit prevents your gun from rattling or slipping out, so precision matters. If your gun has any attachments like sights or laser mounts, factor their size into your measurements too. Taking your time here saves you from issues later, ensuring your holster holds your firearm safely and comfortably.
Cut and Shape Leather or Kydex Material to Fit
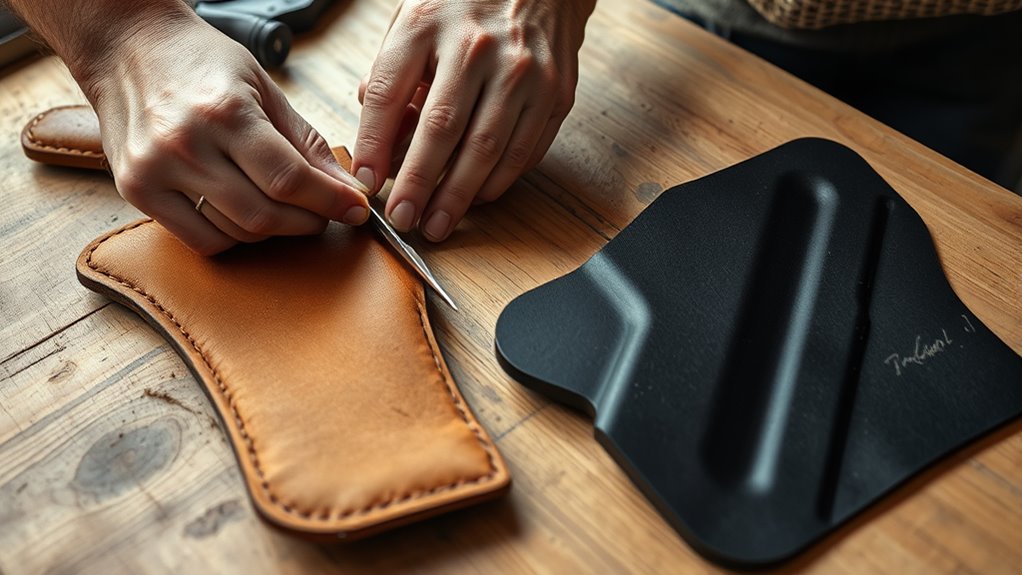
Now that you have accurate measurements, it’s time to cut and shape your leather or Kydex material to match your gun’s dimensions. Start by tracing your gun’s outline onto the material with a fine marker. For leather, use a sharp utility knife or rotary cutter to achieve clean edges.
If you’re working with Kydex, score the outline lightly before heating it to mold precisely around the firearm.
Use the table below to guide your cutting and shaping process:
| Material Type | Cutting Tool | Shaping Method |
|---|---|---|
| Leather | Utility knife, rotary | Wet molding or hand shaping |
| Kydex | Scoring blade | Heat and mold over gun |
| Both | Sandpaper or file | Smooth edges and fit |
Take your time to ensure the edges are smooth and the shape snugly fits your gun. This careful preparation will make assembling your holster easier and ensure a professional finish.
Put Your Holster Pieces Together Securely
Now that you’ve cut and shaped your material, make sure to align the holster pieces carefully. You’ll want to secure them with strong, even stitching to keep everything in place.
Proper alignment and sturdy stitching are key to a durable holster.
Aligning Holster Components
How do you guarantee your holster pieces fit together perfectly? Start by carefully laying out your main components—the front and back pieces—on a flat surface. Make sure the edges align precisely, especially around the trigger guard area and barrel contour.
Use binder clips or small clamps to hold them in place temporarily. Check that the holster’s opening matches the shape of your firearm for a snug fit. Pay attention to any belt loops or attachment points, aligning them so they sit straight and won’t twist when worn.
Double-check measurements before moving forward; even slight misalignment can affect comfort and function. Taking these steps assures your holster will be both secure and comfortable once fully assembled.
Securing With Strong Stitching
Once your holster pieces are perfectly aligned and held firmly, it’s time to join them with strong stitching that guarantees durability and reliability. Use a heavy-duty thread designed for leather or tough fabrics, and select a needle that easily penetrates without damaging the material. Stitch slowly and evenly, making sure each stitch is tight and secure to prevent gaps or weak spots.
Double-stitch stress points, especially around the trigger guard and belt loops, for extra reinforcement. If you’re using a sewing machine, adjust the tension to avoid puckering. Hand stitching with a saddle stitch is also a great option for strength and aesthetics.
Taking your time here ensures your holster will hold up to daily use and keep your firearm safe and accessible.
Mold the Holster to Your Gun’s Contours
Although shaping the holster might seem tricky at first, molding it to fit your gun’s contours guarantees a secure and customized hold. Start by slightly dampening the leather or material if it’s pliable; this helps it soften and form more easily around your firearm. Insert your gun carefully and press the holster firmly against it, making sure to push into every curve and edge.
You want the holster to snugly embrace the gun without being too tight or loose. Hold the gun in place for several minutes, or use clamps or straps if necessary, so the holster retains the shape. If your material is thicker or less flexible, you may need to apply gentle heat with a heat gun or hairdryer while molding, but be cautious not to damage the material.
Once shaped, remove your gun and let the holster dry fully to lock in the contour. This step guarantees a perfect fit, improving both comfort and security.
Add Retention Features to Your Gun Holster for Safety
Now that your holster fits your gun perfectly, it’s time to add retention features to keep it secure. You’ll want to choose from different types of retention, like straps or locking mechanisms, to prevent accidental slips.
Using reliable fastening methods guarantees your gun stays firmly in place when you need it most.
Types Of Retention
How do you guarantee your gun stays securely in place while still being easy to draw when needed? Understanding the types of retention is key.
First, passive retention relies on the holster’s tight fit to hold your firearm firmly. It’s simple but effective for everyday carry.
Next, active retention adds mechanical features like thumb breaks or straps that you manually release before drawing. These offer extra security, especially in dynamic situations.
There’s also friction retention, where the holster grips the gun through pressure, balancing security and quick access.
Ultimately, you have hood or locking retention systems that lock the gun in place until you disengage them. Choosing the right retention type depends on your comfort, safety needs, and how fast you want to access your firearm.
Secure Fastening Methods
When adding retention features to your gun holster, you’ll want to focus on secure fastening methods that keep your firearm safe without slowing your draw. Common options include snap closures, thumb breaks, and adjustable straps. Snap closures provide quick access while ensuring the gun stays in place.
Thumb breaks add an extra layer of security by requiring you to release a strap with your thumb, preventing accidental drops. Adjustable straps let you customize retention tightness for a snug fit. Magnetic closures offer silent and smooth fastening but should be strong enough to hold the firearm securely.
Whichever method you choose, test it thoroughly to make sure it balances safety with accessibility, so you can confidently carry your firearm without compromising on readiness.
Finish and Customize Your Holster
Although your holster is fully assembled, finishing and customizing it will enhance both its appearance and functionality. Start by sanding any rough edges to guarantee a smooth, comfortable feel against your body. Then, apply a leather conditioner or oil to protect the material and give it a polished look.
If you want to add personality, consider stamping or carving designs into the leather. You can also dye the holster in different colors to match your style or gear. For added security, install snaps or adjustable retention straps where needed.
Finally, check all stitching and fasteners to confirm everything’s tight and durable. Customizing your holster this way not only improves comfort and longevity but also guarantees it suits your needs perfectly. Taking these final steps will give you a holster that’s both practical and uniquely yours.
Frequently Asked Questions
Is It Legal to Make Your Own Gun Holster?
Yes, you can usually make your own gun holster, but you’ll need to check local laws since regulations vary by state or country. Make sure it complies with safety and carry requirements to avoid legal issues.
What Types of Guns Are Best Suited for Custom Holsters?
Think of your gun as a trusted steed; compact pistols and revolvers fit custom holsters best, offering snug comfort and quick draw. You’ll want holsters tailored to your firearm’s shape, ensuring security and ease whenever you ride out.
How Do I Maintain and Clean My Handmade Holster?
You should regularly wipe your handmade holster with a damp cloth, avoid soaking it, and apply leather conditioner to keep it supple.
Store it in a cool, dry place to prevent mold and maintain its shape.
Can This Holster Be Used for Concealed Carry?
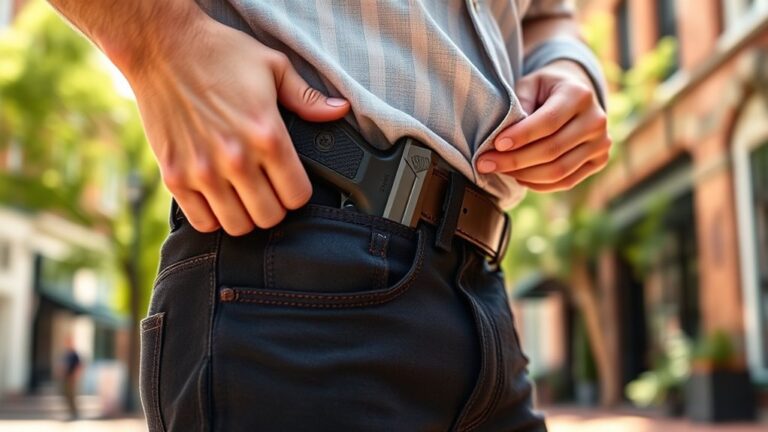
Yes, you can use this holster for concealed carry. Imagine Sarah, who discreetly carries her compact handgun under a jacket; the holster’s slim design keeps it secure and hidden, making it practical and comfortable for everyday use.
How Long Does It Take to Make a Gun Holster?
It usually takes you about 2 to 4 hours to make a gun holster, depending on your skill level and tools. If you’re new, expect it to take longer, but with practice, you’ll speed up considerably.
Conclusion
By following these seven steps, you’ll craft a holster that fits your gun perfectly—and maybe, just maybe, you’ll find that making it also shapes your patience and precision.
It’s funny how something as simple as cutting leather or molding Kydex can teach you about attention to detail and safety, both in your craft and in your carry.
Who knew a DIY holster could hold more than just your firearm? Creating a custom gun holster not only ensures a secure fit but also enhances your confidence in handling and carrying your weapon safely.