How to Shoot With a Red Dot Sight in 7 Easy Steps
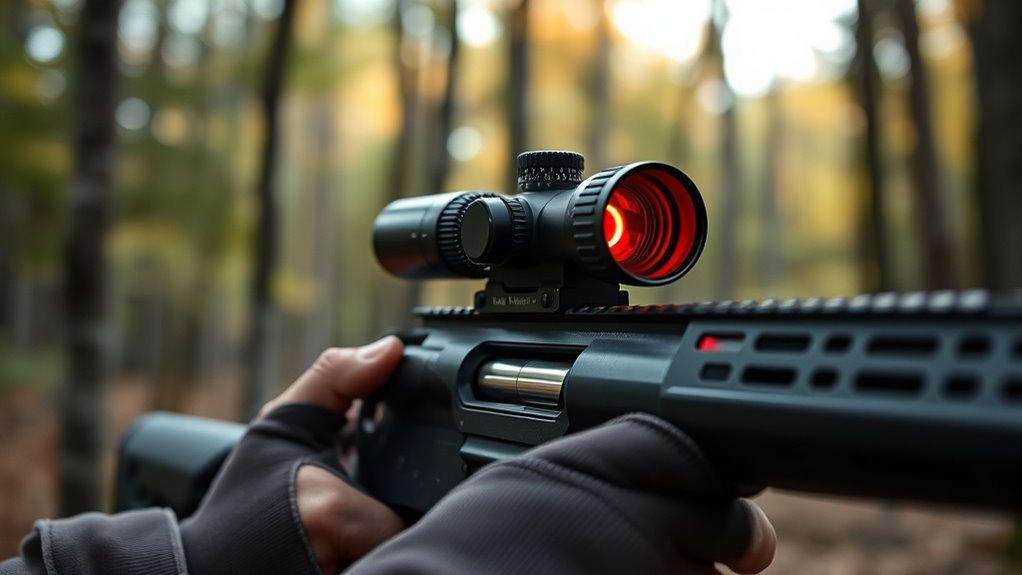
To shoot with a red dot sight effectively, start by selecting a red dot sight that fits your shooting style and budget. Choosing the right red dot sight is crucial for accuracy and ease of use. Once selected, securely mount the sight on your firearm and zero it at close range to ensure precise targeting.
Next, adopt a stable stance and grip your firearm firmly. Keep both eyes open to maintain better situational awareness and depth perception. Align your eye so the red dot is centered and clearly visible.
Focus on the red dot itself rather than the target behind it. Practice smooth trigger control to avoid jerking the shot. Finally, adjust your aim for different distances to enhance your shooting accuracy.
Keep practicing to explore advanced tips for faster, sharper shooting.
Key Takeaways
- Mount and zero the red dot sight securely at 10-15 yards with windage and elevation adjustments for accuracy.
- Adopt a stable stance with feet shoulder-width apart, relaxed arms, and a consistent cheek weld for proper eye alignment.
- Keep both eyes open and position your eye to center the red dot horizontally and vertically in your vision.
- Focus on the red dot, not the target, while maintaining the target in your peripheral vision to speed up aiming.
- Apply steady, slow trigger pressure with consistent finger placement, practicing trigger reset for smooth, controlled follow-up shots.
Why Use a Red Dot Sight for Shooting?
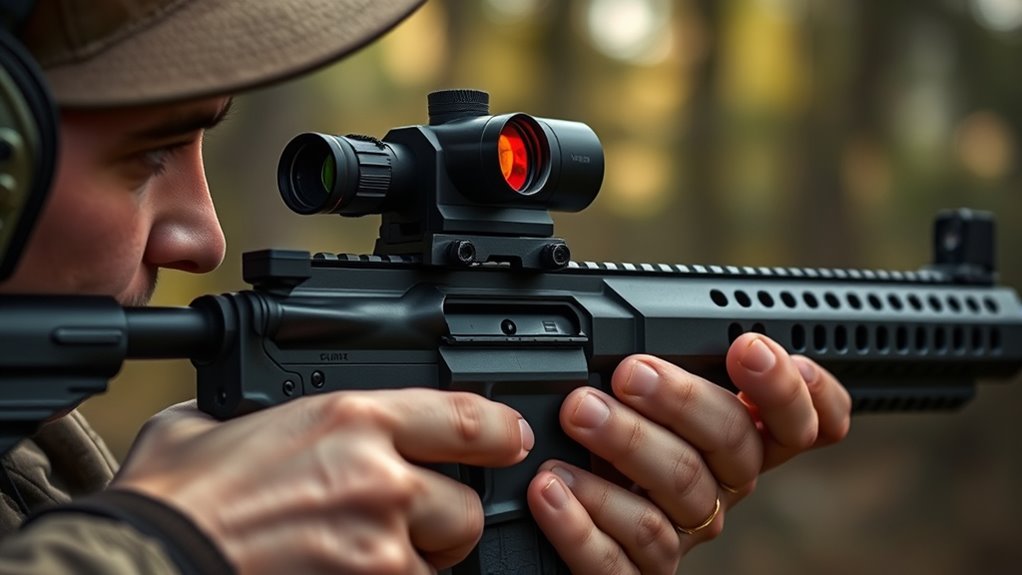
Although you might be used to traditional iron sights, using a red dot sight can greatly improve your shooting accuracy and speed. Unlike iron sights, a red dot sight allows you to focus on your target without having to align multiple sight points. This means you can keep both eyes open, maintain better situational awareness, and engage targets faster.
The illuminated dot provides a clear and precise aiming point, even in low-light conditions, reducing the chance of misalignment or hesitation. You’ll also find that red dot sights minimize parallax error, so the dot stays on target regardless of your eye position behind the sight. This flexibility makes it easier to acquire targets quickly and with confidence.
Pick the Right Red Dot Sight for Your Style and Budget
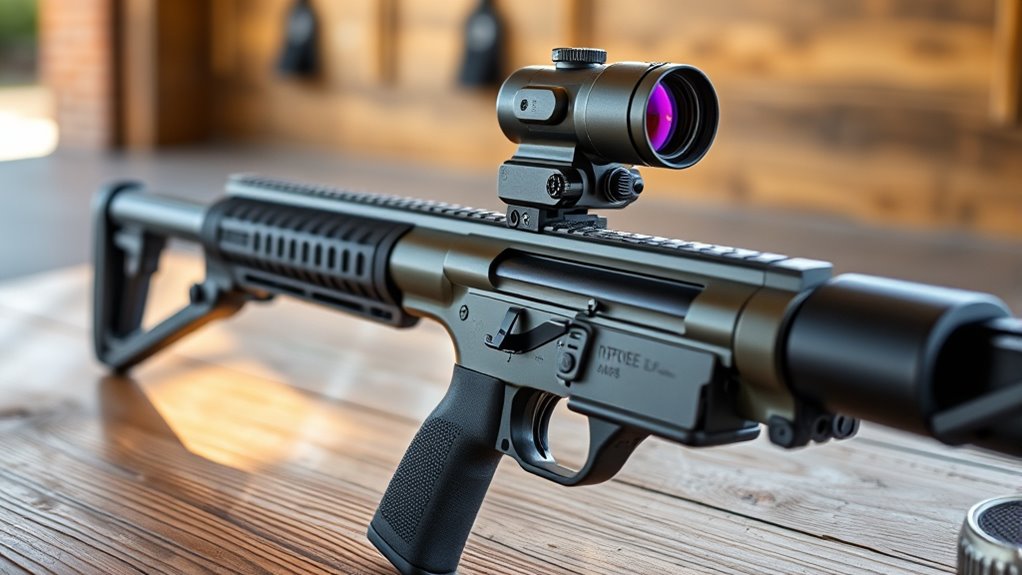
When choosing a red dot sight, consider how you’ll use it and how much you’re willing to spend. Your style and budget will shape the best choice for you.
Here’s a quick guide to help:
- Purpose: Are you shooting for competition, hunting, or home defense? Each use demands different features like dot size, brightness settings, and durability.
- Size and Weight: If you need something lightweight and compact for quick handling, a micro red dot might be best. For long sessions, comfort and balance matter.
- Budget: Entry-level sights offer great value, but higher-end models bring better glass and battery life. Decide what features you can’t compromise on and find a sight that fits your price range.
How to Mount and Zero Your Red Dot Sight
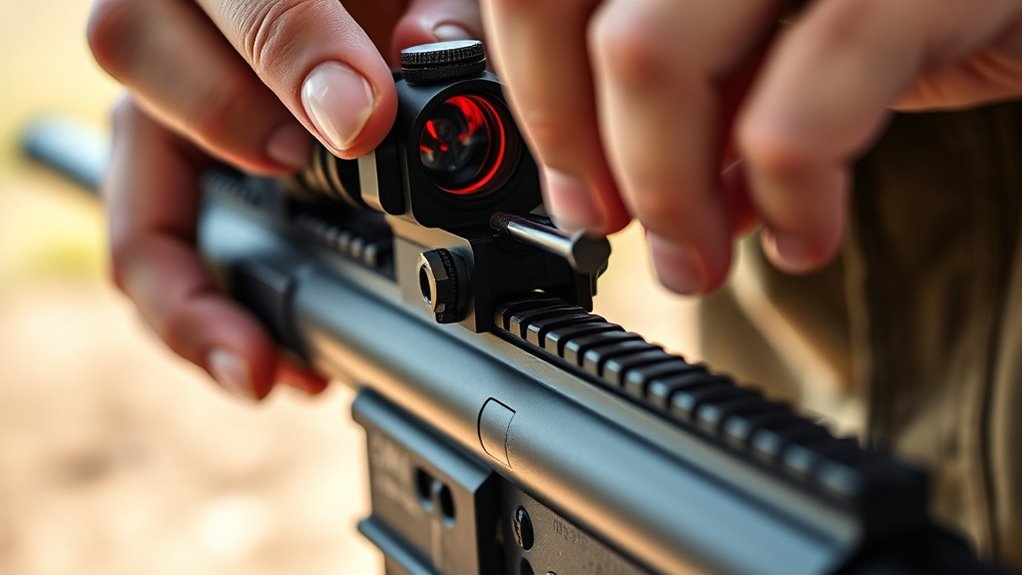
Once you’ve picked a red dot sight that fits your needs and budget, the next step is getting it properly mounted and zeroed. Start by securely attaching the sight to your firearm’s rail system using the included screws or mounting hardware. Make sure it’s firmly in place to prevent any movement during shooting.
Next, you’ll want to zero your red dot sight to ensure accuracy. Begin at a close range, like 10 or 15 yards, and aim at a target’s center. Adjust the windage and elevation turrets on your sight until the dot aligns perfectly with your point of impact.
Use small, deliberate adjustments, firing a few rounds between changes. Once you’re consistently hitting your target’s center at this distance, confirm zero at your preferred shooting range distance. Remember, a properly mounted and zeroed red dot sight drastically improves your shooting precision, so take your time during this process.
Use the Correct Shooting Stance and Grip With Your Red Dot Sight
To maximize your accuracy with a red dot sight, you need to adopt the correct shooting stance and grip. A solid foundation helps you maintain control and steady your aim. Here’s how to get it right:
Mastering your stance and grip is key to steadying your aim with a red dot sight.
- Stance: Stand with your feet shoulder-width apart, knees slightly bent, and weight evenly distributed. This balanced position helps absorb recoil and keeps you steady.
- Grip: Use a firm, consistent grip on your firearm. Your dominant hand should hold the grip firmly but not too tight, while your support hand wraps around the front, providing stability.
- Arm Position: Extend your arms fully but keep them relaxed to reduce muscle fatigue. Locking your elbows can cause shaking; instead, maintain a natural bend.
Align Your Eye and Focus on the Red Dot for Faster Targeting
To shoot quickly with a red dot sight, you need to align your eye perfectly with the sight and keep your focus on the red dot itself. Practicing eye alignment techniques will help you maintain a clear sight picture without wasting time.
Mastering these tips will speed up your targeting and improve your accuracy.
Eye Alignment Techniques
Although it might feel natural to focus on the target itself, you should train your eye to align with and focus on the red dot inside the sight. Proper eye alignment speeds up target acquisition and improves accuracy.
Here’s how to nail it:
- Keep Both Eyes Open: This helps maintain peripheral vision and reduces eye strain, allowing the red dot to naturally appear on your target.
- Position Your Eye at the Correct Distance: Find the sweet spot where the red dot is clear and sharp, typically a few inches behind the sight.
- Center Your Eye Horizontally and Vertically: Align your eye so the red dot sits right in the middle of your vision, avoiding any parallax errors.
Mastering these steps will make your shooting faster and more instinctive.
Red Dot Focus Tips
When you focus directly on the red dot instead of the target, your eyes will naturally lock on faster, making your shots quicker and more accurate. To do this, keep your eye aligned with the sight and concentrate on the dot itself, not the target behind it. The red dot acts as your aiming reference, so trusting it is key.
Avoid shifting your focus back and forth between the dot and the target; this wastes time and reduces precision. Practice maintaining a clear, crisp view of the red dot while keeping the target in your peripheral vision. This technique helps your brain process the aiming point instantly, improving your shooting speed and accuracy without sacrificing control or confidence.
Speeding Up Targeting
How quickly can you align your eye with the red dot and take your shot? Speeding up targeting with a red dot sight comes down to practice and technique. Here’s how to sharpen your skills:
- Keep Both Eyes Open: This maintains peripheral vision and helps you naturally pick up the red dot, speeding up acquisition.
- Position Your Head Consistently: Find a comfortable, repeatable cheek weld so your eye naturally falls in line with the sight.
- Focus on the Red Dot, Not the Target: Your eye should lock onto the dot itself. The target will appear slightly blurred, but this ensures faster and more accurate shots.
Practice Trigger Control With Your Red Dot Sight
Now that you’re aligned with your red dot, focus on practicing smooth trigger pulls to avoid jerking the shot off target. Keep your finger placement consistent for better control and muscle memory.
Don’t forget to manage a controlled trigger reset to prepare for quick follow-up shots.
Smooth Trigger Pull
Although having a red dot sight can improve your aiming speed, you’ll still need a smooth trigger pull to make every shot count. Jerky or rushed pulls can throw off your shot, even if your sight picture is perfect.
To help you master this skill, focus on these three steps:
- Apply steady pressure: Slowly press the trigger straight back without any sudden movements.
- Maintain your sight picture: Don’t let the red dot shift as you pull the trigger; keep your focus steady.
- Practice dry firing: Repeatedly practice trigger pulls without live rounds to build muscle memory and control.
Consistent Finger Placement
Because consistent finger placement directly impacts your trigger control, you’ll want to establish a reliable spot for your finger each time you shoot. Place your index finger on the trigger in the same position every time—typically the pad of your finger, not the joint. This helps guarantee a smooth, straight pull without jerking the weapon.
Avoid letting your finger rest too far forward or too far back, as inconsistent placement can cause you to pull off target. Practice dry firing with your red dot sight to build muscle memory and reinforce this habit. Consistency here will improve your accuracy and make your shots more predictable.
Controlled Trigger Reset
Mastering consistent finger placement sets the foundation for effective trigger control, but learning to manage your trigger reset takes your shooting to the next level. Controlled trigger reset means you don’t have to release the trigger fully before firing again, which speeds up your follow-up shots while maintaining accuracy.
Here’s how to practice it:
- Slowly squeeze the trigger until the shot breaks, then release just enough to feel the reset click.
- Maintain your finger’s position on the trigger without fully letting go, so you’re ready for the next shot.
- Repeat this motion while focusing on keeping the red dot steady on target.
Adjust Your Aim and Technique for Different Shooting Distances
When you adjust your aim and technique for different shooting distances with a red dot sight, you’ll notice your shots become more accurate and consistent. At close range, you can place the red dot directly on your target without worrying about bullet drop. Your focus should be on a steady hold and smooth trigger pull.
As your distance increases, bullet trajectory plays a bigger role, so you’ll need to slightly aim higher than the target to compensate for drop. Practice estimating the distance so you can make these adjustments instinctively. Additionally, your breathing and stance become even more critical at longer ranges to reduce movement.
Frequently Asked Questions
Can Red Dot Sights Be Used in Low-Light Conditions?
Yes, you can use red dot sights in low-light conditions. They often have adjustable brightness settings, so you’ll be able to see the dot clearly without it being too bright or too dim in the dark.
This makes them very effective for use in environments with limited lighting. You can easily adjust the brightness to match the ambient light, ensuring optimal visibility.
Additionally, many models include night vision compatibility, further enhancing their usability in the dark.
How Do Battery Types Affect Red Dot Sight Performance?
Battery types are the heart of your red dot sight’s glow; alkaline lasts shorter, lithium gives longer life and better cold performance, while rechargeable ones save money but need charging. Choose wisely to keep your aim sharp.
Are Red Dot Sights Compatible With Night Vision Devices?
Yes, red dot sights are compatible with night vision devices, but you’ll want to use models specifically designed for NV use. They often have adjustable brightness settings to prevent the dot from overwhelming your night vision.
Using the right model ensures better performance and clarity in low-light conditions. Always check the specifications to confirm NV compatibility. Proper adjustment helps maintain the effectiveness of both devices.
What Maintenance Is Required for a Red Dot Sight?
You’ll want to regularly clean the lens with a microfiber cloth, check the battery and replace it as needed, make sure the sight is securely mounted.
Store it in a dry, safe place to prevent damage or corrosion.
Can Red Dot Sights Be Used on Rifles and Handguns Interchangeably?
Yes, you can use red dot sights on both rifles and handguns, but you’ll want to choose models designed for each. Handgun sights are usually smaller and more rugged to handle recoil and size constraints.
Rifle sights tend to be larger and may offer more features suited for long-range shooting. Selecting the right sight ensures better performance and durability for your specific firearm.
Conclusion
Now that you’ve learned the basics, remember—practice makes perfect. Using a red dot sight can dramatically improve your shooting speed and accuracy once you get the hang of it. Keep your stance steady, focus on the dot, and control your trigger pulls.
With time and patience, you’ll hit your targets more consistently. So, don’t rush; take it step by step, and soon you’ll be shooting like a pro. Mastering how to shoot with a red dot sight will enhance your overall marksmanship and confidence.