How to Zero Iron Sights in 10 Essential Steps
To zero your iron sights effectively, start by choosing a proper range and setting up a stable shooting position with safety gear on. Zeroing iron sights is essential for improving shooting accuracy and ensuring your shots consistently hit the target.
Gather essential tools like targets at your desired zero distance before you begin.
Fire controlled test shots, then analyze the impact on the target. Adjust the rear sight for horizontal corrections and the front sight for vertical tweaks. Repeat this process until your shots hit your point of aim consistently.
Keep these steps in mind to fine-tune your accuracy and build confidence on the range. Properly zeroed iron sights can make a significant difference in your shooting performance and overall safety.
Key Takeaways
- Select an appropriate zeroing distance based on your shooting needs, commonly 25, 50, or 100 yards.
- Use a stable rest and consistent shooting position, wearing safety gear and choosing a safe, well-lit range.
- Identify windage and elevation screws and make small, precise adjustments opposite to desired impact shifts.
- Fire controlled test shots at a target sized appropriately for the zeroing distance and observe shot placement.
- Analyze shot groups, adjust sights accordingly, and confirm zero with additional shots for consistent accuracy.
Why Zeroing Your Iron Sights Matters
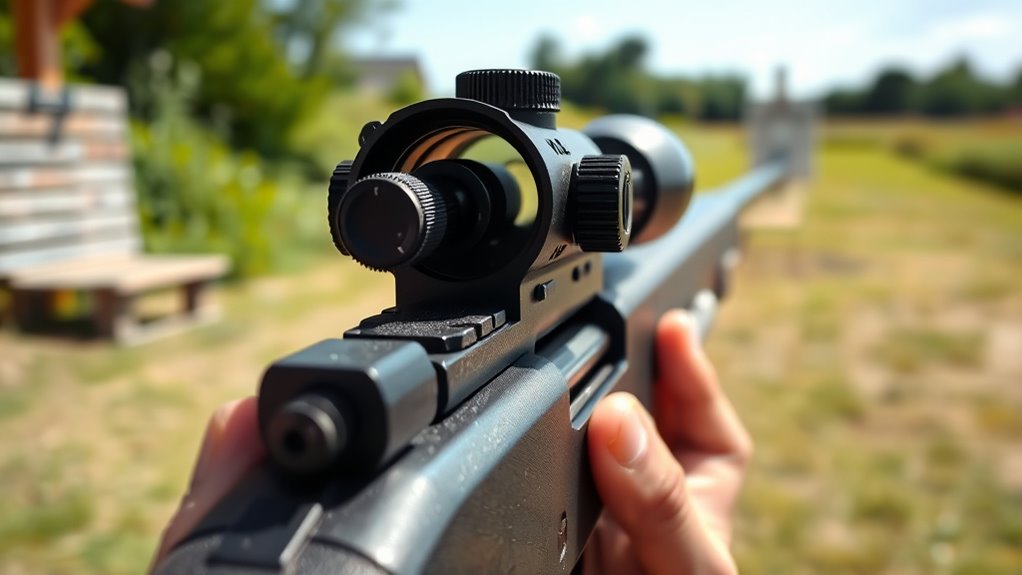
Although iron sights might seem simple, zeroing them is essential because it guarantees your shots hit exactly where you aim. If your sights aren’t properly aligned, you could be consistently off target, which is frustrating and potentially dangerous in critical situations. Zeroing ensures that when you line up your front and rear sights, the bullet will land precisely on your point of impact.
Without proper zeroing, you’re guessing at where your rounds will go, wasting ammunition and time. It also helps you understand how your firearm behaves, compensating for factors like bullet drop and wind drift. Whether you’re sighting in for hunting, competition, or self-defense, a well-zeroed iron sight setup boosts your confidence and accuracy.
Gather the Right Tools for Zeroing Iron Sights
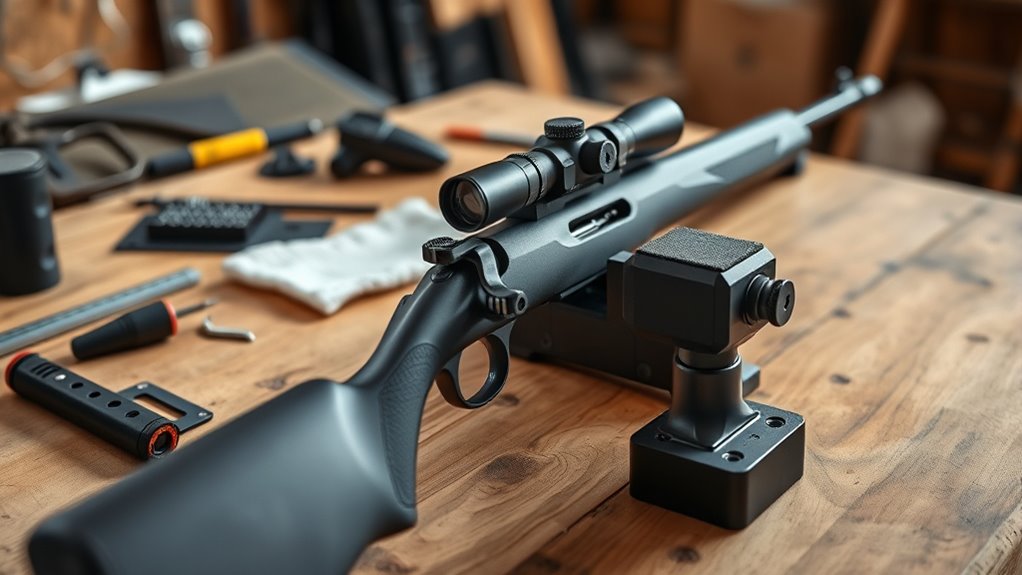
Before you start zeroing your iron sights, you’ll need to gather a few essential tools like a target, a stable rest, and sight adjustment equipment.
Don’t forget safety gear to protect yourself during the process. Having everything ready guarantees a smooth and accurate zeroing session.
Essential Zeroing Tools
When you’re ready to zero your iron sights, having the right tools on hand makes the process much smoother. Here are four essential zeroing tools you’ll need:
- Target – A clearly marked target at your intended zeroing distance helps you see where your shots land.
- Stable Rest or Shooting Bag – This keeps your firearm steady, reducing human error during adjustments.
- Measuring Tape or Rangefinder – Accurate distance measurement ensures your zero is set precisely.
- Marker or Tape – Use this to mark your zero point on your sights or firearm for easy reference.
With these tools, you’ll be prepared to make accurate adjustments and achieve a reliable zero on your iron sights without unnecessary hassle.
Sight Adjustment Equipment
To zero your iron sights effectively, you’ll need the right sight adjustment equipment that lets you make precise changes without guesswork. Start with a reliable sight adjustment tool, such as a sight adjustment wrench or a small screwdriver, depending on your sight’s design. These tools allow you to move the front or rear sight in small increments for fine-tuning.
A sight pusher can be invaluable for front sight adjustments, offering controlled movement without damaging the sight. Additionally, having a stable shooting rest or sandbag helps maintain consistent positioning while you make adjustments. Don’t forget a quality target with clear aiming points to track changes accurately.
Equipped with these tools, you’ll streamline the zeroing process and achieve consistent accuracy with your iron sights.
Safety Gear Requirements
Having the right sight adjustment tools is only part of the process—you’ll also want to gear up properly to keep yourself safe while zeroing your iron sights. Safety gear protects you from potential hazards like flying debris, loud noises, and accidental discharge.
Make sure you have these essentials:
- Eye Protection – Always wear safety glasses to guard against shell casings or debris.
- Ear Protection – Use earplugs or earmuffs to prevent hearing damage from gunfire.
- Proper Clothing – Wear long sleeves and closed-toe shoes to shield your skin.
- Gloves – Optional, but they can protect your hands from sharp edges and hot surfaces.
Learn How to Adjust Your Rifle’s Iron Sights
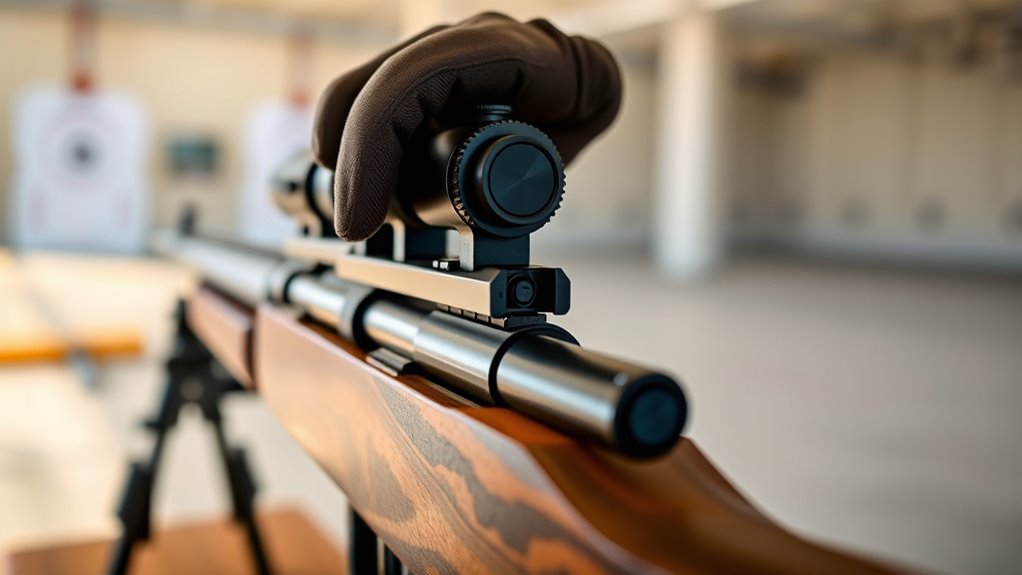
Although zeroing your rifle’s iron sights might seem tricky at first, you’ll find it straightforward once you understand the basic adjustments. Start by identifying your rifle’s windage and elevation screws—typically located on the rear sight. Windage controls left-right movement, while elevation adjusts up-down alignment.
To make adjustments, use a small screwdriver or your fingers, depending on the model. Remember, moving the sight in one direction shifts the point of impact in the opposite direction. For example, if your shot group lands left, adjust the windage screw to the right.
Make small, incremental changes and fire a few rounds between adjustments to track progress. Keep your rifle steady on a rest to ensure consistent results. Once you see your shots aligning with your target’s bullseye, you’ve successfully calibrated your iron sights.
With practice, these adjustments will become second nature, helping you maintain accuracy in any shooting situation.
Pick a Safe Shooting Range With Proper Facilities
Before you start zeroing your iron sights, make sure you choose a shooting range that follows strict safety protocols. Check that the facility has proper amenities like clear target setups and secure shooting lanes. This will help you focus on accuracy without worrying about safety or distractions.
Range Safety Protocols
Where should you zero your iron sights to guarantee both safety and effectiveness? It’s essential to follow strict range safety protocols. First, always wear proper eye and ear protection to prevent injury.
Second, keep your firearm pointed downrange at all times to avoid accidents. Third, clearly communicate with others on the range about when you’re about to shoot or adjust your sights. Fourth, never load your firearm until you’re in the designated shooting area and ready to fire.
These steps minimize risks and confirm everyone’s safety while zeroing your iron sights. Being vigilant about these protocols helps maintain a controlled environment, letting you focus on accuracy without compromising safety. Stay disciplined, and your zeroing session will be successful and secure.
Facility Amenities Check
How do you know if a shooting range is right for zeroing your iron sights? First, check if it offers proper lanes with clear target visibility at your desired distances. You’ll want a range that’s well-maintained, with reliable backstops to guarantee safety.
Look for facilities providing shooting benches or rests to help steady your aim. Access to adjustable target holders can save you time during adjustments. Additionally, consider if the range has good lighting and minimal distractions so you can focus.
Restroom availability and shelter from weather are practical perks that keep you comfortable. Finally, verify the range enforces safety rules and offers assistance if needed. Choosing a facility with these amenities ensures you can zero your iron sights efficiently and safely.
Set a Consistent Shooting Position and Rest
To achieve reliable zeroing of your iron sights, you’ll want to establish a consistent shooting position and rest that minimizes movement and assures repeatable alignment. This foundation guarantees your shots reflect true adjustments rather than positional inconsistencies.
Follow these steps:
- Choose a Stable Position: Whether prone, seated, or standing, pick a stance that feels steady and repeatable every time you shoot.
- Use a Solid Rest: Employ sandbags, a shooting bench, or a bipod to support the firearm, reducing muscle fatigue and sway.
- Maintain Consistent Eye Relief: Keep the same distance between your eye and the rear sight to avoid parallax errors.
- Control Your Breathing and Trigger Pull: Steady your breath and squeeze the trigger smoothly to prevent shifting the firearm during the shot.
Choose a Target at the Correct Iron Sight Zero Distance
You’ll want to pick a target at the ideal zero distance for your iron sights to guarantee accuracy. Consider the size of the target and how environmental factors like lighting or wind might affect your shot.
Choosing the right distance helps you make precise adjustments and improves your overall shooting performance.
Ideal Zero Distance
Where should you place your target when zeroing iron sights? Picking the ideal zero distance ensures accuracy and practical use. Here’s what you should consider:
- Purpose – Match your zero distance to your shooting needs, like close quarters or mid-range.
- Common Distances – Typical zero distances are 25, 50, or 100 yards, depending on your firearm and ammo.
- Trajectory – Choose a distance that minimizes bullet drop within your expected shooting range.
- Visibility – Make sure the target is clearly visible and stable at your chosen distance.
Target Size Considerations
Although selecting the right zero distance is essential, picking an appropriately sized target at that range is just as important. Your target should be large enough for clear sight alignment but not so big that it hides minor point-of-impact errors. Too small, and you risk inconsistent aiming; too large, and you might overlook subtle misalignments.
Consider the target size relative to your iron sights’ sight picture.
| Zero Distance (yards) | Recommended Target Size (inches) |
|---|---|
| 25 | 6-8 |
| 50 | 8-12 |
| 100 | 12-18 |
| 200 | 18-24 |
Choosing the right target size helps you accurately confirm your zero and make necessary sight adjustments effectively.
Environmental Factors Impact
Since environmental factors like wind, light, and weather conditions can influence your shot, it’s crucial to choose a target at the correct iron sight zero distance to minimize their impact. By zeroing at an ideal distance, you reduce the need for constant adjustments caused by changing conditions. When selecting this distance, consider the following:
- Wind Speed and Direction — Choose a distance where wind has less effect on your bullet’s path.
- Lighting Conditions — Aim for a range where your sights are clearly visible in current light.
- Temperature and Humidity — Account for how these affect bullet trajectory at various distances.
- Terrain and Obstacles — Ensure your line of sight is clear to avoid interference.
Focusing on these factors helps you maintain accuracy despite environmental challenges.
Fire Test Shots to Check Point of Impact
How do you know if your iron sights are properly zeroed? The key step is to fire test shots and observe where the bullets hit relative to your aiming point. Set up a target at your intended zeroing distance, take a stable shooting position, and aim carefully using your iron sights.
Fire a controlled shot or a small group of shots, maintaining consistent technique. After firing, examine the target to see if your point of impact aligns with your point of aim. This direct feedback tells you whether your sights are correctly adjusted or if further tweaking is necessary.
Be sure to note the vertical and horizontal placement of your hits so you can make precise adjustments later.
Analyze Shot Group to Identify Needed Adjustments
Once you’ve fired your test shots, take a close look at the group’s pattern on the target to determine which adjustments are needed. Your goal is to understand how far and in which direction your shots are off from the intended point of aim.
Here’s how to analyze effectively:
- Identify the center of the group: Find the average location of all bullet holes to see where your shots are clustering.
- Compare to your point of aim: Note the distance and direction between the group center and your aiming point.
- Assess vertical displacement: Determine if your shots are hitting above or below the target center.
- Assess horizontal displacement: Check if your shots are left or right of the target center.
Adjust Rear and Front Iron Sights for Accuracy
Although adjusting iron sights can seem tricky at first, you’ll find it straightforward once you understand the basic principles. Start by focusing on the rear sight, which usually controls horizontal adjustments (windage). If your shots are landing left of your target, move the rear sight to the right; if they’re right, move it left.
Most iron sights have clicks or screws—each click shifts your point of impact by a certain amount, so note how much you adjust.
Next, adjust the front sight post for vertical corrections (elevation). If your shots are hitting low, raise the front sight by turning it clockwise; if high, lower it by turning counterclockwise. Be gentle and make small adjustments to avoid overcompensating.
Always make one adjustment at a time, then shoot a group to see the effects. This methodical approach ensures you calibrate your iron sights efficiently and accurately, improving your shooting precision step by step.
Confirm Your Iron Sight Zero at Different Distances
After adjusting your rear and front sights for basic accuracy, it’s important to verify your zero at various distances to guarantee consistent performance. Different ranges can reveal discrepancies that aren’t obvious at your initial zero distance.
Here’s how to confirm your iron sight zero effectively:
- Start Close: Begin at a short distance, like 10 yards, to ensure your sights are aligned and the point of impact matches the point of aim.
- Increase Range Gradually: Move out to intermediate distances—25 or 50 yards—to check for bullet drop or drift. Adjust as necessary.
- Test Maximum Effective Range: Confirm your zero at the longest practical distance for your firearm, ensuring the point of impact stays within acceptable variance.
- Record Adjustments: Note any needed sight tweaks at each distance so you can quickly readjust in the field.
Frequently Asked Questions
Can Zeroing Iron Sights Improve Accuracy With Different Ammunition Types?
Yes, zeroing iron sights can improve your accuracy with different ammo types since each round may impact point of impact. Adjusting your sights guarantees your shots stay on target despite variations in bullet trajectory and velocity.
How Often Should I Re-Zero My Iron Sights After Extensive Shooting?
You’ll want to check your iron sights after every spirited session or when switching ammo types. Frequent adjustments keep your aim true, ensuring your shooting experience stays smooth and rewarding without unexpected surprises downrange.
What Are Common Mistakes Beginners Make When Zeroing Iron Sights?
You often forget to stabilize your shooting position, don’t confirm your target distance, and rush adjustments.
Also, you might ignore environmental factors like wind or fail to consistently use the same ammunition, affecting zero accuracy.
Can Environmental Factors Like Wind Affect Iron Sight Zeroing?
Absolutely, wind can shift your shot like a leaf in a breeze. I once missed a target by inches on a calm day but struggled on windy days, proving you’ve got to factor in those gusts when zeroing your iron sights.
Is It Necessary to Zero Iron Sights on Every Firearm I Own?
You don’t have to zero every firearm, but it’s wise to calibrate each one you plan to shoot accurately. Different guns may have unique sight alignments, so zeroing ensures you hit your target consistently.
Zeroing helps you adjust for any variations in sights or ammunition. It improves your confidence and accuracy when shooting. Taking the time to zero each firearm can make a significant difference.
Conclusion
Zeroing your iron sights isn’t just a task—it’s the key to unlocking true accuracy. When you take the time to adjust and confirm your sights, you’re not just aiming; you’re commanding precision with every shot. Remember, each small tweak brings you closer to perfection, turning your rifle into an extension of your will.
So, don’t rush—zero your sights right, and let your shots speak louder than words ever could. Mastering this process ensures every shot counts, making your iron sights a reliable tool in any situation. Follow these 10 essential steps to confidently zero your iron sights and elevate your shooting performance.