How to Install Glock Sights in 7 Easy Steps
To install Glock sights in 7 easy steps, start by gathering the proper tools such as a sight pusher, punches, and a small hammer. Having the right Glock sight installation tools is essential for a smooth and safe process. Proper preparation ensures your new sights fit perfectly and function accurately.
Safely remove the old sights by gently heating the slide. This softens any adhesive and makes removal easier without damaging the slide.
Next, clean and prep the mounting area thoroughly to ensure a secure fit for the new sights.
Then, align the new sights carefully, making sure they are centered and level. Use the right tools to secure them firmly, checking for solid seating.
Finally, test and fine-tune the alignment to guarantee accuracy. Keep following for detailed tips on perfecting the job.
Key Takeaways
- Secure the Glock slide in a padded vise and gently heat it with a heat gun for 1-2 minutes to ease sight removal.
- Use a brass or nylon punch to carefully tap out the old rear and front sights without damaging the slide.
- Clean the slide thoroughly with a nylon brush and alcohol, ensuring it is dry and free of debris before new sight installation.
- Align the new front sight centered in the rear notch, level with the slide, and use a sight pusher tool for precise seating.
- Test-fire at 10 yards, adjust sights for accuracy, apply thread locker to screws if needed, and confirm secure, proper alignment.
Gather Tools for Glock Sight Installation

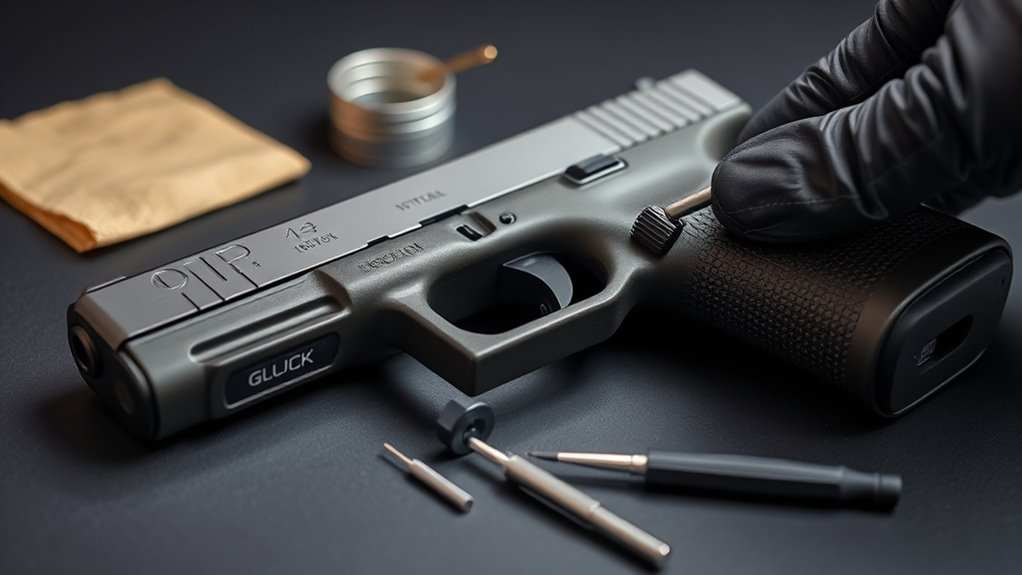
Before you begin installing Glock sights, you’ll need to gather a few essential tools to guarantee a smooth process. First, you’ll want a sight pusher tool designed specifically for Glock sights. This tool makes the job easier and prevents damage to the gun.
Next, have a brass or nylon punch handy for minor adjustments without scratching the slide. A small hammer or mallet will help with the punch, but use it gently. You’ll also need a quality set of screwdrivers or an Allen wrench, depending on your sight model, to tighten any screws securely.
Don’t forget a cleaning brush or cloth to clear debris from the slide before installation. Finally, having some blue thread locker is a good idea to keep screws from loosening over time. With these tools prepared, you’ll be set to install your Glock sights efficiently and safely.
Safely Remove Old Glock Sights
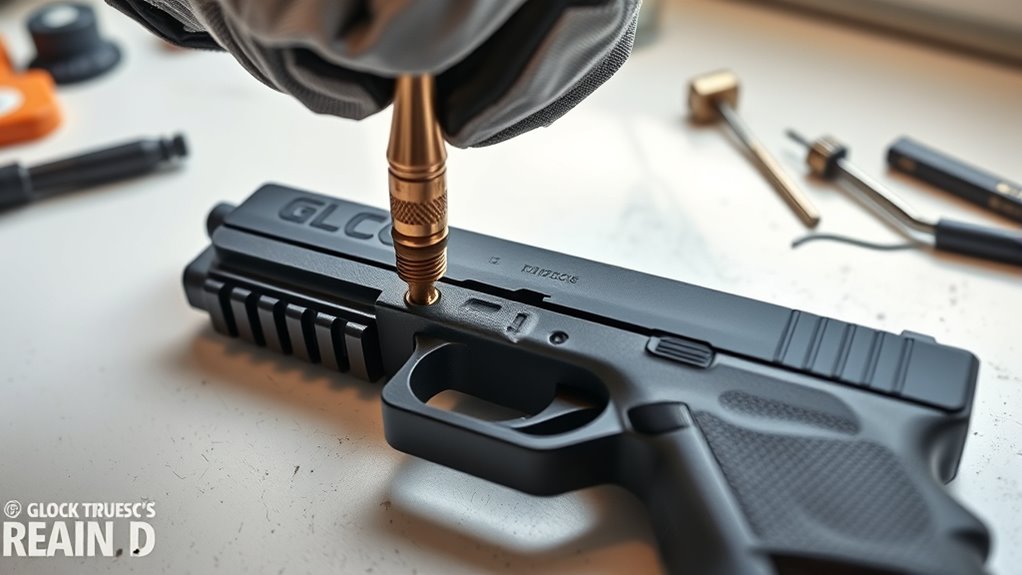
Before installing new sights, you’ll need the right tools to safely remove the old ones without damaging your Glock. Knowing the proper removal techniques will make the process smoother and protect your firearm.
Let’s go over what you’ll need and how to get those sights off safely.
Tools Needed
While removing old Glock sights might seem straightforward, having the right tools guarantees you do it safely and without damaging your firearm. First, you’ll need a sight pusher tool designed specifically for Glock sights; this guarantees controlled pressure and prevents scratches. A small brass or nylon punch is helpful if you prefer tapping the sights out gently.
You’ll also want a non-marring hammer to avoid damaging metal surfaces. Safety glasses are essential to protect your eyes from debris or accidental tool slips. Additionally, a good-quality cleaning cloth and some gun oil will help keep parts clean during the process.
Having these tools ready before starting will make the removal smoother and reduce the risk of damaging your Glock’s slide or sight components.
Removal Techniques
Having the right tools on hand makes removing your old Glock sights a much smoother process. First, secure your Glock in a padded vise or use a non-marring surface to protect the slide. Heat the slide gently with a heat gun or hairdryer for about 1-2 minutes to soften the sight adhesive.
Be careful not to overheat. Use a brass punch or nylon drift punch to tap the rear sight forward carefully. Avoid metal tools that can damage the slide.
For the front sight, use a sight pusher tool or carefully tap it upward from the bottom if accessible. Always work slowly and apply steady, controlled pressure to prevent chipping or scratching the slide. Once removed, clean any residue left behind before installing new sights.
Clean and Prep the Sight Mounting Area
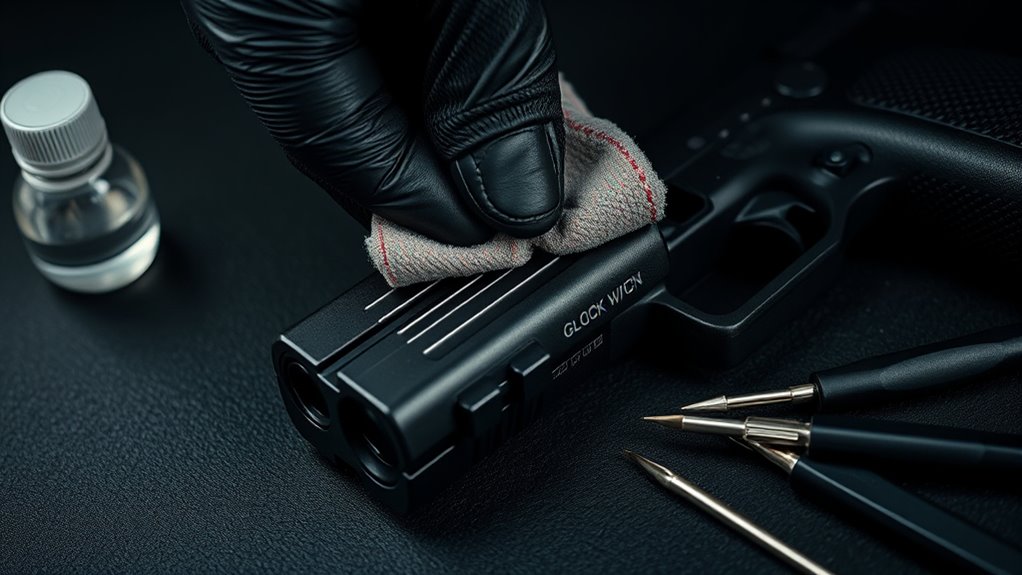
Since a clean surface guarantees proper sight alignment and adhesion, you’ll want to thoroughly clean and prep the sight mounting area before installation. Any dirt, oil, or residue left behind can affect how securely your new sights fit and might cause shifting or misalignment.
A clean surface ensures proper sight alignment and secure fit, preventing shifting and misalignment during installation.
Here’s how to get the area ready:
- Remove Residue: Use a nylon brush or a clean cloth with some isopropyl alcohol to scrub away old lubricant, dirt, and debris. Avoid harsh chemicals that can damage the surface.
- Dry Completely: Make sure the area is completely dry before proceeding. Moisture can interfere with the sight’s fit and any adhesives you might use.
- Inspect the Surface: Check for any nicks or damage on the mounting area. If you find any, gently smooth them out with fine sandpaper or a file to ensure a flush fit.
Taking these steps sets a solid foundation for installing your new Glock sights correctly and firmly.
Align Your New Glock Sights Correctly
Now that your Glock sights are prepped, it’s essential to align them properly for accurate shooting. You’ll want to focus on sight alignment basics to guarantee the front and rear sights line up perfectly. Small adjustments can make a big difference in hitting your target consistently.
Sight Alignment Basics
How do you guarantee your new Glock sights are properly aligned for accurate shooting? Start by understanding sight alignment basics—it’s essential for hitting your target consistently.
Here’s what to focus on:
- Front Sight Placement: Center the front sight post in the rear sight notch. The top of the front sight should be level with the rear sight’s top edge.
- Equal Light Bars: Ensure equal amounts of light are visible on both sides of the front sight within the rear notch. This balances your aim.
- Consistent Eye Focus: Always focus on the front sight, not the target or rear sight. This sharp focus helps maintain proper alignment.
Mastering these basics sets the foundation for precise shooting, making sure your Glock performs at its best every time you draw.
Adjusting For Accuracy
Although installing your Glock sights correctly is crucial, you’ll need to fine-tune their alignment to guarantee pinpoint accuracy. Start by taking a few test shots at a target from a consistent distance, like 10 yards. Observe where your shots land relative to your intended point of impact.
If shots group consistently off-center, adjust the rear sight left or right to correct horizontal alignment. To fix vertical discrepancies, move the rear sight up or down accordingly. Use a sight adjustment tool or a small punch to make precise movements in small increments.
After each adjustment, fire additional test shots to confirm improvement. Repeat this process until your point of aim matches your point of impact. This careful calibration ensures your Glock sights perform reliably when it counts.
Secure New Sights Using the Right Tools
Before securing your new Glock sights, make sure you have the proper tools on hand to avoid damaging the components or misaligning the sights. Using the right tools guarantees a secure fit and preserves the integrity of your firearm.
Having the right tools ensures a secure fit and protects your Glock sights from damage.
Here are the essential tools you’ll need:
- Sight Pusher Tool – This specialized tool allows you to apply even pressure to slide the sights into place without scratching or bending them.
- Non-Marring Hammer or Nylon Punch – Use these to gently tap the sights if needed, avoiding metal-on-metal contact that could damage the sights or slide.
- Thread Locker (Optional) – A small dab on the sight screws can prevent loosening from recoil but use sparingly to allow future adjustments.
Take your time securing the sights, double-checking that they’re seated properly before moving on. Using these tools correctly will give you a solid installation and prevent costly mistakes.
Check and Adjust Glock Sight Alignment
Once the new sights are secured, you’ll want to check their alignment to guarantee accuracy when aiming. Start by aiming at a target from a stable position, focusing on the front sight. If your shots group off-center, your sights might need correction.
Use a sight pusher or a non-marring punch to gently tap the sights left, right, up, or down, depending on the shot placement. Remember to make small adjustments and recheck alignment frequently.
| Issue | Adjustment Direction |
|---|---|
| Shots left | Tap front sight right |
| Shots right | Tap front sight left |
| Shots high | Tap rear sight down |
| Shots low | Tap rear sight up |
| Shots centered | No adjustment needed |
Keep testing until your point of aim matches your point of impact. Proper alignment ensures your Glock shoots where you intend every time.
Clean and Maintain Your Glock Sights for Longevity
After ensuring your Glock sights are properly aligned, keeping them clean and well-maintained will help preserve their accuracy and durability. Dirt, grime, and moisture can affect sight performance, so regular care is essential. Here’s how you can maintain your Glock sights effectively:
- Clean Gently: Use a soft brush or microfiber cloth to remove debris. Avoid harsh chemicals; instead, opt for mild soap and water or a gun-safe cleaner.
- Inspect for Damage: Regularly check for scratches, chips, or loose parts. Damaged sights should be repaired or replaced promptly to maintain accuracy.
- Apply a Protective Coating: Lightly coat your sights with a rust-preventive oil, especially after exposure to moisture, to prevent corrosion.
Frequently Asked Questions
Are Glock Sights Compatible With All Glock Models?
No, Glock sights aren’t compatible with all models since different generations and variations have unique slide cuts. You’ll need to check your specific model to make certain the sights fit properly before buying or installing them.
Can I Install Night Sights Without Special Equipment?
You can install night sights without special equipment, but it’s tricky. Using a punch and hammer carefully works, but a sight pusher tool makes the process safer and easier, reducing the risk of damaging your Glock’s slide.
How Often Should I Replace My Glock Sights?
You should replace your Glock sights when they look worn or faded, much like old streetlights dimming at dusk. Usually, every 2-3 years keeps your aim sharp and your target clear, especially with frequent use.
Are There Legal Restrictions on Glock Sight Modifications?
You generally won’t face legal restrictions on Glock sight modifications, but it depends on your local laws. Always check state and federal regulations before changing sights, especially if they have features like tritium or lasers.
What Are the Best Brands for Glock Replacement Sights?
When hunting for the best Glock sights, you’ll want brands like Trijicon, AmeriGlo, and Meprolight—they’re the shining stars in the night sky of replacement sights, offering durability and crisp aiming for every shooter.
Conclusion
Now that you’ve successfully swapped and secured your sights, savor the satisfaction of sharper shooting. Staying steady and sure, you’ve simplified sight setup with savvy steps.
Remember, regular cleaning and careful checks will keep your Glock glowing and geared for greatness. By balancing precision with patience, you’ll boost both your confidence and capability.
So, stick to these simple strategies, and your Glock sights installation will serve you smoothly, shot after shot! Proper Glock sight installation is key to improving accuracy and enhancing your shooting experience.