How to Make a Homemade Gun Safe in 7 Easy Steps
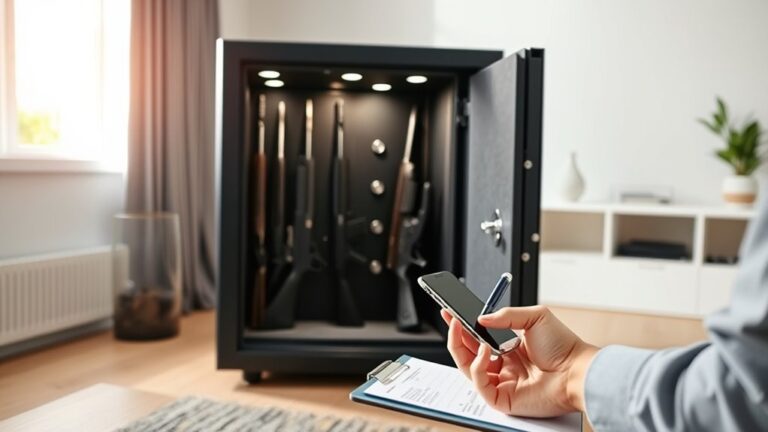
To make a homemade gun safe in seven easy steps, start by selecting a discreet, dry location with strong floor support to ensure stability and security.
Gather sturdy materials such as thick steel or hardwood, which are essential for durability and protection. Building a solid frame with reinforced corners will enhance the safe’s strength and resistance to tampering.
Next, install reliable mechanical or electronic locks to keep your firearms securely stored.
Line the interior with fire-resistant insulation to protect against heat damage in case of fire.
Testing the security features thoroughly ensures your safe functions as intended.
Finally, maintain and upgrade hinges and locks regularly to preserve their effectiveness. Keep moisture and environmental damage in check to prevent rust and deterioration.
Follow these guidelines closely, and you’ll uncover tips for enhanced safety and lasting durability.
Key Takeaways
- Select a discreet, dry, and well-ventilated location with strong floor and wall support for safe placement.
- Construct the safe using thick steel sheets, heavy-duty hinges, and reinforced corners for maximum strength.
- Install a reliable mechanical or electronic lock with solid steel bolts and test for smooth, secure operation.
- Line the interior with fireproof insulation, and use desiccants to prevent moisture and corrosion inside.
- Regularly inspect, lubricate, and maintain hinges, locks, and seals to ensure long-term security and durability.
Choose the Best Location for Your Homemade Gun Safe
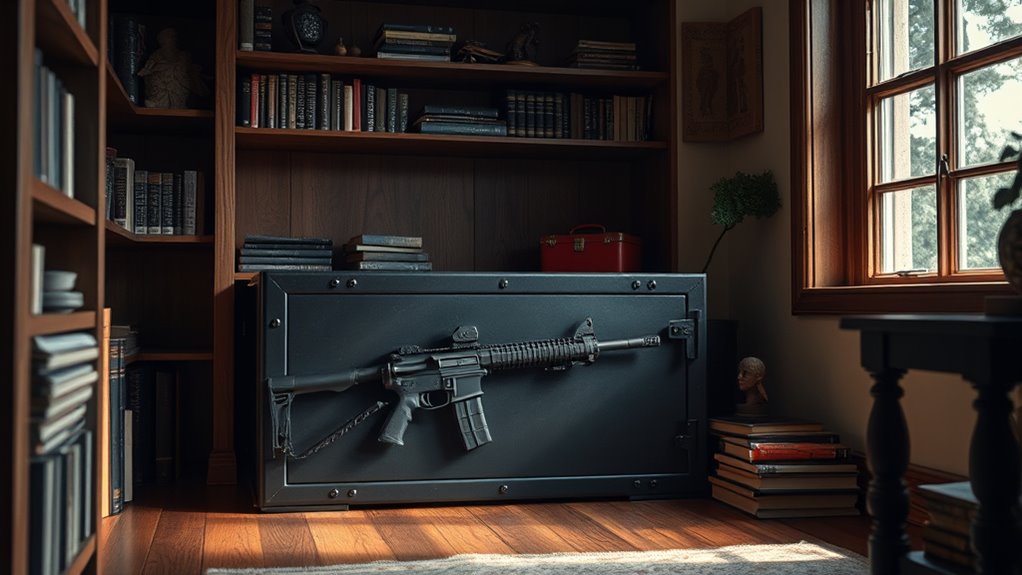
Where should you place your homemade gun safe to keep your firearms secure and accessible? You’ll want a spot that balances safety with convenience. Ideally, choose a location that’s discreet yet easy for you to reach quickly in an emergency.
Avoid obvious places like bedrooms or living rooms where intruders might look first. Instead, consider hidden corners, closets, or even a basement area that’s dry and well-ventilated to prevent rust or damage to your firearms. Make sure the floor or wall you pick can support the safe’s weight reliably.
Also, avoid areas prone to moisture or extreme temperatures, as these conditions can harm your guns over time. Accessibility is key, so ensure you can get to your safe without hassle but keep it out of reach from kids or unauthorized people. Taking time to select the right location sets the foundation for a secure and functional homemade gun safe.
Gather Materials and Tools for Your Gun Safe Build
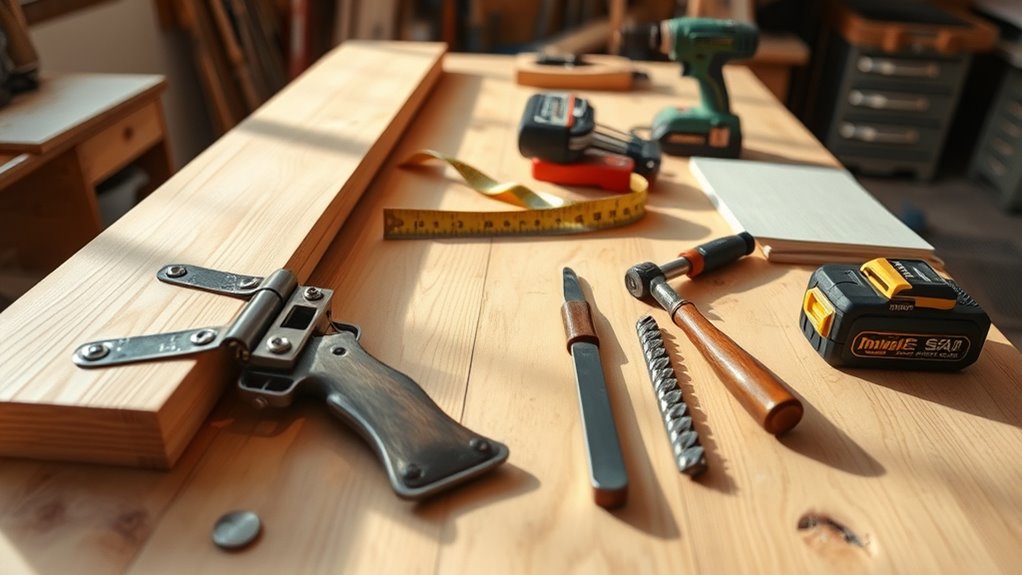
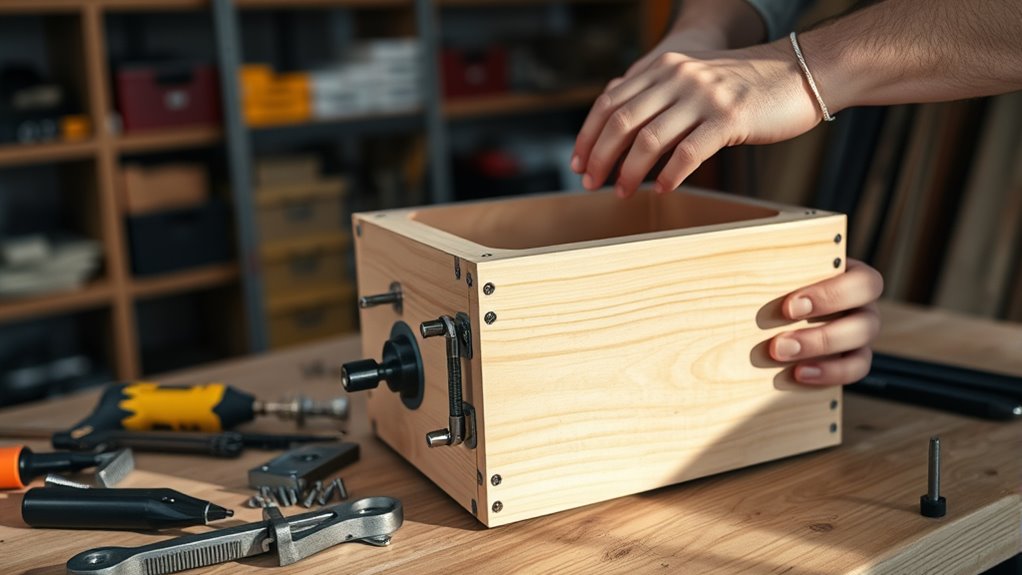
Once you’ve picked the perfect spot for your gun safe, it’s time to gather the materials and tools you’ll need to build it. You’ll want sturdy plywood or metal sheets for the walls and door—choose thick, durable materials to keep your firearms secure. Don’t forget steel or heavy-duty hinges and a reliable locking mechanism, like a combination lock or keyed deadbolt.
For tools, have a drill, screwdriver, measuring tape, level, saw, and clamps handy. Safety gear such as gloves and goggles is essential to protect yourself during construction. You might also need screws, bolts, and metal brackets to reinforce the structure.
Make a checklist before you start so you won’t miss anything vital. Having everything prepared will make the building process smoother and safer. Once your materials and tools are ready, you’ll be set to move on to constructing a sturdy frame for your gun safe.
Construct a Sturdy Frame for Your Gun Safe
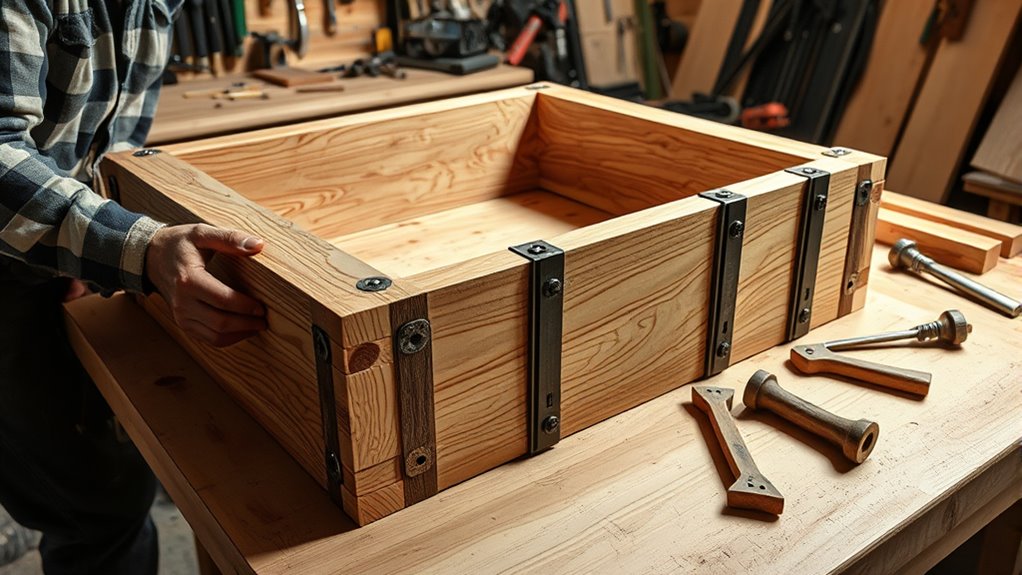
You’ll want to start by choosing durable materials that can support the weight and protect your valuables.
Next, carefully measure and cut the wood to make certain everything fits perfectly.
Finally, assemble the frame securely to create a solid foundation for your gun safe.
Choosing Durable Materials
Because your gun safe needs to withstand potential tampering and protect your valuables, selecting durable materials is essential. Start by choosing hardwoods like oak or maple for the frame—they’re strong and resistant to impact. Avoid softwoods, as they’re easier to break.
For added security, consider using steel sheets or metal reinforcements on the exterior. These metals resist drilling and prying attempts better than wood alone. Don’t forget to pick high-quality screws, bolts, and hinges that can support the safe’s weight and resist forced entry.
Also, using fire-resistant materials or adding a fireproof lining can enhance protection. Remember, the strength of your safe depends on your material choices, so prioritize toughness and reliability to create a secure, long-lasting gun safe.
Measuring and Cutting Wood
Selecting strong materials sets the foundation, but precise measuring and cutting are what bring your gun safe’s frame to life. Start by carefully measuring each piece of wood according to your safe’s design dimensions. Use a tape measure and mark clearly with a pencil to avoid mistakes.
Double-check measurements before cutting to guarantee accuracy. When cutting, a circular saw or miter saw works best for clean, straight edges. Make sure to cut slowly and steadily to prevent splintering.
Keep your cuts consistent so the frame pieces fit together snugly. Properly sized and clean cuts make assembly easier and strengthen the overall structure. Taking your time here will save you headaches later and ensure your homemade gun safe is solid and secure.
Assembling the Frame Securely
Once your wood pieces are cut accurately, it’s time to assemble the frame securely to guarantee your gun safe stands strong and stable. Begin by laying out the base pieces on a flat surface, aligning edges carefully. Use wood glue along the joints for added strength before screwing the pieces together with wood screws, making sure to pre-drill holes to prevent splitting.
Next, attach the vertical side panels, ensuring they’re square using a carpenter’s square. Reinforce all corners with metal brackets for extra durability. Don’t forget to double-check that every connection is tight and flush.
Taking these steps will create a solid foundation that supports the safe’s weight and keeps your firearms protected. Your sturdy frame is now ready for the next phase.
Install Reliable Locking Mechanisms for Safety
When securing your homemade gun safe, choosing the right locking mechanism is crucial to guarantee your firearms remain protected from unauthorized access. You want a lock that’s both reliable and easy for you to operate but difficult for others to bypass. Here’s how to pick and install the best locking system:
- Choose Between Mechanical and Electronic Locks: Mechanical locks, like combination dials, offer durability without batteries. Electronic locks provide quick access with keypads but require power.
- Opt for High-Quality Components: Use solid steel locking bolts and a sturdy latch to prevent forced entry.
- Position the Lock Strategically: Install the lock at a comfortable height and where it secures the door firmly to the frame.
- Test the Mechanism Thoroughly: Open and close your safe multiple times to ensure smooth operation and reliable locking each time.
Following these steps ensures your safe is secure and functional, keeping your firearms protected effectively.
Install Fire-Resistant Interior for Protection
Although securing your safe with a strong lock is essential, protecting its contents from fire damage is just as important. To do this, you’ll want to install a fire-resistant interior lining. Materials like fireproof insulation boards or ceramic fiber blankets work well to shield your firearms from extreme heat.
Start by measuring the interior dimensions of your safe, then cut the fire-resistant material to fit snugly against all walls, the floor, and the ceiling inside the safe. Use high-temperature adhesive or metal fasteners to secure the lining in place, ensuring it won’t shift over time. This layer acts as a barrier, slowing heat transfer and helping maintain a cooler internal temperature during a fire.
Remember to cover every surface evenly, leaving no gaps where heat could penetrate. Adding this fire-resistant interior considerably increases your safe’s ability to protect your firearms and valuables in the event of a fire, giving you peace of mind beyond just physical security.
Check Your Gun Safe’s Security and Strength
Now that your safe’s interior is set, it’s important to check the quality of your locking mechanism to make certain it’s reliable. You’ll also want to evaluate the materials you used to confirm they’re sturdy enough to resist tampering.
These steps help guarantee your homemade gun safe stays secure and strong.
Assess Locking Mechanism Quality
Since your gun safe’s primary purpose is to protect your firearms, you’ll want to carefully assess the quality of its locking mechanism. A strong lock is your first line of defense against unauthorized access. Here’s what to check:
- Lock Type – Choose between mechanical combination, electronic keypad, or biometric locks based on your security needs and convenience.
- Lock Construction – Ensure the lock is made from durable materials that resist tampering and forced entry.
- Bolt Engagement – Verify that the locking bolts fully extend into the frame, providing a secure hold.
- Backup Options – Look for safes with secondary unlocking methods in case of electronic failure or lost keys.
Evaluate Material Durability
How do you know if your gun safe can withstand attempts to break in? Start by carefully evaluating the materials you’re using. Steel is the most common and reliable choice—opt for thick, solid steel sheets rather than thin or hollow panels.
Avoid materials like plywood or plastic, which offer little resistance. Check the welds or joints; they should be tight and seamless to prevent easy prying. Also, consider the safe’s overall construction—reinforced corners and a solid frame add strength.
Don’t forget about the door’s thickness and the quality of hinges; these are prime targets during forced entry. By focusing on durable, high-quality materials and sturdy construction, you’ll considerably improve your homemade gun safe’s ability to protect your firearms from theft or damage.
Maintain and Improve Your Gun Safe Over Time
Although building your gun safe is a great start, keeping it secure and functional requires regular maintenance and occasional upgrades. You’ll want to establish a routine to guarantee your safe remains reliable and effective over time.
Here’s how you can maintain and improve it:
- Inspect for Wear and Damage: Regularly check hinges, locks, and seals for any signs of rust, corrosion, or wear. Replace or repair parts as needed to maintain security.
- Lubricate Moving Parts: Apply appropriate lubricants to locks and hinges to ensure smooth operation and prevent rust.
- Upgrade Security Features: Consider installing electronic locks, reinforced steel plates, or additional internal compartments to enhance protection.
- Control Moisture and Temperature: Use desiccants or dehumidifiers inside the safe to prevent moisture damage and keep your firearms in peak condition.
Frequently Asked Questions
What Legal Requirements Apply to Homemade Gun Safes?
You need to follow local laws on firearm storage, which often require secure locking mechanisms to prevent unauthorized access. Some states have specific regulations about safe construction and storage, so check your jurisdiction’s rules before building your own.
Ensuring compliance helps protect your firearms and keeps them out of the hands of unauthorized individuals. Always verify the latest legal requirements in your area before starting your project. This will help you avoid penalties and ensure safety.
How Do I Safely Store Ammunition Separately?
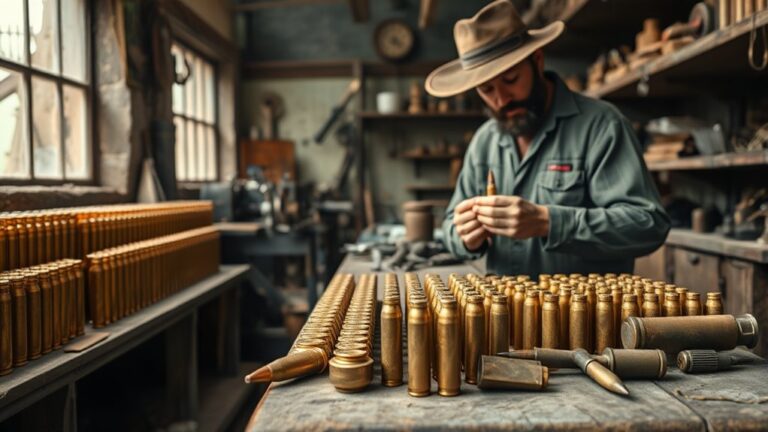
You should store ammunition separately in a cool, dry place, ideally in a locked container.
Did you know 60% of firearm accidents occur due to improper storage? Keeping ammo away reduces risks and enhances overall safety.
Can a Homemade Safe Be Insured?
You can insure a homemade safe, but it depends on your insurance provider’s policies. Make sure it meets security standards and is well-documented.
Check with your insurer to confirm coverage details and any specific requirements.
What Are the Best Practices for Gun Safe Ventilation?
Ventilate your gun safe like a revitalizing gust—use small vents with moisture-absorbing materials inside. Keep ventilation discreet to prevent tampering and avoid direct airflow that could cause rust or damage to your firearms.
How Do I Childproof a Homemade Gun Safe?
You’ll want to use childproof locks, like combination or biometric locks, and secure the safe to a wall or floor. Also, keep the safe out of your child’s reach and consider adding tamper alarms for extra security.
Make sure to choose locks that are difficult for children to open but convenient for adults. Securing the safe properly can prevent it from being moved or tipped over.
Additionally, placing the safe in a discreet location can further reduce the risk of access. Regularly check the locking mechanisms to ensure they function correctly.
Conclusion
Now that you’ve built your homemade gun safe, it stands like a fortress guarding your treasures. With every sturdy bolt and secure lock, you’ve woven a shield of safety around your firearms.
Just like a gardener tending to their prized blooms, don’t forget to maintain and improve your safe over time. By doing so, you’ll keep your peace of mind as solid as the safe itself—ready to protect when it matters most.
Regular maintenance and occasional upgrades ensure your homemade gun safe remains reliable and secure. This way, your firearms are always protected with the highest level of safety. Keep your homemade gun safe in top condition to safeguard your collection effectively.