How Do You Zero a Red Dot Sight in 7 Easy Steps
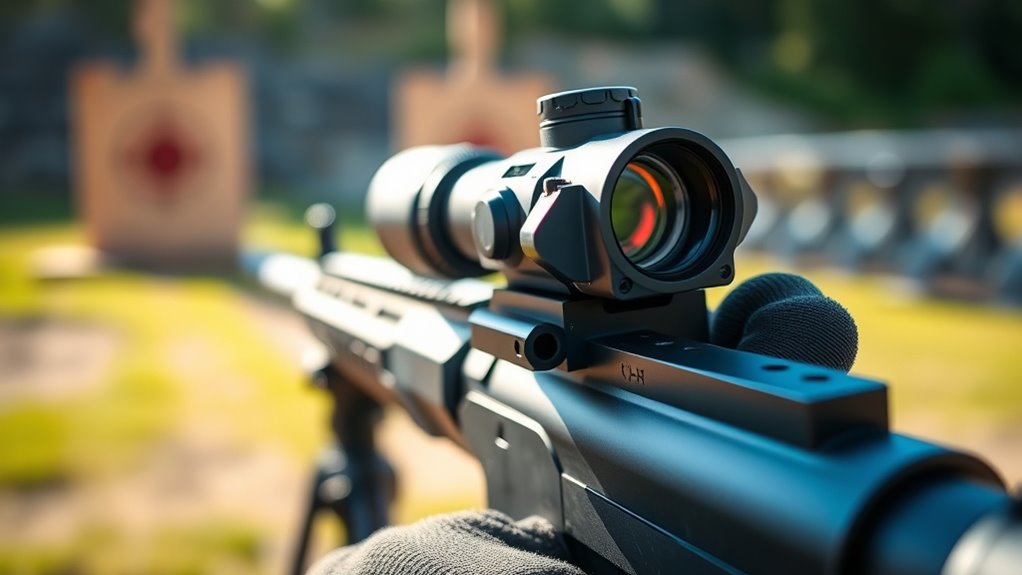
To zero your red dot sight accurately and efficiently, follow these 7 easy steps designed for both beginners and experienced shooters. Properly zeroing your red dot sight is essential for improving shooting precision and ensuring reliable target acquisition at various distances.
Start by gathering your tools and setting up a stable shooting position at your chosen distance, usually 25-50 yards.
Next, adjust the windage and elevation turrets to align the dot with where your bullets hit.
Take test shots, observe the impact, and fine-tune adjustments until your shot groups are centered.
Finally, confirm your zero regularly to maintain accuracy.
Keep going to explore tips that *guarantee* long-term precision and reliability.
Key Takeaways
- Secure the firearm on a stable rest and set a target at your chosen zeroing distance, typically 25-50 yards.
- Fire initial shots aiming at the center of the target to observe the bullet impact location.
- Adjust windage and elevation turrets incrementally to align the red dot with the bullet impact.
- Take follow-up shots after each adjustment to confirm the red dot and impact points match.
- Repeat adjustments and shooting until the red dot consistently aligns with the center of the shot group.
What Zeroing Your Red Dot Sight Means and Why It Matters
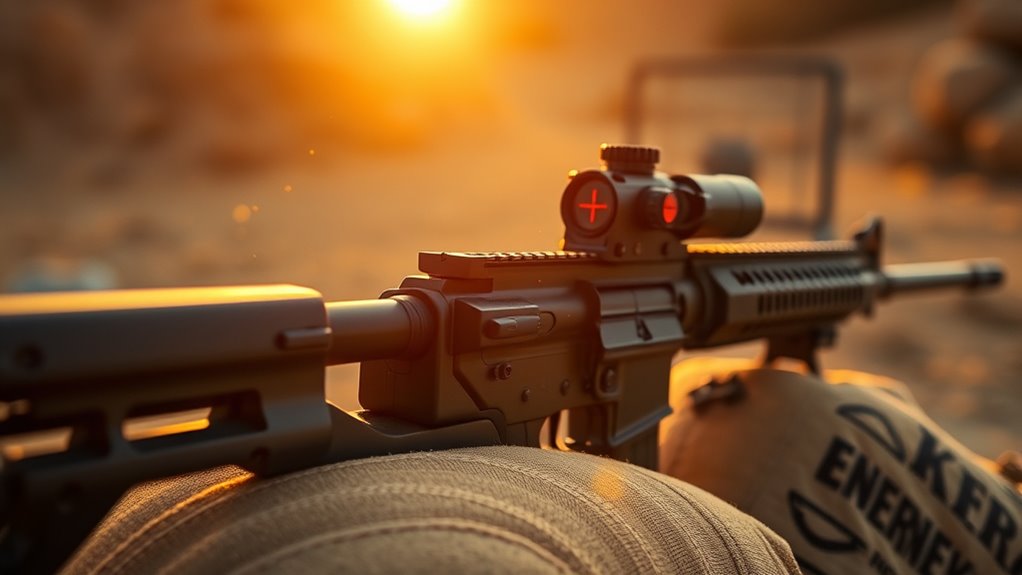
What exactly does it mean to zero your red dot sight, and why should you care? Zeroing your red dot sight means adjusting it so that the red dot aligns perfectly with where your bullet will hit at a specific distance. When you do this, you can trust that your point of aim matches your point of impact, which is essential for accuracy.
Without zeroing, your shots could land off-target, wasting ammo and reducing your effectiveness, whether you’re hunting, target shooting, or in a tactical situation. You should care because a properly zeroed sight ensures consistency and confidence every time you pull the trigger. It eliminates guesswork and helps you make quick, precise shots.
Plus, it’s the foundation for getting the most out of your red dot sight’s capabilities. Skipping this step means you’re relying on luck rather than skill, which isn’t what you want when accuracy counts.
Gather Essential Tools for Zeroing Your Red Dot Sight
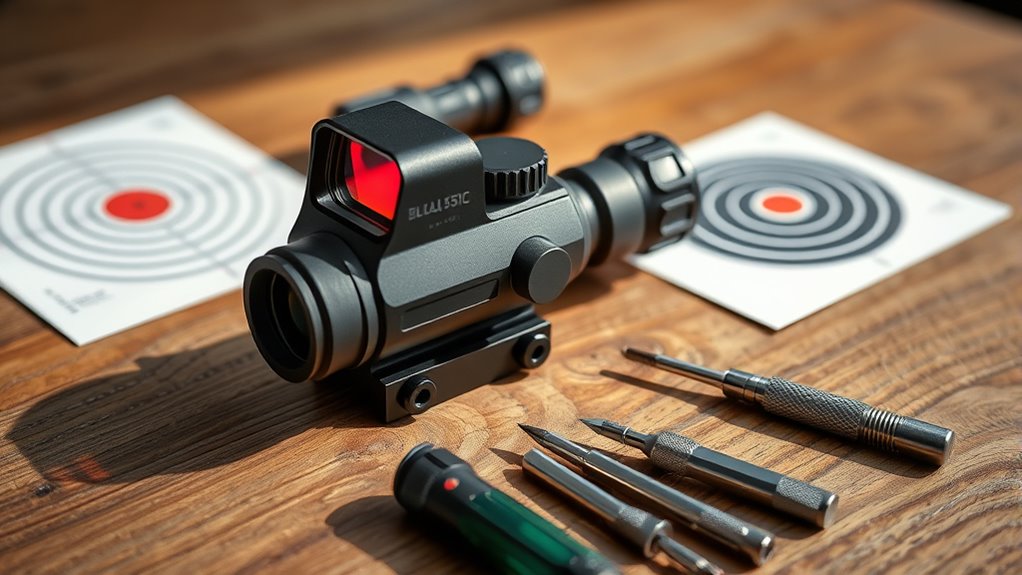
Before you start zeroing your red dot sight, make sure you have all the necessary equipment ready. Pick the right ammunition that matches your firearm for consistent results.
Also, set up a stable shooting position to keep your shots accurate and steady.
Necessary Equipment Checklist
Although zeroing your red dot sight might seem straightforward, having the right tools on hand will make the process smoother and more accurate. First, you’ll need a stable shooting rest or bipod to keep your firearm steady. A reliable target, preferably with clear markings or a bullseye, is essential for precise adjustments.
Don’t forget a measuring tape or ruler to measure your grouping and ensure consistency. Bring along a screwdriver or the adjustment tool specific to your sight for windage and elevation tweaks. A spotting scope or binoculars can help you see your impacts without walking downrange repeatedly.
Ultimately, have a notebook or device ready to record your settings. With this checklist, you’ll be well-prepared to zero your red dot sight efficiently and effectively.
Choosing The Right Ammunition
How do you guarantee your red dot sight performs its best? Choosing the right ammunition is key. Consistency is vital since varying bullet weights and velocities can affect your point of impact.
Stick to the ammo you plan to use regularly for reliable zeroing results. Avoid mixing brands or types, as this can cause shifts in accuracy.
Here’s a simple guide to help you pick:
| Ammunition Type | Bullet Weight (grains) | Recommended Use |
|---|---|---|
| Full Metal Jacket (FMJ) | 55 – 62 | Target practice |
| Hollow Point (HP) | 60 – 75 | Self-defense |
| Match Grade | 68 – 77 | Precision shooting |
Select ammo that matches your shooting purpose to guarantee your red dot stays on target.
Preparing A Stable Shooting Position
Where should you set up to zero your red dot sight for the most consistent results? Find a stable shooting bench or flat surface at your chosen range. Use a sturdy rest like a sandbag or shooting tripod to minimize movement.
This stability is essential for accurate adjustments. Before you start, gather essential tools: your firearm, appropriate ammunition, a target placed at a known distance, and a spotting scope or binoculars to observe your shots.
Don’t forget a measuring tape or rangefinder to confirm your target’s distance. Having everything within reach helps maintain focus and efficiency during zeroing. By preparing a solid shooting position and assembling your tools, you’ll zero your red dot sight more precisely, saving time and improving your shooting accuracy overall.
Set Up a Stable Shooting Position and Choose the Right Distance
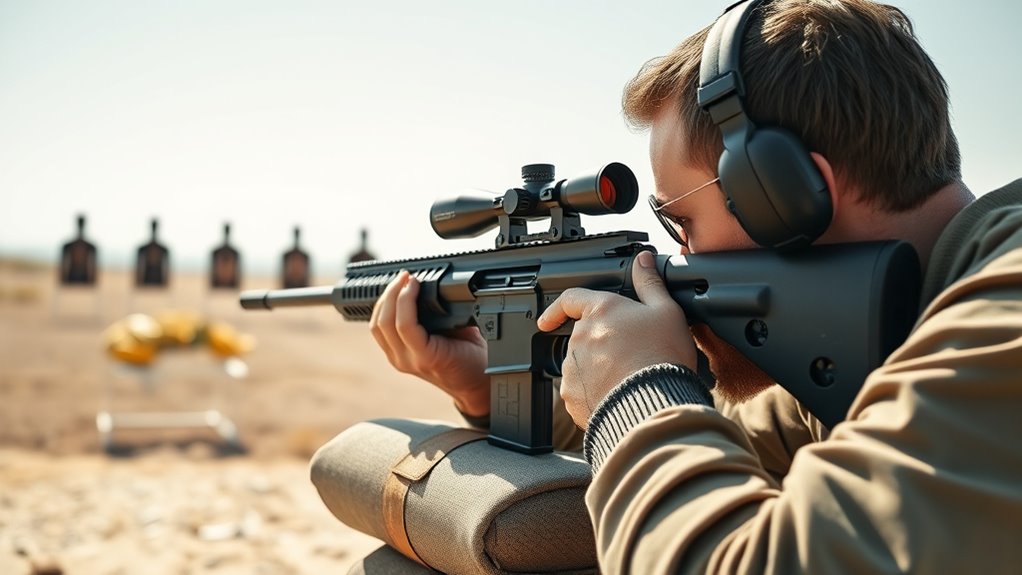
Why does your shooting position matter when zeroing a red dot sight? Because a stable position ensures consistent shots, which is vital when making adjustments. If you’re shifting or off-balance, your shots won’t reflect the sight’s true alignment.
Start by choosing a comfortable stance—whether prone, seated, or standing—where you can remain steady. Use supports like a bench rest or sandbags to reduce movement.
Next, pick the right distance to zero your sight. Most red dot sights are zeroed between 25 and 50 yards, depending on your firearm and intended use. For handguns, 25 yards is common, while rifles often use 50 yards.
This distance lets you balance bullet drop and accuracy effectively. Setting up your shooting position and selecting the right distance are foundational steps that help you get precise groupings before making any sight adjustments. Don’t rush these steps; they’ll save you time and frustration later.
Adjust Windage and Elevation on Your Red Dot Sight
Once you’ve established a stable shooting position and chosen the right distance, it’s time to adjust the windage and elevation on your red dot sight. Windage controls the horizontal alignment, so you’ll make left or right adjustments, while elevation adjusts the vertical alignment, moving the point of impact up or down. Locate the adjustment turrets or screws on your sight—usually marked with arrows or letters indicating direction.
Use a small tool or your fingers to turn the windage turret first. Each click typically moves the point of impact by a specific increment, often 1/4 MOA or similar, so check your sight’s manual. Turn it in the direction you want your point of impact to shift.
Then, adjust the elevation turret similarly, raising or lowering the dot to match your aim point. Make small, deliberate adjustments. This ensures you don’t overcorrect and can zero your sight efficiently once you start shooting.
Take Test Shots and Read Your Target for Adjustments
After adjusting the windage and elevation, you’ll want to take test shots to see how well your red dot sight is aligned. Aim at your target and fire a group of shots, then carefully observe the impact points.
Take note if the shots are hitting left, right, high, or low compared to your aiming point. This feedback will guide your next adjustments.
Here’s a simple way to track your shot placement:
| Shot Group | Impact Location | Adjustment Needed |
|---|---|---|
| 1 | Left | Move windage right |
| 2 | Right | Move windage left |
| 3 | High | Lower elevation |
| 4 | Low | Raise elevation |
Fine-Tune Your Red Dot Sight Based on Shot Placement
Now that you’ve taken test shots, carefully assess your shot grouping on the target. Use this information to fine-tune your red dot sight by adjusting windage and elevation.
This will help you zero in with greater accuracy.
Assess Shot Grouping
How do you know if your red dot sight is truly zeroed? The key is to assess your shot grouping. Once you’ve fired a few rounds at your target, check where the bullets land in relation to your red dot.
- Examine the cluster of shots—are they tight or scattered?
- Note the center of your group compared to the aim point.
- Identify if the group is consistently off to one side or high/low.
- Confirm that your shots are grouped closely enough to meet your accuracy needs.
A tight, centered grouping means your red dot sight is effectively zeroed. If not, you’ll need to make adjustments to refine your aim before moving to the next step.
Adjust Windage And Elevation
Once you’ve evaluated your shot grouping and noticed it’s off-center, it’s time to adjust your red dot sight’s windage and elevation settings. Windage controls the horizontal movement of the dot, while elevation adjusts the vertical position. If your shots are hitting left or right, turn the windage knob accordingly—right to move the dot right, left to move it left.
For shots high or low, adjust the elevation knob—down to lower the dot, up to raise it. Make small, incremental changes, usually marked in clicks, to avoid overcorrecting. After each adjustment, take a few more shots to check your new grouping.
Repeat this process until the red dot aligns perfectly with your point of impact, ensuring your sight is zeroed accurately for reliable shooting.
Confirm and Maintain Your Zero With Regular Checks
Although you’ve carefully zeroed your red dot sight, it’s important to regularly verify and maintain your zero to guarantee consistent accuracy. Over time, recoil, handling, and environmental factors can cause your sight to drift, affecting your shot placement.
To keep your red dot reliable, follow these steps:
- Check Zero Before Each Use: Always verify your zero at the range before heading out, especially if your firearm has been dropped or bumped.
- Use Consistent Ammunition: Stick to the same type and brand of ammo you used when zeroing, as variations can affect point of impact.
- Inspect Mounting and Screws: Regularly ascertain your sight is securely mounted and that all screws are tightened to prevent shifting.
- Perform Periodic Range Tests: Schedule routine range sessions to confirm your zero hasn’t shifted and make adjustments if necessary.
Frequently Asked Questions
Can I Zero a Red Dot Sight Without Live Ammunition?
You can’t properly zero a red dot sight without live ammo because you need to see where the bullets actually hit. Dry firing helps, but only live rounds confirm true point of impact and accuracy adjustments.
How Often Should I Re-Zero My Red Dot Sight?
You should re-zero your red dot sight every time you notice a shift in accuracy or after any significant impact or cleaning.
Regular checks, especially before critical use, guarantee you won’t miss when it counts the most.
Will Different Ammunition Types Affect My Zero?
Yes, different ammo types can affect your zero since variations in bullet weight, velocity, and ballistic properties change the point of impact.
You’ll want to zero your red dot sight with the ammo you plan to use regularly for best accuracy.
Can Weather Conditions Impact My Red Dot Sight’s Zero?
Just like a sailor trusts the stars, you should know weather can sway your red dot’s zero. Wind, rain, and temperature shifts might nudge your aim, so always double-check your sight before you shoot.
These elements can cause slight changes that impact accuracy. It’s a good habit to re-zero your sight when conditions change. Staying vigilant ensures your shots stay true.
Is It Possible to Zero a Red Dot Sight on a Moving Target?
Yes, you can zero a red dot sight on a moving target, but it’s challenging. You’ll need steady practice, anticipate movement, and adjust your aim point dynamically to guarantee accuracy while tracking the target.
Conclusion
Zeroing your red dot sight guarantees you hit your target accurately every time. Imagine you’re out hunting and take a clean shot thanks to your perfectly zeroed sight—no guesswork, just precision. By following these simple steps, you’ll save time and improve your shooting confidence.
Remember, regular checks keep your zero spot-on, so you’re always ready for action. Take the time now, and your future shots will thank you. Proper zeroing of your red dot sight ensures consistent accuracy and reliability in every shot.