How to Sight a Pellet Gun in 7 Simple Steps
To sight your pellet gun accurately in 7 simple steps, start by understanding your sight type and gathering essential tools like targets, wrenches, and a stable shooting rest.
Setting up a safe, well-lit shooting area with a solid backstop is crucial for both safety and precision. Knowing these basics helps you achieve better accuracy and consistency in your shots.
Position your gun steadily and align the sights carefully before firing test shots at a known distance. Observe where the pellets land and adjust the elevation and windage accordingly to correct your aim.
Fine-tune your sight settings for different ranges and environmental factors such as wind or lighting conditions.
Following this straightforward process will improve your shooting precision. With practice, you’ll master accurate pellet gun shooting with confidence and ease.
Key Takeaways
- Secure your pellet gun on a stable rest and choose a safe, well-lit shooting area with a solid backstop.
- Fire initial test shots at 10-15 yards and observe the pellet impact relative to your aiming point.
- Adjust the sight’s elevation and windage knobs incrementally to align shots with the target’s center.
- Test and fine-tune sight settings at various distances, recording adjustments for consistent accuracy.
- Account for environmental factors like wind and terrain slope by modifying your aim accordingly.
Know Your Pellet Gun’s Sight Types
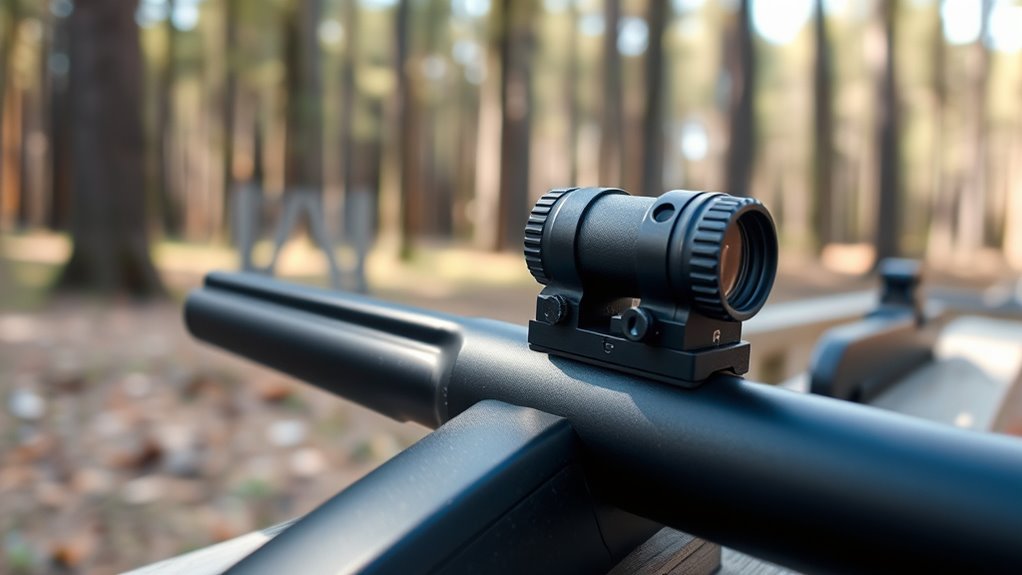
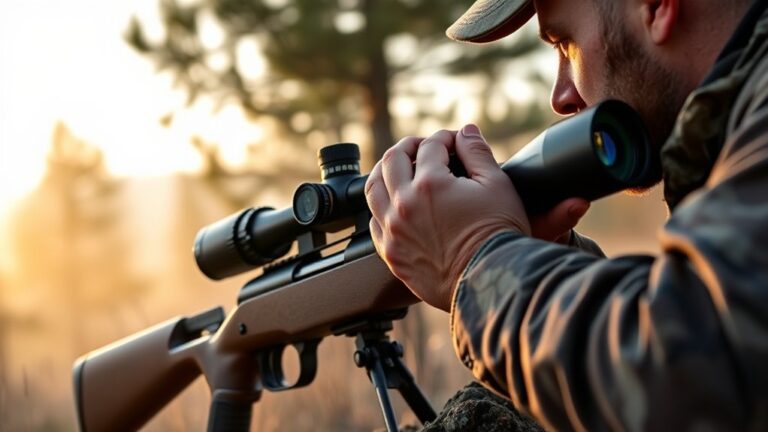
Before you can accurately sight your pellet gun, you need to understand the types of sights it uses. Most pellet guns come equipped with either iron sights or optical sights. Iron sights are the traditional, basic type, consisting of a front post and a rear notch.
They’re simple, durable, and don’t require batteries, but they demand good eye alignment and practice. Optical sights, like scopes or red dot sights, offer magnification or illuminated aiming points, making it easier to hit targets at longer distances or in low light. Each sight type affects how you’ll adjust and zero your gun, so knowing what you have is essential.
Some pellet guns might even allow you to switch between sight types or upgrade to better optics. Understanding your sight system helps you anticipate how to make precise adjustments and improves your overall shooting experience. That foundation ensures you’re ready for the next steps in sighting your pellet gun.
Gather Essential Tools for Pellet Gun Sighting
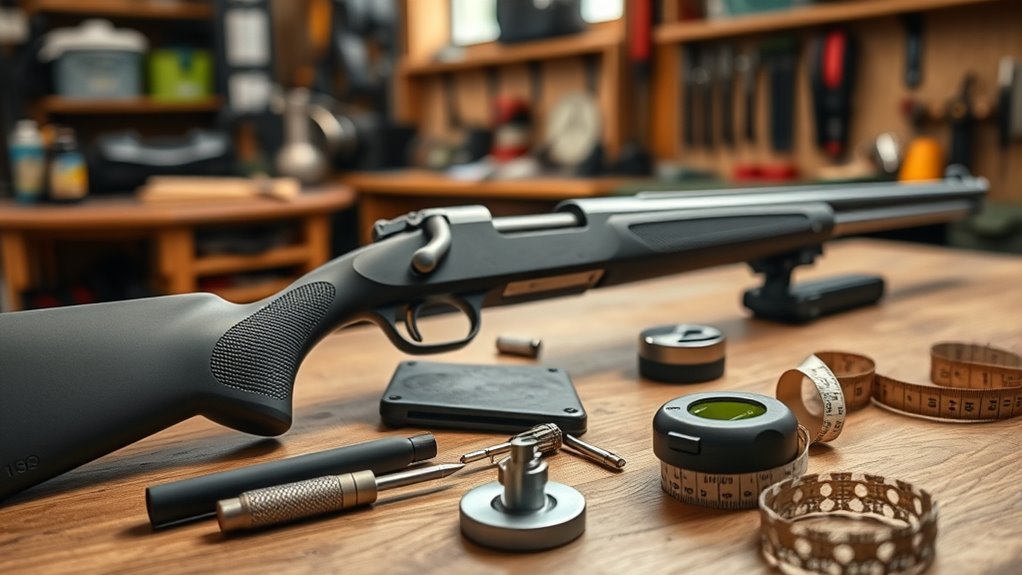
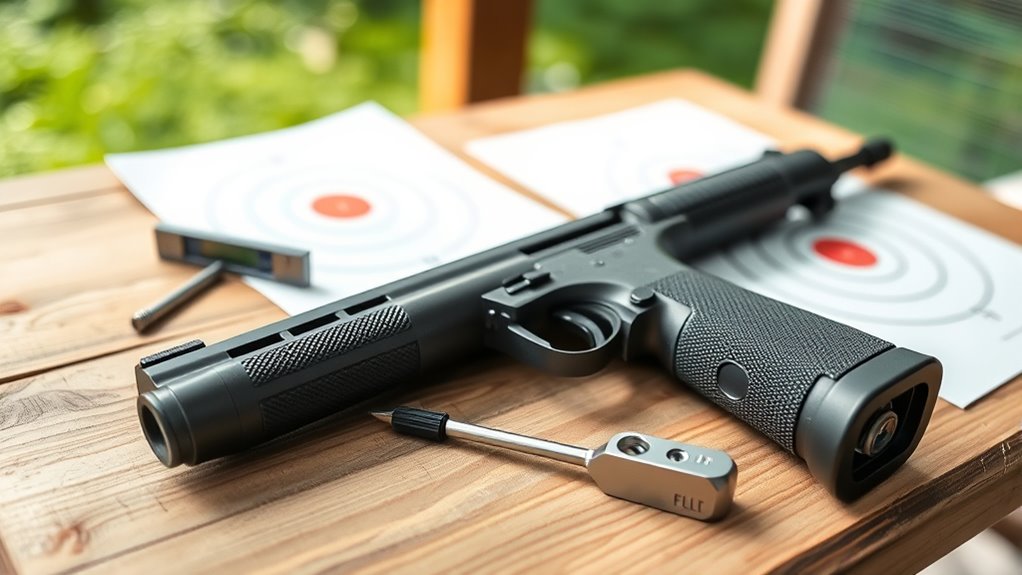
Knowing your pellet gun’s sight type helps you figure out what tools you’ll need to get it properly sighted in. Whether you have open sights or a scope, having the right equipment makes the process smoother and more accurate.
Here’s a quick list of essentials you should gather before starting:
| Tool | Purpose |
|---|---|
| Pellet Gun | The main equipment to sight |
| Target | To measure accuracy |
| Rest or Bipod | Stabilizes gun for precise shots |
| Allen Wrenches | Adjusts sights or mounts |
Make sure your pellet gun is clean and functioning well before you begin. Use a stable rest or bipod to minimize movement, especially if you’re working with a scope.
Choose a clear target with visible markings to track your shot placements easily. Having Allen wrenches handy lets you make quick sight adjustments. These tools will set you up for success in sighting your pellet gun accurately.
Get Your Pellet Gun Shooting Area Ready and Safe
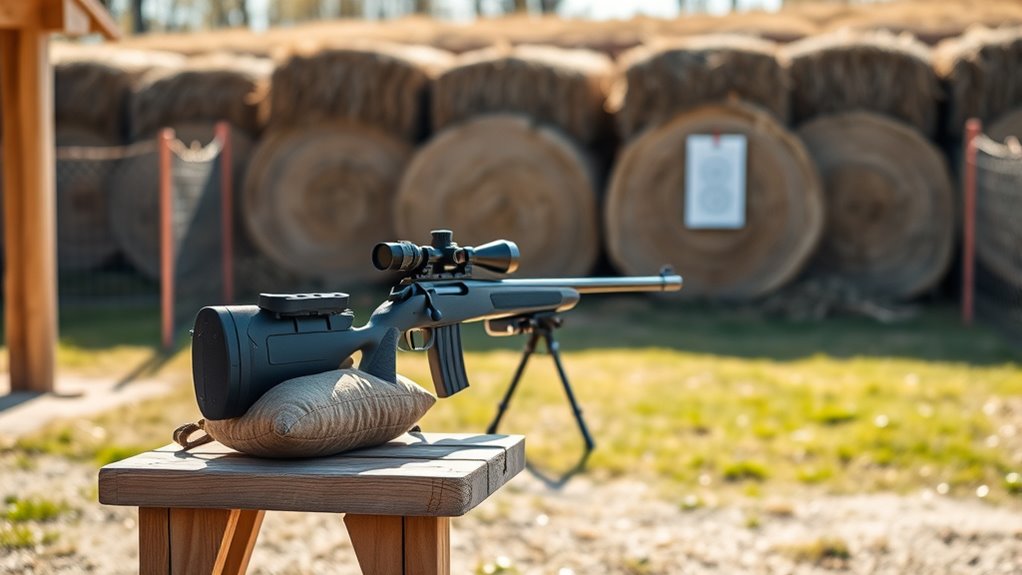
Since safety is essential when sighting your pellet gun, you’ll want to set up your shooting area carefully to prevent accidents and distractions. First, choose a location with a solid backstop, like a thick wooden board or a pellet trap designed to safely absorb shots. Make sure the area behind the target is clear of people, pets, and fragile objects.
Use a well-lit space to clearly see your target and adjustments. Keep your shooting zone free of clutter to avoid tripping or distractions. Always wear protective eyewear to guard against ricochets.
Inform anyone nearby that you’re sighting your pellet gun and confirm they stay clear of the shooting line. Finally, double-check that your pellet gun is unloaded and pointed in a safe direction when not firing. Taking these steps will help you maintain a safe, focused environment for accurate sighting.
Position Your Pellet Gun Correctly for Sighting
With your shooting area set up safely, the next step is to position your pellet gun correctly for sighting. You’ll want to guarantee the gun is stable and comfortable to hold. Rest your elbows on a solid surface or use a shooting rest to minimize movement.
Keep the gun level and align it naturally with your dominant eye. Avoid forcing your posture; this helps maintain consistent aim.
Here’s a quick reference to help you position your pellet gun:
| Step | Action | Tip |
|---|---|---|
| 1 | Hold gun firmly | Avoid gripping too tightly |
| 2 | Rest elbows on surface | Use a bench or table |
| 3 | Keep gun level | Use a bubble level if needed |
| 4 | Align with dominant eye | Close the other eye if needed |
| 5 | Maintain relaxed posture | Prevent muscle fatigue |
Proper positioning sets the foundation for accurate sighting.
Align the Front and Rear Sights Precisely
Before you take your first shot, you’ll need to align the front and rear sights carefully to guarantee your pellet hits the target where you intend. Start by focusing on the front sight post, making sure it’s centered within the rear sight notch. The top of the front sight should be level with the top edges of the rear sight.
When aligned correctly, the front sight appears as a sharp vertical post framed by the rear sight’s U or V shape. Keep both eyes open if you can; it helps with depth perception and target acquisition. Your dominant eye will naturally focus on the front sight.
Ascertain the target, front sight, and rear sight are all in a straight line. Avoid shifting your head or gun position as you align the sights, since even slight movements can throw off your aim. Precise alignment is the foundation for accurate shooting, so take the time to get it right before moving forward.
Test Fire and Adjust Your Pellet Gun Sights
Now that your sights are aligned, it’s time to test fire your pellet gun to see where your shots land. Pay close attention to how each shot groups and make small adjustments to your sights accordingly.
Keep testing and adjusting until your shots consistently hit your target accurately.
Initial Test Firing
How do you know if your pellet gun sights are properly aligned? The best way is through initial test firing. Find a safe, controlled environment and set up a target at a reasonable distance—usually 10 to 15 yards for your first shots.
Load your pellet gun and take a steady aim, firing a small group of pellets. Observe where the group lands relative to your aiming point. If your shots are clustered but off-center, your sights need adjustment.
If the pellets scatter widely, it might be your shooting technique or pellet consistency. This initial test firing gives you a clear baseline to work from before fine-tuning your sights. Remember to keep your stance and grip consistent throughout these tests for reliable results.
Sight Adjustment Techniques
Once you’ve identified where your pellets are landing, you’ll need to adjust your sights accordingly to bring your shots on target. Start by loosening the screws or knobs that secure your sights. If your pellet group is hitting low, raise the rear sight or lower the front sight.
If shots are off to one side, adjust the sights left or right. Make small, incremental changes — even slight adjustments can shift your impact point considerably. After each adjustment, tighten everything back and fire another group to see the effect.
Repeat this process until your pellets consistently hit your intended target area. Remember, patience and precision during these adjustments are key to achieving ideal accuracy with your pellet gun.
Confirm Accuracy Consistency
Although you’ve made initial sight adjustments, you’ll want to test fire several groups to confirm your pellet gun consistently hits the target where you intend. Fire at least three groups of pellets, aiming carefully each time. Record the results to identify any patterns or deviations.
If shots cluster away from your aiming point, make small sight adjustments and retest. Consistency is key for reliable accuracy.
| Group Number | Shots Fired | Group Placement |
|---|---|---|
| 1 | 5 | Slightly left |
| 2 | 5 | Centered, low |
| 3 | 5 | Right, slightly high |
After reviewing your groups, fine-tune your sights until your pellet groups consistently land where you want them.
Fine-Tune Your Pellet Gun Sighting for Different Distances
Now that you’ve got your sights roughly set, it’s time to fine-tune them for different distances. You’ll need to adjust elevation to compensate for pellet drop and consider how wind might push your shot off target.
Mastering these factors will help you hit your mark more consistently no matter the range.
Adjusting for Distance Variations
Because pellet trajectories change with distance, you’ll need to fine-tune your sight settings for each range you shoot at. Adjusting your pellet gun sight isn’t complicated, but it requires patience and precision. Here’s how to handle distance variations effectively:
- Start by zeroing your sight at a baseline distance, like 10 yards.
- Test shots at different distances (e.g., 15, 20, 25 yards) to see how your pellet’s point of impact shifts.
- Use your sight’s adjustment knobs to compensate for these shifts, moving the sight up or down as needed.
- Record your settings for each distance, so you can quickly switch when shooting at varying ranges.
This approach keeps your shots accurate no matter how far your target is.
Elevation and Wind Considerations
Once you’ve adjusted your sight for different distances, it’s important to take into account how elevation and wind can affect your pellet’s path. Shooting uphill or downhill alters the pellet’s trajectory because gravity impacts it differently than on flat ground. To compensate, aim slightly higher or lower depending on the slope angle.
Wind, even a light breeze, can push your pellet off course. Always observe wind direction and strength before taking a shot. Adjust your aim into the wind to counteract drift.
Frequently Asked Questions
What Is the Best Pellet Type for Accuracy?
The best pellet type for accuracy is usually wadcutter pellets because they have a flat head, improving target impact.
You’ll want to try different brands and weights to see what works best with your specific pellet gun.
How Often Should I Clean My Pellet Gun?
You should clean your pellet gun after every 500 shots to maintain accuracy. Studies show 70% of shooters experience performance drops without regular cleaning, so don’t skip it if you want consistent, reliable shooting every time you take aim.
Can Pellet Guns Be Used for Hunting Small Game?
Yes, you can use pellet guns for hunting small game, but you’ll want to choose a powerful model with accurate sights.
Always check local laws and practice good safety to guarantee ethical and effective hunting.
What Safety Gear Is Recommended When Shooting?
When you put on your safety goggles and ear protection, you’re not just shielding yourself—you’re creating a barrier that keeps you safe from ricochets and loud noises.
Always wear gloves and consider a shooting vest, too.
How Do Weather Conditions Affect Pellet Gun Performance?
You’ll notice that wind can push pellets off course, while rain or humidity slows them down and reduces accuracy. Cold temperatures make pellets less consistent, so always adjust your aim based on the current weather conditions.
Conclusion
Sighting your pellet gun might seem tricky at first, but once you get the hang of it, it’s straightforward and rewarding. You might worry it takes too much time, but with these simple steps, you’ll be ready to shoot accurately in no time.
Remember, a well-sighted gun improves your aim and makes every shot count, whether you’re target shooting or hunting. Stick with it—you’ll see the difference instantly!
By following these steps to sight a pellet gun, you ensure better precision and consistent shooting performance. Proper pellet gun sighting is key to enhancing your accuracy and enjoyment with every shot.