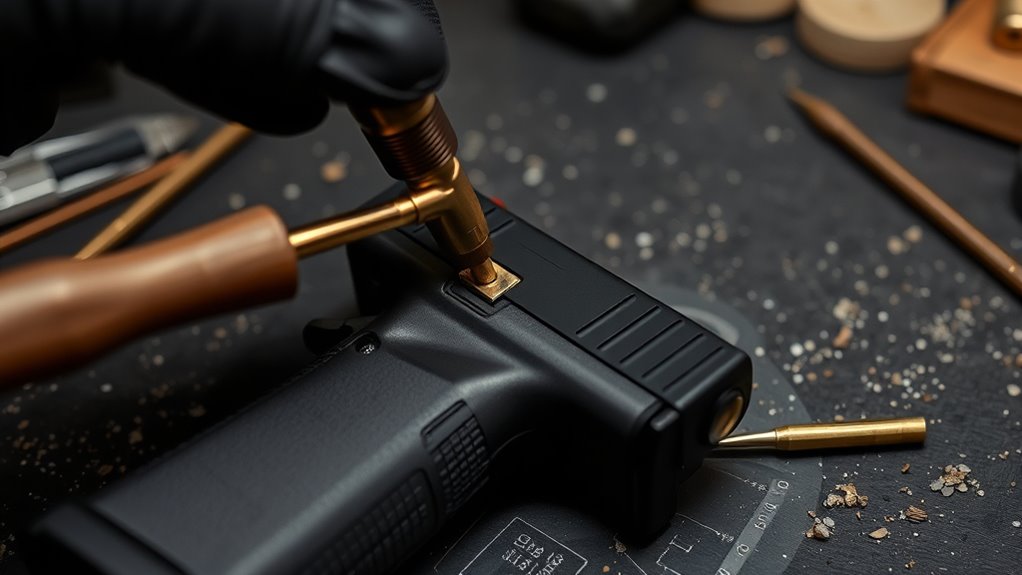
How to Remove Glock Rear Sight in 7 Easy Steps
First, make sure your Glock is completely unloaded and safe before beginning the rear sight removal process.
Removing the Glock rear sight can be straightforward if you follow the right steps carefully. Using the proper screwdriver, remove the rear sight screw carefully, avoiding stripping.
Then, slide the rear sight off the slide gently. If needed, use a sight pusher or brass punch to ease the sight out without causing damage.
Once removed, clean and inspect the slide and dovetail for any damage or debris.
Afterward, prepare the slide and verify compatibility before installing a new sight.
Following these steps ensures a smooth Glock rear sight removal and helps you handle any challenges that come with it.
Key Takeaways
- Ensure the Glock is unloaded, remove the magazine, and visually and physically check the chamber is empty.
- Use a proper screwdriver to carefully loosen the rear sight screw without stripping it.
- Slide the rear sight toward the rear of the slide or use a sight pusher tool to gently tap it loose.
- Apply penetrating oil or slight heat if the sight or screw is stuck before attempting removal.
- Inspect and clean the dovetail and slide surface thoroughly before installing a new sight.
Tools Needed to Remove a Glock Rear Sight
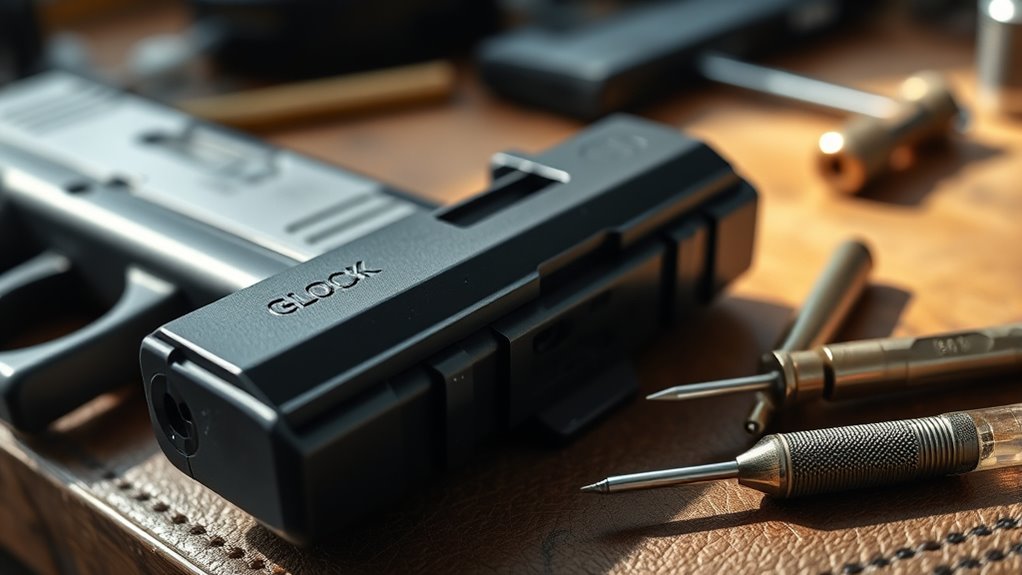
Before you begin removing the Glock rear sight, you’ll need a few essential tools to make the process smooth and safe. First, a sight pusher tool is highly recommended—it’s designed specifically to push out the rear sight without damaging the slide or sight itself. If you don’t have one, a small brass punch can work, but be extra careful to avoid marring your firearm.
Next, you’ll want a bench block or a stable surface to support the slide during removal. This keeps the slide steady and prevents accidental slips. Additionally, a small hammer or mallet will help gently tap the sight out if you’re using a punch.
Ultimately, some gun cleaning cloths or patches are helpful to protect the slide and keep everything clean. Having these tools ready ensures you can remove the rear sight efficiently, minimizing the risk of damage and making the process much easier.
Clear Your Glock Safely Before Removal
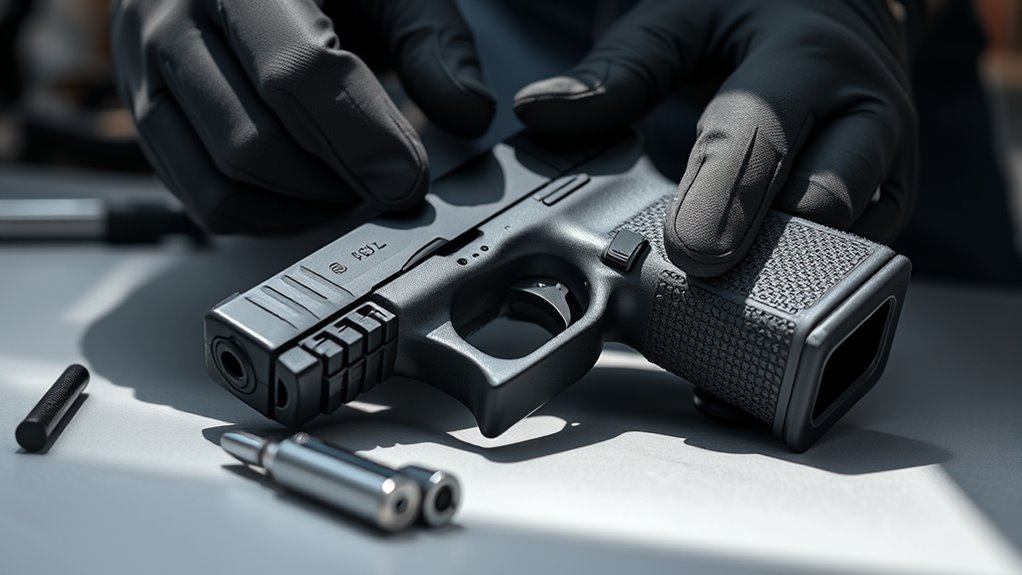
Before you start, make sure your Glock is completely unloaded. Remove the magazine and double-check that the chamber is empty.
Taking these steps guarantees you can work safely and confidently.
Ensure Firearm Is Unloaded
Safety is your top priority when working on your Glock, so you’ll want to make absolutely certain it’s unloaded before you begin. This prevents accidental discharge and keeps you and those around you safe. Always handle your firearm as if it’s loaded until you verify otherwise.
To confirm your Glock is unloaded, follow these steps:
- Point the firearm in a safe direction.
- Remove any magazine (we’ll cover this next).
- Pull back the slide to visually and physically check the chamber.
- Look inside the chamber and feel with your finger to confirm it’s empty.
- Keep the slide locked open while working on the firearm.
Remove Magazine Completely
Once you’ve confirmed your Glock is unloaded, you’ll want to remove the magazine completely to guarantee it’s fully cleared. Hold the grip firmly with one hand, and with your other hand, press the magazine release button located on the side of the frame. This will allow the magazine to drop free or slide out smoothly.
Be sure to keep your finger off the trigger throughout this process. Removing the magazine ensures no rounds are left inside, eliminating any risk of accidental discharge while you work on the rear sight. After removing the magazine, place it aside safely where it won’t accidentally be reinserted.
This step is essential for maintaining safety before proceeding to any further disassembly or maintenance of your Glock.
Verify Chamber Is Empty
Although you’ve removed the magazine, you still need to check the chamber to confirm it’s completely empty. This step is vital to guarantee your safety before working on your Glock’s rear sight. Here’s how to do it properly:
- Point the firearm in a safe direction.
- Pull back the slide to visually inspect the chamber.
- Physically feel inside the chamber with your finger if visibility is limited.
- Double-check that no rounds remain in the magazine well or chamber.
- Keep your finger off the trigger during the entire process.
Remove the Rear Sight: Loosen Screw and Slide Off
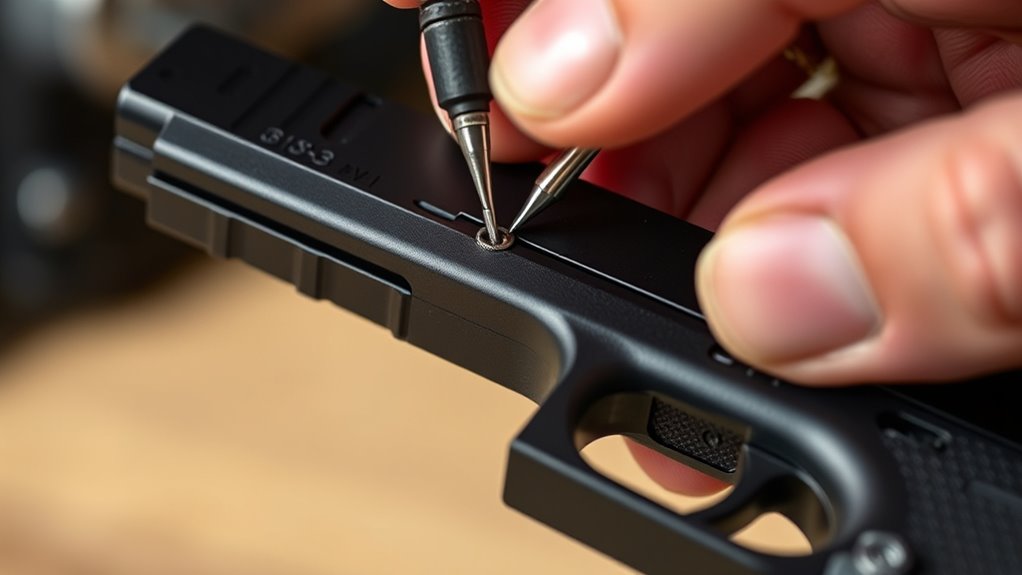
First, find the screw securing the rear sight on your Glock. Make sure you use the correct screwdriver to avoid stripping it.
Once the screw is loose, you can carefully slide the sight off the slide.
Locate Rear Sight Screw
Where exactly is the rear sight screw located on your Glock? You’ll find it right at the center of the rear sight base, securing the sight to the slide. This small but essential screw holds the sight firmly in place, so locating it is your first step to removal.
Before you begin, make sure your Glock is unloaded and safe.
Keep these points in mind when locating the rear sight screw:
- It’s positioned on the top rear section of the slide.
- The screw head is usually flat or slightly recessed.
- Dirt or oil might hide the screw, so clean the area first.
- The screw runs horizontally through the sight base.
- Don’t confuse it with any pins or slide screws nearby.
Use Proper Screwdriver
Before you start loosening the rear sight screw, make sure you have the proper screwdriver that fits the screw head perfectly to avoid stripping or damaging it. Most Glock rear sight screws require a small flathead or a specialized Glock sight tool. Using the wrong size or type can easily round off the screw, making removal difficult or impossible.
Check the screw head carefully and select a screwdriver with a tip that matches snugly. Apply steady, controlled pressure as you turn the screw counterclockwise. Avoid forcing it, which can damage both the screw and sight.
If the screw feels stuck, consider applying a tiny amount of penetrating oil and letting it sit briefly before trying again. Having the correct tool guarantees a smooth, safe removal process without unnecessary damage.
Slide Sight Off
How do you safely remove the rear sight once the screw is loosened? First, make sure the screw is fully loose but not removed completely to avoid losing it. Then, gently slide the sight towards the rear of the slide.
It should move smoothly without forcing it. If it resists, double-check that the screw is completely loosened.
Keep these tips in mind:
- Work on a clean, flat surface to catch small parts.
- Use steady, controlled movements to prevent damage.
- Avoid using excessive force to slide off the sight.
- Keep track of the screw and sight for reassembly.
- If stuck, apply a small amount of penetrating oil and wait.
Following these steps ensures a safe, damage-free removal of your Glock’s rear sight.
Clean and Inspect Your Slide After Removal
Once you’ve removed the rear sight, take a moment to thoroughly clean your slide to guarantee no debris or residue remains. Use a soft brush and cleaning solvent to remove any dirt, oil, or metal fragments that could affect performance.
After cleaning, inspect the slide carefully for any signs of wear, cracks, or damage that might need attention before reassembly.
Here’s a quick checklist to guide your cleaning and inspection:
| Task | Tools Needed | What to Look For |
|---|---|---|
| Clean slide surface | Brush, solvent | Residue, powder, debris |
| Inspect sight channel | Magnifier, light | Damage, deformation |
| Check slide integrity | Visual, tactile | Cracks, dents, unusual wear |
Fix Common Problems Removing Your Glock’s Rear Sight
Although removing your Glock’s rear sight is usually straightforward, you might encounter some stubborn issues like a stuck sight or stripped screws. When this happens, don’t force it too much—you risk damaging your slide. Instead, try these solutions to address common problems effectively:
- Apply a penetrating oil around the sight base and let it sit for a few minutes to loosen any corrosion or grime.
- Use a non-marring brass punch instead of steel tools to gently tap the sight loose without scratching.
- If screws are stripped, employ a rubber band over the screw head for extra grip before using the screwdriver.
- Warm the slide slightly with a heat gun or hairdryer to expand the metal, making the sight easier to move.
- Utilize a sight pusher tool designed specifically for Glock sights to apply even pressure without damage.
These steps will help you safely remove your Glock’s rear sight without causing harm or frustration.
Prepare Your Slide After Removing the Rear Sight
After removing your Glock’s rear sight, you’ll want to thoroughly clean and inspect the slide to make certain it’s free of debris and damage before installing a new sight. Use a soft brush or compressed air to clear out any metal shavings or dirt. Check the dovetail slot closely for burrs or wear that could affect the fit of the new sight.
Here’s a quick reference table to guide your inspection and cleaning process:
| Step | Tool Needed | Purpose |
|---|---|---|
| Remove debris | Soft brush | Clear metal shavings and dirt |
| Blow out particles | Compressed air | Remove fine dust from dovetail |
| Inspect dovetail | Magnifying glass | Detect burrs or slot damage |
| Check slide surface | Visual inspection | Find surface imperfections |
| Prepare for install | Cleaning cloth | Ensure a clean, dry surface |
Taking these steps guarantees your slide is ready for a perfect fit and reliable function with the new rear sight.
What to Know Before Installing a New Rear Sight
Before you install a new rear sight, you’ll want to make sure you understand the specific fit and alignment requirements for your Glock model. Not all sights are universal, so selecting one that matches your Glock’s specifications is crucial for accuracy and safety. Misaligned sights can negatively impact your shooting precision and might require additional adjustments.
Ensure your new rear sight matches your Glock’s specifications to maintain accuracy and safety.
Here are key points to consider before installation:
- Verify compatibility with your Glock’s generation and slide type.
- Choose a sight height that complements your front sight and shooting style.
- Ensure the sight dovetail width matches your slide for a secure fit.
- Understand the adjustment mechanism—whether fixed or adjustable rear sights.
- Prepare tools like a sight pusher or appropriate punches to avoid damaging the slide.
Taking these steps will help you install your new rear sight properly and maintain your Glock’s performance.
Frequently Asked Questions
Can I Use Aftermarket Sights on My Glock?
Yes, you can use aftermarket sights on your Glock. Just make sure they’re compatible with your model and properly installed.
Upgrading sights can improve your accuracy and shooting experience, so don’t hesitate to customize your pistol.
How Do I Adjust the Sight for Better Accuracy?
You’ll want to adjust the rear sight left or right for windage, and up or down for elevation. Use a sight adjustment tool or tap gently with a punch, then test fire to confirm improved accuracy.
What Are the Best Brands for Glock Rear Sights?
You’ll want to check out Trijicon, AmeriGlo, and Dawson Precision for Glock rear sights. They offer durability and great visibility, helping you shoot more accurately in various lighting conditions without breaking the bank.
These brands are well-regarded for their quality and performance. Choosing any of them will enhance your shooting experience significantly.
Plus, they provide excellent value, balancing cost and functionality effectively.
How Often Should I Replace My Glock Rear Sight?
You shouldn’t have to replace your Glock rear sight more often than changing the stars in the sky!
Usually, replace it only when it’s damaged, worn out, or if you want to upgrade your shooting precision considerably.
Can a Damaged Rear Sight Affect Shooting Performance?
Yes, a damaged rear sight can definitely affect your shooting performance. You’ll struggle with accuracy and quick target acquisition since your alignment will be off.
It’s important to fix or replace it to maintain your shooting precision.
Conclusion
Removing your Glock’s rear sight is like lifting a veil—revealing the inner workings beneath. With the right tools and careful steps, you’re not just taking off a part; you’re preparing your firearm for a new chapter. Each screw loosened symbolizes your growing skill and confidence.
So, as you clean and inspect, remember: this simple removal is a step toward mastery, ensuring your Glock performs as precisely as you intend. Following these easy steps to remove the rear sight will help maintain accuracy and reliability. Mastering how to remove the Glock rear sight is essential for any firearm enthusiast looking to customize or service their weapon.