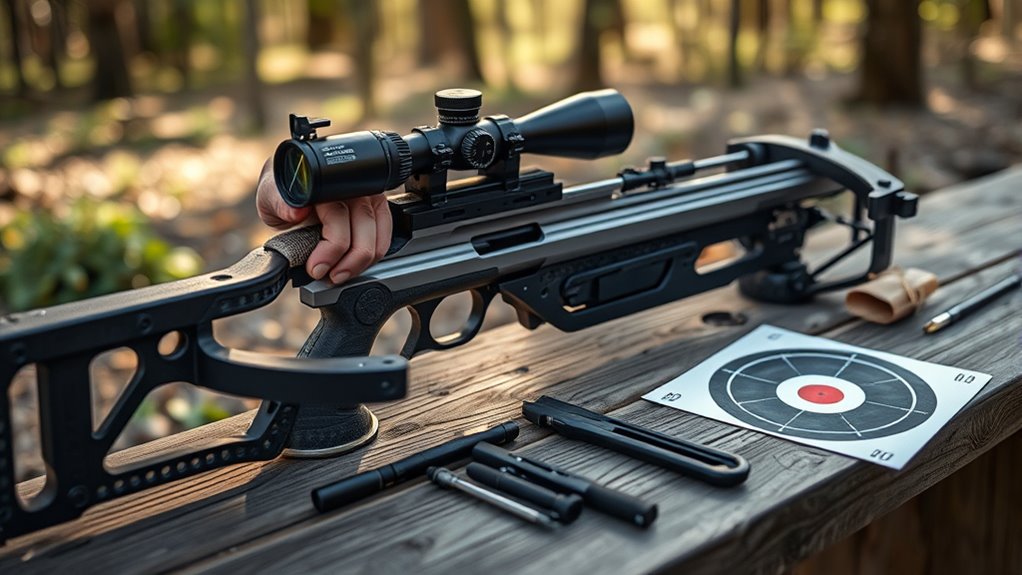
How to Sight a Ravin Crossbow in 10 Easy Steps
To sight your Ravin crossbow accurately, begin by understanding its 4x32mm fiber-optic scope, a key component for precision aiming. Gather essential tools such as an Allen wrench, a laser bore sight, and a stable rest to ensure steady positioning. These items are crucial for achieving consistent sighting results.
Find firm, level ground and set a target at a known distance to start your adjustments. Use the windage and elevation knobs to align your arrow impacts with the target. Shooting groups will help you fine-tune these settings effectively.
Confirm your zero at multiple distances to ensure versatility in various shooting scenarios. Once adjustments are complete, securely lock the settings to maintain accuracy.
Regular maintenance of your crossbow will keep your shots precise and reliable over time.
Following these steps will help you achieve consistent, precise shots every time.
Key Takeaways
- Mount the 4x32mm fiber-optic scope securely on the Picatinny rail and ensure the bubble level is visible for a level shot.
- Choose a stable shooting position on firm, level ground using supports like bipods or shooting sticks for consistent aim.
- Fire multiple arrows at a known distance target, recording impacts to evaluate initial sight alignment and grouping.
- Adjust windage and elevation knobs incrementally, retesting shot groups after each change to refine horizontal and vertical accuracy.
- Confirm zero at various distances, lock sight settings securely, and regularly inspect to maintain long-term accuracy and reliability.
Learn Your Ravin Crossbow’s Sight System
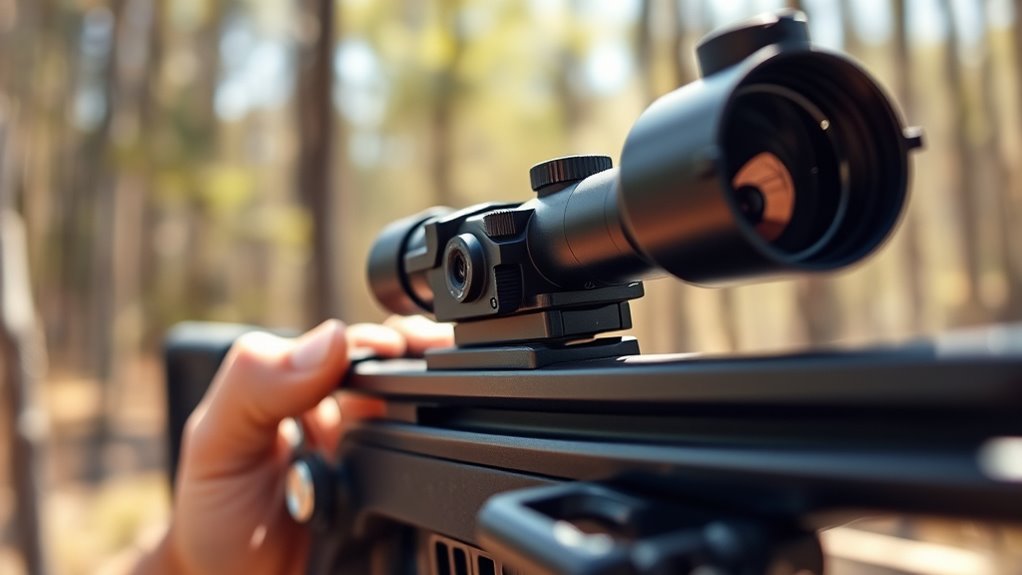
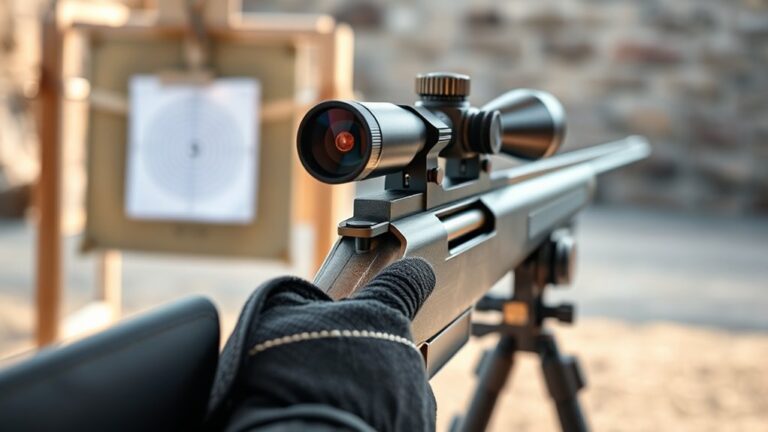
Before you can accurately sight your Ravin crossbow, you need to understand its unique sight system. Unlike traditional crossbows, Ravin uses a 4x32mm scope with fiber-optic pins that provide clear, bright aiming points even in low light. The pins are adjustable for windage and elevation, allowing you to fine-tune your aim based on distance and conditions.
You’ll notice the scope mounts directly onto the crossbow’s Picatinny rail, ensuring stability and consistent alignment. Additionally, Ravin’s crossbows often feature a built-in bubble level to help you keep your shot level, reducing the chance of canting errors. Familiarize yourself with these components before you start adjusting; knowing how each part works together will make the sighting process smoother and more effective.
Understanding this system means you’ll be better prepared to make precise adjustments, improving your accuracy and confidence out in the field.
Gather the Right Tools to Sight Your Ravin Crossbow
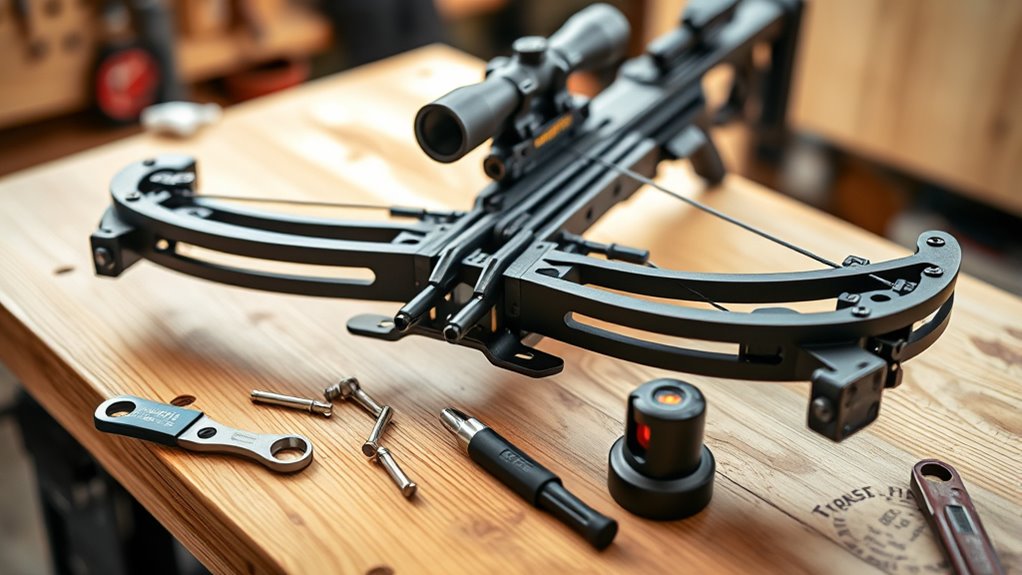
Before you start sighting your Ravin crossbow, make sure you’ve got all the essential tools on hand, like an Allen wrench and a laser sight.
It’s also smart to have recommended accessories that can make adjustments easier and more accurate.
Don’t forget to wear safety gear to protect yourself throughout the process.
Essential Tools Checklist
Although sighting your Ravin crossbow can seem straightforward, having the right tools on hand will make the process much smoother and more accurate. First, you’ll want a reliable target to shoot at—a large, clear bullseye is ideal. A stable shooting rest or sandbags will help you maintain consistency during adjustments.
Don’t forget a quality Allen wrench or screwdriver set, as you’ll need these to fine-tune your sight settings. A measuring tape or ruler is essential for tracking your adjustments precisely. Additionally, a notebook or sighting log will help you record your settings for different distances.
Finally, good lighting is key; a flashlight or headlamp can be helpful if you’re working in low-light conditions. With these tools ready, you’re set for an efficient and successful sighting process.
Recommended Accessories Overview
When you’re ready to sight your Ravin crossbow, having the right accessories can make all the difference in achieving pinpoint accuracy. Start with a quality laser bore sight; it helps align your scope quickly without firing an arrow. A reliable target, preferably with clear scoring rings, is essential for tracking adjustments.
Don’t forget a good set of Allen wrenches to tighten or loosen screws on your scope mounts. A bolt puller or arrow rest tool can also be handy for fine-tuning your setup. Finally, keep a small notebook or use a smartphone app to record your sight-in data for consistent performance in the field.
With these accessories, you’ll streamline the sighting process and get on target faster.
Safety Gear Importance
Having the right accessories in hand is a great start, but you’ll also want to make sure you’re properly protected while sighting your Ravin crossbow. Safety gear isn’t just a recommendation—it’s essential. Always wear safety glasses to shield your eyes from accidental debris or misfires.
Hearing protection is a smart addition too, especially if you’re in an enclosed space where noise echoes. Gloves can protect your hands from sharp edges and improve grip as you adjust your sight. Don’t forget to clear the area of any bystanders to avoid accidents.
Secure a Stable Shooting Position
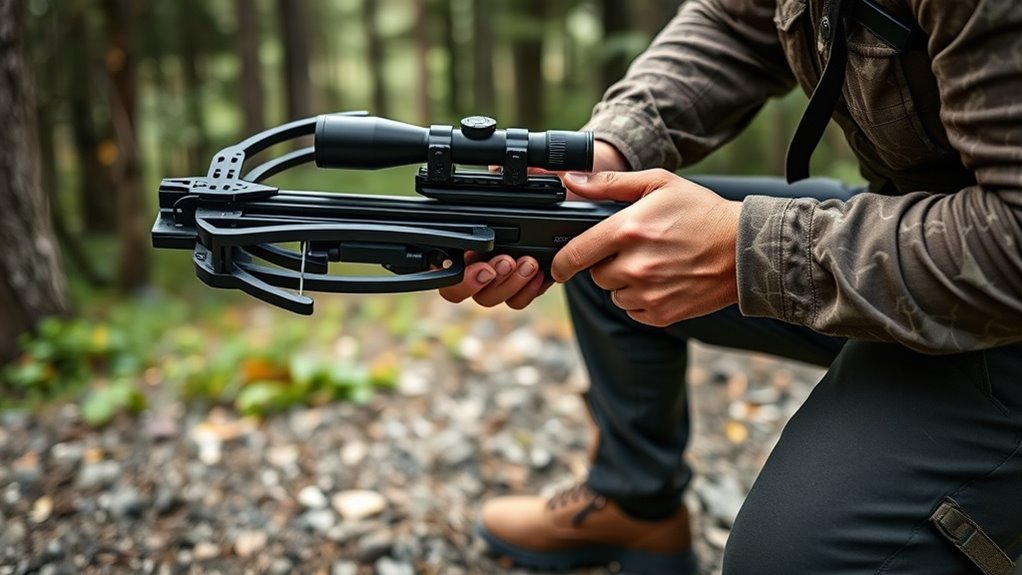
To get accurate shots, you’ll want to pick a spot that’s steady and free from distractions. Make sure your body is aligned properly to keep your aim true. Using some form of support can help you stay stable and consistent while shooting.
Choosing The Right Location
Although finding the perfect spot might seem straightforward, securing a stable shooting position is essential for accuracy and safety. When choosing the right location, look for firm, level ground to prevent any wobbling or shifting during your shot. Avoid uneven or slippery terrain that could disrupt your balance.
Consider natural cover that doesn’t obstruct your line of sight but provides some protection from wind or distractions. Make sure there’s enough space to comfortably set your feet and rest your crossbow without strain. Also, check your surroundings for safety—ensure no obstacles or people are in your shooting path.
Picking a spot with good visibility and minimal interference will help you confidently zero in your Ravin crossbow with consistent results.
Maintaining Proper Body Alignment
Once you’ve found a stable spot to shoot from, the next step is ensuring your body alignment supports accuracy and comfort. Stand with your feet shoulder-width apart to create a solid base. Position your shoulders square to the target, keeping them relaxed to avoid tension that can affect your aim.
Hold the crossbow firmly but don’t grip it too tightly, which could cause unnecessary movement. Keep your head upright and aligned with your sight, letting your dominant eye naturally focus on the target. Maintain a slight bend in your knees to absorb any recoil and help with balance.
Using Support For Stability
Securing a stable shooting position is essential when using your Ravin crossbow, as it greatly improves your accuracy and control. To do this, you’ll want to use natural or artificial supports such as tree branches, shooting sticks, or bipods. These supports reduce movement and help maintain consistent aim.
Always position yourself comfortably, ensuring your elbows and shoulders are relaxed. This minimizes muscle fatigue and shaking, allowing for steadier shots.
Here’s a quick guide to common support types:
| Support Type | Benefits |
|---|---|
| Tree Branch | Readily available, natural rest |
| Shooting Stick | Portable, adjustable height |
| Bipod | Stable, reduces arm strain |
Using these supports effectively will help you sight your Ravin crossbow with greater precision every time.
Set a Target at a Known Distance to Zero Your Ravin Crossbow
Before you can zero your Ravin crossbow accurately, you need to set up a target at a precise, known distance. This guarantees your adjustments are based on consistent and reliable data, helping you achieve true accuracy. Pick a distance that matches your typical shooting range—commonly 20 or 30 yards for initial zeroing.
Make sure the target is stable and clearly visible so you can easily spot your shots.
Here are some key points to consider when setting your target:
- Choose a flat, open area free from obstacles to prevent interference with your arrow’s flight.
- Use a target with clear markings or a bullseye to easily evaluate shot placement.
- Measure the distance precisely using a tape measure or rangefinder for consistent results.
Setting your target correctly is the foundation for effective sighting and will save you time in later adjustments.
Adjust Your Ravin Crossbow’s Windage and Elevation Knobs
With your target set at a known distance and your shots clearly visible, you’re ready to fine-tune your Ravin crossbow’s windage and elevation knobs. Start by adjusting the windage knob, which moves your point of impact left or right. If your arrows are grouping to the left, turn the knob slightly clockwise to shift the impact right, and vice versa.
Make small adjustments—usually a click or two—before shooting again. Next, focus on the elevation knob, which controls the vertical placement of your shots. If your shots land below the target, raise the elevation by turning the knob upward; if they’re too high, lower it accordingly.
Shoot Groupings to Evaluate Your Ravin Crossbow Sight
Once you’ve made adjustments to the windage and elevation knobs, the best way to evaluate your Ravin crossbow sight is by shooting groupings. This means firing several arrows at the same target and observing how close together they land. Tight groupings indicate your sight is well aligned, while scattered shots suggest further adjustments are needed.
When shooting groupings, keep these tips in mind:
- Use a stable shooting position to minimize human error.
- Shoot at a consistent distance to get reliable results.
- Record your arrow impacts to track changes over multiple attempts.
Fine-Tune Sight Adjustments Based on Arrow Impact
Your shot groupings will reveal exactly where your sight needs tweaking. When your arrows consistently hit left or right of your target, adjust the windage knob accordingly—turn it right to move your impact point right, and left to move it left. If your arrows land high or low, use the elevation knob to correct the vertical alignment—turn it down to lower your impact and up to raise it.
Make small, incremental adjustments; a quarter-turn can make a noticeable difference. After each change, shoot a new group to see how the impact shifts. This step-by-step approach helps you zero in on precise settings without overcorrecting.
Keep track of your adjustments, so you know which direction improves accuracy. Fine-tuning is all about patience and precision—don’t rush it. Once your arrows cluster tightly on the bullseye, you’ll know your Ravin crossbow sight is dialed in perfectly for consistent, accurate shooting.
Confirm Your Zero at Multiple Distances
To make sure your Ravin crossbow is truly zeroed, you need to test it at different distances. This helps you spot any changes in accuracy and adjust your sight accordingly.
Importance Of Distance Variation
Although you might be tempted to zero your Ravin crossbow at just one distance, confirming your zero at multiple ranges is essential for accuracy. This practice helps you understand how your crossbow performs over various distances and adjusts for any trajectory changes.
By testing at different points, you can assure your shots stay true whether you’re close or far from your target.
Here’s why varying distances matters:
- It reveals how your bolt’s trajectory changes with distance, allowing better aiming adjustments.
- It helps identify the effective range where your crossbow maintains precision.
- It prevents surprises during actual use by preparing you for real-world shooting conditions.
Techniques For Accurate Confirmation
When confirming your zero at multiple distances, it’s essential to use consistent techniques that minimize variables affecting your shot. Always shoot from a stable position, using a rest or sandbag to reduce movement. Make certain your crossbow is held the same way for every shot to maintain consistency.
Use the same type and weight of bolts throughout your testing to avoid performance differences. Record each shot carefully, noting the distance and point of impact. Take multiple shots at each distance to verify repeatability.
Also, guarantee environmental factors like wind and lighting are as steady as possible. By applying these techniques, you’ll get reliable data on how your crossbow performs at varying ranges, helping you confirm your zero accurately.
Adjustments Based On Results
After gathering consistent data from your shots at various distances, you can start making precise adjustments to your Ravin crossbow. Verify your zero at multiple ranges ensures your sights are truly dialed in for practical use. Begin by testing at close range, then move out to longer distances, noting any deviations.
Adjust your scope or sights based on these observations to improve accuracy. Here’s what to focus on when making adjustments:
- Vertical alignment: Correct for arrow drop by moving the scope up or down.
- Horizontal alignment: Adjust left or right to counteract wind or crossbow inconsistencies.
- Repeat testing: Confirm changes by shooting at all distances again until consistent results are achieved.
This process guarantees your crossbow performs reliably in real scenarios.
Lock Your Ravin Crossbow Sight Settings
Before you move on, you’ll want to lock your Ravin crossbow sight settings to guarantee consistency and accuracy during your shots. Once you’ve dialed in your sight and confirmed it’s hitting your intended point of impact, securing those settings prevents any accidental movement that could throw off your aim later. Most Ravin crossbow sights feature a locking mechanism—usually a knob or lever—that you turn or flip to hold the adjustments firmly in place.
Make sure the sight is perfectly aligned before engaging this lock. Double-check your zero at varying distances if possible, then tighten the lock without forcing it, ensuring everything stays stable but undamaged. Remember, a locked sight keeps your settings reliable, so every shot you take matches your initial calibration.
This step is essential because any shift after you’ve sighted in can result in missed opportunities in the field. Locking your sight settings gives you confidence and consistency in every shot you make.
Keep Your Ravin Crossbow Sight Accurate With Regular Maintenance
To keep your Ravin crossbow sight performing at its best, you’ll need to commit to regular maintenance. Dirt, moisture, and wear can quickly throw off your sight’s accuracy, so staying on top of upkeep guarantees consistent performance and longevity.
Regular maintenance is essential to preserve your Ravin crossbow sight’s accuracy and ensure lasting performance.
After every use, give your sight a thorough inspection and cleaning to remove debris that might affect visibility or alignment.
Focus on these key maintenance tasks:
- Clean the lenses: Use a soft, lint-free cloth and lens cleaner to keep your sight crystal clear.
- Check for loose screws: Tighten any loose parts to maintain sight alignment.
- Lubricate moving parts: Apply recommended lubricant sparingly to prevent rust and ensure smooth adjustments.
Frequently Asked Questions
What Type of Arrows Work Best With a Ravin Crossbow?
You’ll want carbon arrows specifically designed for crossbows, usually around 20-22 inches long. They’re lightweight, durable, and maintain accuracy.
Make sure they match your Ravin’s specifications for best performance and safety.
How Often Should I Replace My Crossbow Strings?
They say, “An ounce of prevention is worth a pound of cure.”
You should replace your crossbow strings every 1,000 shots or at least once a year
to keep your bow performing safely and effectively.
Can I Use a Scope Instead of Traditional Sights on My Ravin Crossbow?
Yes, you can use a scope instead of traditional sights on your Ravin crossbow. Scopes often provide better accuracy and target acquisition, especially at longer distances, making them a popular upgrade for serious shooters like you.
They allow for more precise aiming and can improve your overall shooting experience. Just ensure the scope you choose is compatible with your specific Ravin model. Proper mounting and zeroing are essential for optimal performance.
What Safety Gear Is Recommended When Shooting a Ravin Crossbow?
You should always wear safety glasses to protect your eyes and use ear protection if noise is loud. Gloves can help with grip, and a shooting glove or armguard protects your forearm from string slap.
How Do Weather Conditions Affect Crossbow Performance?
You’ll notice that rain, wind, and cold can all affect your crossbow’s accuracy and bolt speed. Wind can push your shot off course, while moisture might cause slippery grips or affect string tension, so always adjust accordingly.
Conclusion
Now that you’ve zeroed your Ravin crossbow, your sight becomes the compass guiding every arrow’s flight. Like a painter perfecting strokes on a canvas, each adjustment sharpens your aim, turning shots into art.
Keep your sight tuned and locked, and with steady hands and a keen eye, you’ll dance with precision across the range.
Remember, a well-sighted crossbow isn’t just a tool—it’s the whisper of success in every silent release. Proper sighting is key to mastering your Ravin crossbow and achieving consistent accuracy with every shot.