How to Sight a Scope at 27 Yards in 7 Easy Steps
To sight your scope at 27 yards accurately, it is essential to start with a clean and properly mounted rifle and scope. Ensuring your equipment is well-prepared sets the foundation for precise adjustments.
Setting up a stable shooting position with a clear target at 27 yards helps improve your shot consistency and accuracy.
Look through the scope and make small windage and elevation adjustments. Fire a few test shots, then observe where they hit.
Fine-tune your adjustments to center your group on the bullseye.
Confirm your zero with multiple consistent shots.
Regularly maintain your setup to ensure lasting accuracy.
Keep practicing, and you’ll master every step of sighting your scope at 27 yards.
Key Takeaways
- Securely mount and clean your rifle and scope, ensuring all components are tight and the reticle is centered.
- Position the target at 27 yards on a stable, level surface with a clear line of sight.
- Use a solid rest and maintain a consistent shooting stance for steady, accurate shots.
- Adjust windage and elevation turrets slowly to align the reticle with the bullseye after initial test shots.
- Fire multiple groups, fine-tune adjustments, and confirm consistent shot placement to verify your zero.
Prepare Your Rifle and Scope for 27-Yard Zeroing
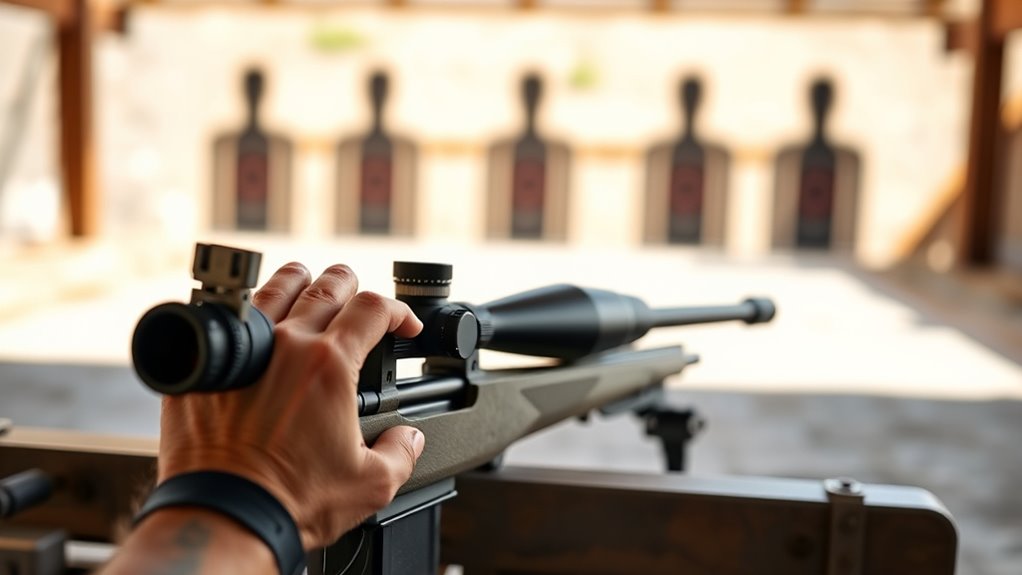
Before you zero your scope at 27 yards, make sure your rifle is clean and all components are securely mounted. Any dirt or loose parts can affect accuracy and consistency, so take a moment to inspect the barrel, action, and scope rings. Use a cleaning kit to remove fouling from the barrel, and double-check that your scope is tightly fastened to prevent shifting during shooting.
Next, confirm that your scope’s reticle is properly aligned. Look through it and adjust the turrets to bring the crosshairs to the center if needed. Also, set the magnification to a level that allows you to see the target clearly without too much shake.
Make sure your rifle is unloaded while making these preparations for safety. By completing these steps, you’ll ensure your equipment is ready and reliable, which lays the foundation for a precise 27-yard zero.
Set Up a Stable Shooting Position and Target
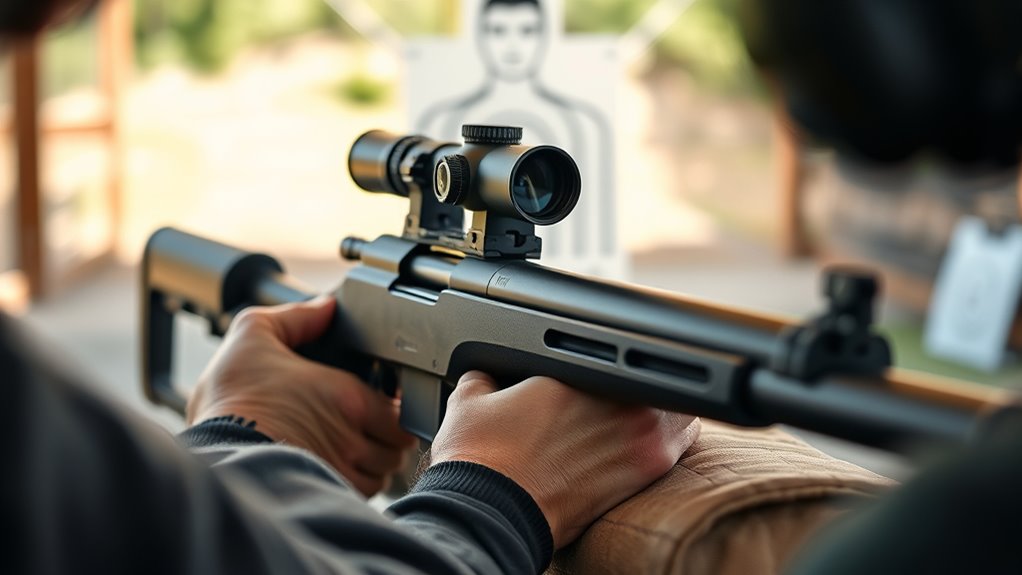
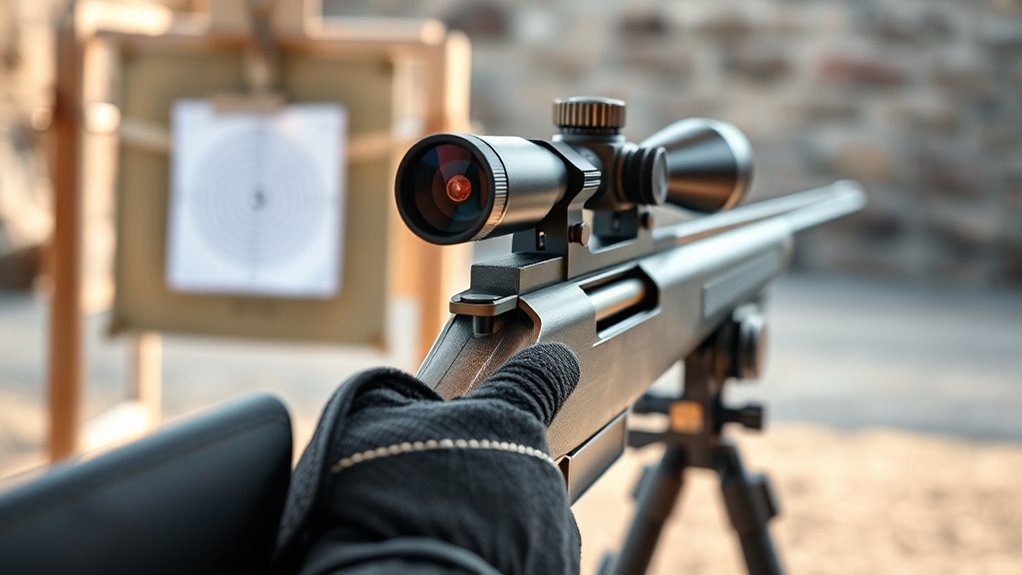
Once you’ve prepared your rifle and scope, you’ll need to create a steady shooting position that minimizes movement and maximizes accuracy. Find a flat, stable surface like a bench or shooting table to rest your rifle on. Use a solid rest, sandbags, or a shooting bipod to support the front and rear of your rifle, preventing any wobble.
Sit or lie down comfortably, ensuring your body is relaxed but firmly positioned behind the rifle to absorb recoil. Position your target precisely at 27 yards, using a clear, visible aim point—like a bullseye or a small, contrasting dot. Guarantee the target is well-lit and easy to see through your scope.
Double-check that your line of sight is unobstructed and that the target is perpendicular to your shooting position to avoid angle errors. Taking the time to set up properly now will make your sighting process smoother and more accurate, giving you reliable results.
Make Initial Adjustments to Your Scope Alignment
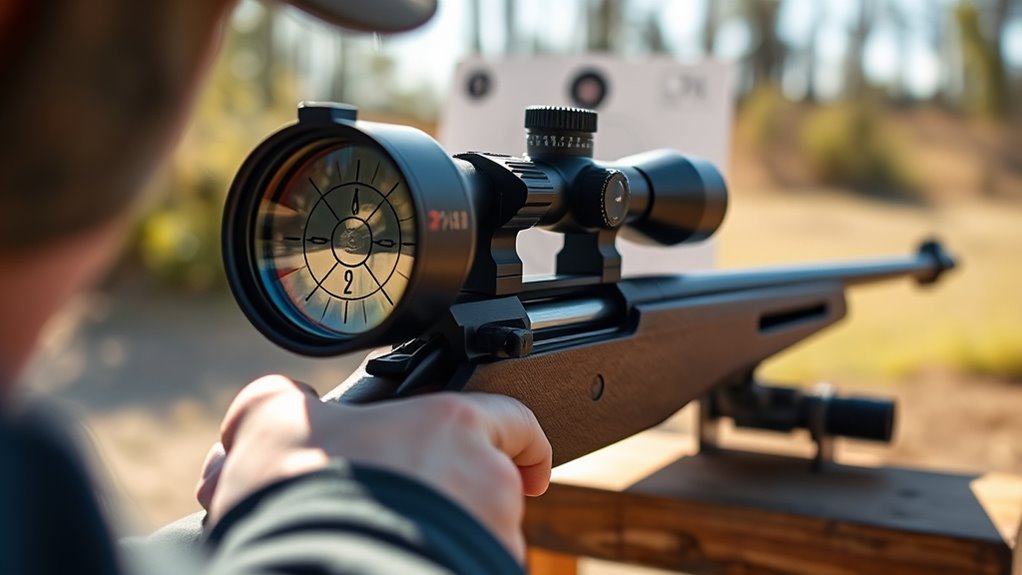
Although your scope might look aligned at first glance, you’ll need to make initial adjustments to verify your reticle is perfectly centered on the target at 27 yards. Start by looking through the scope and adjusting the windage (left/right) and elevation (up/down) turrets. Turn them slowly while observing the reticle’s movement relative to the target.
Your goal is to move the reticle so it rests exactly on the bullseye.
Use the table below to guide your adjustments:
| Adjustment Direction | Effect on Reticle Position |
|---|---|
| Windage: Right | Moves reticle to the right |
| Windage: Left | Moves reticle to the left |
| Elevation: Up | Moves reticle upward |
| Elevation: Down | Moves reticle downward |
Make small, deliberate turns and retake your sight picture after each. This careful process ensures your scope is accurately aligned before you proceed to test your shots.
Fire Test Shots and Check Your Accuracy
After you’ve carefully adjusted your scope to center the reticle on the bullseye, it’s time to fire some test shots to see how accurate your adjustments really are. Set up your target at 27 yards and take a controlled, steady shot, focusing on your breathing and trigger pull. After each shot, observe where the bullet hits in relation to the bullseye.
If your shots cluster around the center, you’re on the right track. However, if they consistently land off-target, note the direction and distance from the bullseye. This feedback is crucial for understanding how your initial adjustments performed under real conditions.
Remember to keep your shooting position and technique consistent to avoid introducing variables. Firing several shots will provide a better picture of your scope’s current accuracy. Once you’ve gathered this information, you’ll be ready to make precise corrections and improve your aim effectively.
Fine-Tune Windage and Elevation on Your Scope
Now it’s time to fine-tune your scope by adjusting the windage knob to move your point of impact left or right. Use the elevation dial to raise or lower your shot placement until it’s on target.
Finally, confirm your zero alignment by taking a few more test shots to verify everything’s dialed in perfectly.
Adjusting Windage Knob
When you’re ready to fine-tune your scope, adjusting the windage knob is essential for aligning your reticle with the target horizontally. The windage knob, usually located on the side of your scope, moves the reticle left or right. Start by shooting a group at 27 yards and observe where the bullets land compared to your target’s center.
If the shots are to the left, turn the windage knob in the direction indicated—usually clockwise—to move the reticle right, and vice versa if shots are to the right. Make small adjustments, typically 1/4 MOA or 1 click at a time, then shoot again to check your progress. Repeat until your group centers perfectly on the target horizontally.
This careful tuning guarantees better accuracy before moving on to elevation adjustments.
Elevation Dial Techniques
Though you’ve already dialed in the windage, you’ll want to focus on the elevation dial next to guarantee your shots hit the target vertically. Start by firing a group of shots at your 27-yard target and observe where they land compared to your aiming point. If your shots are hitting low, turn the elevation dial clockwise to raise the point of impact.
If they’re high, turn it counterclockwise to lower the impact. Make small, deliberate adjustments and fire another group to see the effect. Keep track of how many clicks you turn the dial, as most scopes move ¼ or ½ MOA per click.
Continue adjusting until your shots cluster consistently on the vertical center of the target. This precision guarantees your scope is properly zeroed for elevation.
Confirming Zero Alignment
Once you’ve adjusted your elevation dial to get your shots vertically aligned, it’s time to confirm that both windage and elevation settings work together to zero your scope accurately. Begin by firing a three-shot group at the target’s center. Observe where the group lands in relation to the bullseye.
If your shots consistently hit left or right, adjust the windage dial accordingly—right to move your point of impact right, left to move it left. After each adjustment, fire another group to check your progress. Remember, small, incremental changes are key to avoid over-correcting.
Continue fine-tuning until your shot group consistently centers on the bullseye. This process guarantees your scope’s windage and elevation are perfectly aligned, giving you confidence in your accuracy at 27 yards and beyond.
Confirm Your Scope Zero With Multiple Groups
Now that your adjustments are set, shoot multiple groups to check for consistent accuracy.
If your shots stay tight and on target, your zero is confirmed.
If not, make small tweaks and test again until you’re satisfied.
Verify Consistent Grouping
Before you finalize your scope zero, you’ll want to verify consistent grouping by shooting multiple groups at the same distance. This helps confirm your adjustments are reliable and your shots are accurate. Take your time to fire at least three groups of three to five shots each without changing your sights.
Pay close attention to the size and placement of each group on the target. If your groups are tight and centered around your point of aim, you can be confident your scope is properly zeroed. However, if the groups scatter or shift markedly, it might indicate issues with your shooting technique, environmental factors, or scope setup.
Verifying consistent grouping is crucial for dependable precision before moving on to further adjustments.
Adjust Based On Results
Although you’ve checked for consistent grouping, you’ll still need to make precise adjustments based on your shot placement to confirm your scope zero. Fire multiple groups of shots, aiming carefully each time, to see where your rounds consistently hit relative to the bullseye.
If your groups are off-center, adjust your windage and elevation turrets accordingly—move the point of impact toward the center. After each adjustment, shoot another group to verify the change. Repeat this process until your shots consistently cluster around the bullseye.
Confirming zero with multiple groups ensures your scope is accurately aligned, accounting for any minor inconsistencies. Taking the time to adjust based on real results will give you confidence that your scope is truly zeroed at 27 yards.
Maintain Your Scope Zero for Consistent Accuracy
Since even small bumps or temperature changes can throw off your scope, maintaining its zero is essential for consistent accuracy. To keep your scope dialed in, you’ll want to develop good habits that protect its settings no matter the conditions.
Here’s how you can preserve your scope zero effectively:
- Check your mounts regularly to ensure they’re tight and secure.
- Avoid rough handling during transport to prevent jarring the scope.
- Keep the scope clean, wiping lenses and body gently to avoid scratches.
- Store your rifle in a stable environment, avoiding extreme temperatures or humidity.
- Re-verify zero after any major adjustment or long-range shooting session.
Frequently Asked Questions
What Type of Ammunition Is Best for Sighting in a Scope?
You’ll want to use the same ammunition you plan to hunt or shoot with, preferably high-quality, consistent rounds. Match-grade ammo reduces variability, helping you zero your scope accurately without surprises later in the field or range.
How Often Should I Re-Zero My Scope for Consistent Accuracy?
You should re-zero your scope at least every 100 rounds or after any significant impact.
Studies show shooters lose up to 20% accuracy without regular adjustments, so don’t skip this step if you want consistent precision.
Can Environmental Factors Affect Sighting at 27 Yards?
Yes, environmental factors like wind, lighting, and temperature can affect sighting at 27 yards. You’ll want to adjust for these conditions to maintain accuracy, especially when wind shifts or lighting changes dramatically during your session.
Being aware of these changes helps you make quick corrections. This ensures your aim remains precise despite varying conditions. Paying attention to the environment is key to consistent performance.
What Tools Do I Need Besides the Rifle and Scope?
You’ll need a stable shooting rest or sandbags to steady your rifle, a target placed at 27 yards, a measuring tape to confirm distance, and possibly a bore sight tool to help align your scope before fine-tuning.
How Do I Adjust My Scope for Different Lighting Conditions?
You’ll want to adjust your scope’s brightness or reticle intensity depending on lighting. Use lower settings in bright conditions and higher settings in low light.
Many scopes have easy-to-turn knobs or digital controls for this.
Conclusion
Now that you’ve mastered sighting your scope at 27 yards, you’re holding the key to precision in your hands. Like a captain steering through calm seas, your adjustments keep your aim steady and true.
Remember, patience and practice are your best friends—fine-tune regularly, confirm your zero, and maintain it well. With these steps, hitting your target becomes second nature, turning every shot into a bullseye moment.
Keep aiming high! By following these easy steps to sight a scope at 27 yards, you ensure consistent accuracy and improved shooting performance every time.