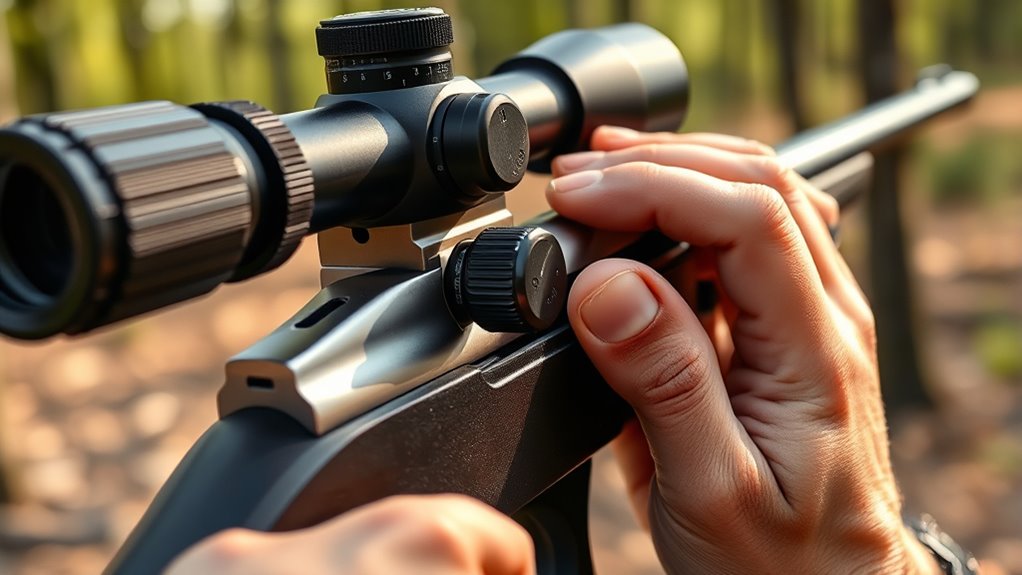
When Sighting in a Scope – 10 Steps for Which Way to Turn
When sighting in your scope, it’s crucial to know which way to turn the knobs for precise adjustments. Start with a stable shooting position and a steady rest to ensure consistency.
Understanding your scope’s elevation (up/down) and windage (left/right) controls, marked on the turrets, is essential for accurate sighting.
Fire a group and carefully note where the shots land. Turn the elevation knob to move shots up or down, and adjust the windage knob to correct left or right deviations.
Make small, precise adjustments to avoid overcorrecting your aim.
Always confirm your zero at various distances to maintain reliability.
Following these steps guarantees accuracy, and there’s more to mastering scope adjustments ahead.
Key Takeaways
- Turn the elevation turret “UP” to raise bullet impact and “DOWN” to lower it based on shot placement.
- Adjust the windage turret “L” to move impact left and “R” to move it right relative to the target.
- Make small incremental adjustments, firing groups after each change to verify shot placement shifts.
- Use the scope’s click value (e.g., ¼ MOA per click) to calculate precise turret turns.
- Reverse adjustments gradually if shots overshoot the target, dialing back by half the overshoot clicks.
Start With a Proper Shooting Position and Stable Rest
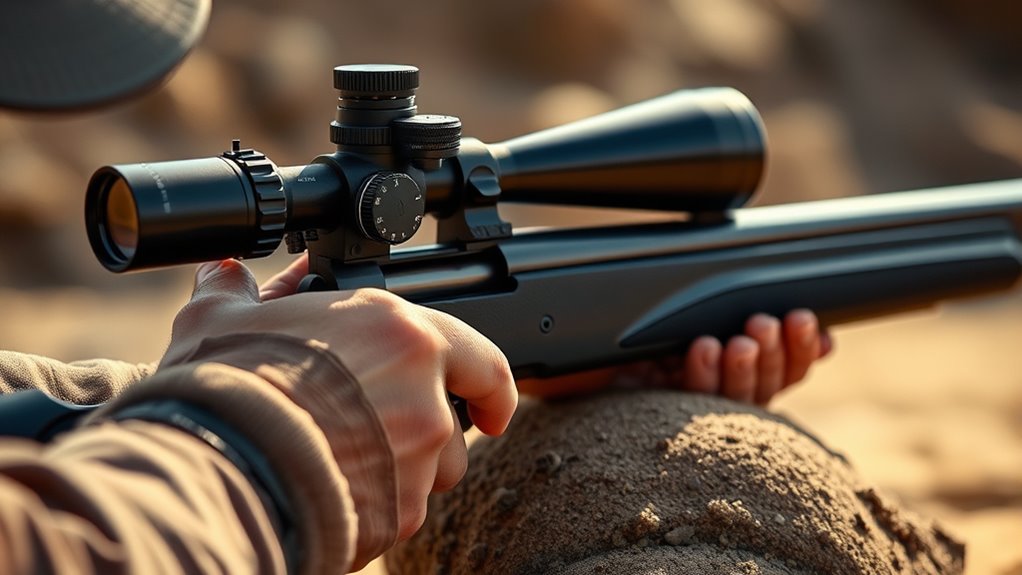
Before you begin sighting in your scope, make sure you’ve settled into a proper shooting position with a stable rest. This foundation is essential for accuracy. You’ll want to lie prone or sit with your elbows firmly planted, minimizing movement.
Use a solid support like a bench rest, sandbags, or a bipod to steady your rifle. Avoid holding your gun solely by hand, as even slight muscle tension can shift your aim. Your body should be relaxed but steady, allowing for consistent shots.
Keep your cheek weld firm and repeatable, ensuring your eye aligns perfectly with the scope every time. By eliminating variables caused by unstable positioning, you’ll get more reliable feedback as you adjust your scope. Remember, the steadier your setup, the clearer the pattern of your impacts will be on the target, making it easier to determine which way to turn your scope’s turrets later on.
Understand Elevation and Windage Controls on Your Scope
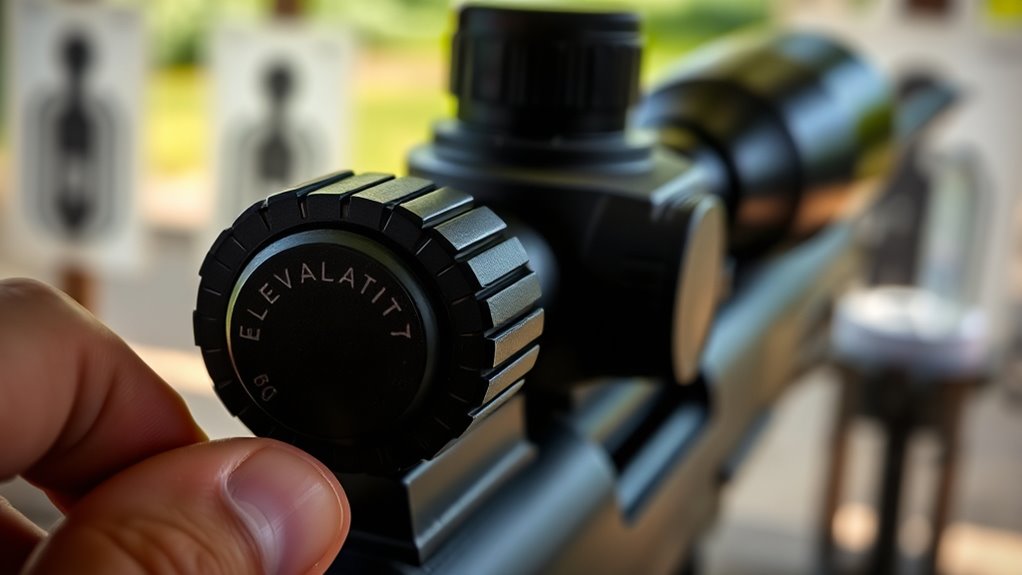
Now that you’ve got a stable shooting position, it’s important to understand your scope’s elevation and windage controls. Elevation adjustments move your point of impact up or down, while windage controls shift it left or right.
Knowing how these work helps you make precise corrections when sighting in.
Elevation Adjustment Basics
Although adjusting your scope can seem tricky at first, understanding elevation and windage controls is essential for accurate shooting. Elevation adjustment moves your reticle up or down to compensate for bullet drop over distance. When you shoot low on the target, you’ll need to turn the elevation knob to raise the point of impact.
Most scopes have markings indicating “up” or “down” on the turret, so follow those to modify properly. Make small, incremental turns and shoot groups to confirm changes before making further adjustments. Remember, each click typically moves the point of impact a specific fraction of an inch or MOA at a set distance, so knowing your scope’s click value helps you dial in precisely.
Mastering elevation adjustment ensures your shots hit exactly where you aim.
Windage Control Explained
Since you’ve learned how elevation adjustments affect your shot, it’s equally important to understand windage control, which moves your reticle left or right to compensate for wind or other horizontal factors. Windage adjustments help you counteract crosswinds or any lateral deviation, ensuring your bullet hits the intended target.
Typically, turning the windage knob right moves the point of impact right, and turning it left moves it left. Knowing how much to adjust depends on wind speed, direction, and distance.
| Wind Speed (mph) | Adjustment Direction | Approximate Clicks* |
|---|---|---|
| 5 | Right | 2 |
| 10 | Right | 4 |
| 15 | Left | 6 |
| 20 | Left | 8 |
| Calm | None | 0 |
*Clicks vary by scope model.
Find and Understand Your Scope’s Direction Markings
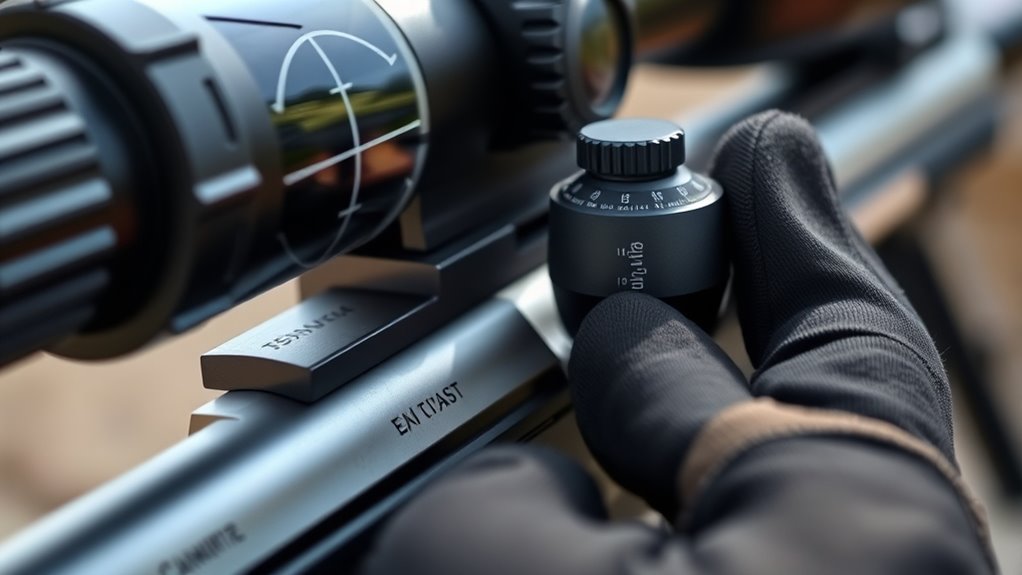
Before you start adjusting your scope, you’ll want to familiarize yourself with the direction markings on the turrets. These markings tell you which way to turn to move your point of impact—usually labeled as “UP” and “DOWN” on the elevation turret, and “L” (left) and “R” (right) on the windage turret. Knowing these markings prevents you from guessing and making incorrect adjustments.
Each click of the turret typically corresponds to a specific increment, like ¼ MOA or ½ MOA, which moves the bullet’s impact a set distance at 100 yards. Make sure you understand your scope’s click value and how it translates to distance on your target. If you turn the turret in the wrong direction, you’ll move your shots away from where you want them.
Fire a Group and Interpret Your Shot Placement
Once you know which way to turn your turrets, it’s time to take some shots and see where your bullets land. Fire a tight group of three to five rounds at your target, aiming carefully each time without changing your position or hold. This group will reveal how your current scope settings align with the point of impact.
After firing, examine your target to identify the center of your group relative to your aiming point. Is the cluster of holes left, right, high, or low? This pattern tells you exactly how your scope adjustments are performing.
Don’t focus on a single shot but rather the overall group’s position. Interpreting this group placement accurately helps you decide which turret adjustments to make next. By consistently firing groups and noting their placement, you’ll efficiently zero your scope and improve your shooting precision moving forward.
Adjust Scope Elevation Knob Based on Shot Group Height
If your shot group lands above or below your aiming point, you’ll need to adjust the scope’s elevation knob to bring the point of impact in line vertically. The elevation knob is usually located on the top of the scope and controls the up and down movement of the reticle. To move your shot group down, turn the elevation knob in the direction marked “Down” or “Down Clicks.”
Conversely, to raise your shot group, turn the knob toward the “Up” or “Up Clicks” direction. Make small adjustments, usually in quarter or half-minute-of-angle (MOA) increments, then fire another group to verify changes. Keep track of how many clicks you’ve made so you can return to zero if needed.
Adjust Scope Windage Knob for Left or Right Corrections
Although you’ve already adjusted the elevation to align your shots vertically, you’ll now need to focus on the windage knob to correct horizontal placement. If your shots land to the left of the target, turn the windage knob in the direction marked “right” or “R” to move the reticle accordingly. Conversely, if your shots land right of the target, turn the knob toward the “left” or “L” marking.
Each click typically moves the point of impact a small, precise increment, often measured in minutes of angle (MOA), so make adjustments carefully. Before adjusting, confirm that your rifle is stable and that you’re aiming consistently at the same spot. Remember, the windage knob shifts the reticle horizontally inside the scope, compensating for lateral deviations caused by factors like wind or slight misalignment.
Make Small Adjustments and Recheck Your Shot Group
You’ll want to make small adjustments to your scope to avoid overcorrecting. After each tweak, take a few shots to check if your group stays consistent.
This careful process helps guarantee your sighting is accurate and reliable.
Adjust In Small Increments
When adjusting your scope, make small tweaks and then test your shot group before making further changes. This approach helps you avoid overcorrecting and wasting time. Instead of turning the adjustment knobs several clicks at once, try making one or two clicks in the direction you want your point of impact to move.
After each small increment, fire a few rounds to see how your group shifts. This method allows you to track how each adjustment affects your shots and prevents large, unnecessary corrections. Remember, patience is key.
Fine-tuning your scope in small steps ensures greater accuracy and helps you zero in on your target effectively, without guessing or frustration. Keep adjustments precise and controlled to get the best results.
Confirm Group Consistency
Since even small adjustments can affect your shot placement, it’s important to verify group consistency after each change. After making a minor turn on your scope, fire a new group of shots rather than just one. This helps you see if your adjustments are moving the point of impact as expected.
If the group remains tight and shifts in the right direction, you’re on the right track. However, if your shots scatter or don’t move consistently, double-check your scope settings and mounting. Consistency guarantees that your scope adjustments translate into predictable results.
Keep making small tweaks and retesting until your shot groups stay tight and aligned with your target. This methodical approach saves time and frustration in the long run.
Fix Overcorrections: When and How to Reverse Adjustments
Although it can be frustrating to realize you’ve overcorrected your scope adjustments, knowing when and how to reverse those changes is essential for accurate sighting. When your shots start drifting past the target in the opposite direction, it’s a clear sign you’ve gone too far. Instead of making large adjustments to compensate, take smaller, controlled steps back toward your original zero.
Begin by noting how many clicks you turned past the point of impact, then carefully dial in the opposite direction by half that amount. This cautious approach prevents further overshooting and helps you fine-tune your alignment. After each reverse adjustment, fire a group to confirm if you’re moving closer to the bullseye.
Confirm Zero by Shooting Groups at Various Distances
Now that you’ve made adjustments, it’s essential to confirm your zero by shooting groups at different distances. You’ll notice how distance affects your accuracy and group patterns, revealing if further tweaks are needed.
This step guarantees your scope is reliable no matter where you aim.
Group Patterns Analysis
Before you finalize your scope settings, it’s essential to confirm your zero by shooting groups at various distances. Analyzing group patterns helps you identify inconsistencies and adjust accordingly. Look for tight clusters that indicate accuracy and note any consistent shifts to the left, right, high, or low.
This feedback guides your windage and elevation corrections. Keep a log of your group sizes and placements to track progress.
| Distance (yards) | Group Size (inches) |
|---|---|
| 25 | 1.2 |
| 50 | 1.8 |
| 75 | 2.5 |
| 100 | 3.0 |
| 150 | 3.8 |
Use this data to spot trends and confirm your zero before moving on.
Distance Impact on Accuracy
Since shooting groups at multiple distances helps reveal how your scope performs under different conditions, it’s vital to confirm your zero across a range of yardages. Begin with your preferred zero distance, then move to longer and shorter ranges, checking how your point of impact shifts. This lets you see if your adjustments hold true or if environmental factors or ballistic drop affect accuracy.
By comparing group placements, you can fine-tune your scope settings to maintain precision regardless of distance. Remember, a perfect zero at one range doesn’t guarantee the same at another. Consistent grouping at various distances ensures your scope’s reliability, so you confidently adjust your aim when switching targets or distances in real-world scenarios.
This step is indispensable for dependable, accurate shooting.
Keep Your Scope Zeroed and Adjust for Environmental Conditions
Although you’ve carefully zeroed your scope, maintaining that zero is essential to guarantee consistent accuracy in varying conditions. Environmental factors like temperature, humidity, wind, and altitude can subtly shift your bullet’s trajectory, meaning your initial zero might not hold up. Always check your scope’s zero regularly, especially if you’ve changed shooting locations or conditions.
Wind can push your bullet off target, so adjust your scope’s windage accordingly. Temperature affects air density and bullet velocity, so dialing elevation may be necessary on hot or cold days. Humidity and altitude also influence bullet drop, requiring small tweaks to keep your shots precise.
Remember, even slight changes matter, so don’t assume your zero is fixed. Make it a habit to confirm your zero before critical shooting sessions. Use a reliable spotting scope or retest at your usual distance after environmental changes.
Staying proactive ensures your scope stays true, helping you hit your target every time.
Frequently Asked Questions
What Types of Scopes Are Best for Beginners?
You’ll want a simple, durable scope with clear reticles and easy adjustments. Fixed-power or low magnification scopes work best for beginners because they’re less complicated, helping you quickly learn without getting overwhelmed by advanced features or settings.
How Often Should I Clean My Rifle Scope?
You should clean your rifle scope after every few uses, especially if you’re shooting in dusty, wet, or muddy conditions. Regular cleaning keeps your lens clear and guarantees your scope stays accurate and reliable over time.
Can I Use Any Caliber Rifle for Sighting in a Scope?
Can you really use any caliber rifle for sighting in a scope? Yes, you can, but you’ll want to match your scope’s reticle and adjustments to your specific caliber and load for accurate zeroing every time.
What Tools Do I Need Besides the Scope for Zeroing?
You’ll need a stable rest or bipod to steady your rifle, a reliable target placed at a known distance, and possibly a spotting scope or binoculars to see hits clearly.
Don’t forget extra ammo for adjustments.
How Does Altitude Affect My Scope Adjustments?
You’ll find bullets drop about 1 inch for every 100 yards increased in altitude due to thinner air.
Conclusion
When sighting in your scope, steady shooting and smart settings are your secret weapons. Stay patient, make precise, purposeful tweaks, and trust the process to transform your target hits. Remember, mastering movement means minimizing mistakes and maximizing marks—making every shot satisfyingly spot-on.
So, steady your stance, study your scope, and savor the success of sharp, sure shooting. With careful control and consistent corrections, you’ll conquer challenges and confidently claim your clear, crisp zero every time. By following these steps, you ensure that your scope adjustment is accurate and reliable, leading to better shooting performance.