10 Easy Steps to Remove Screws From a Holster
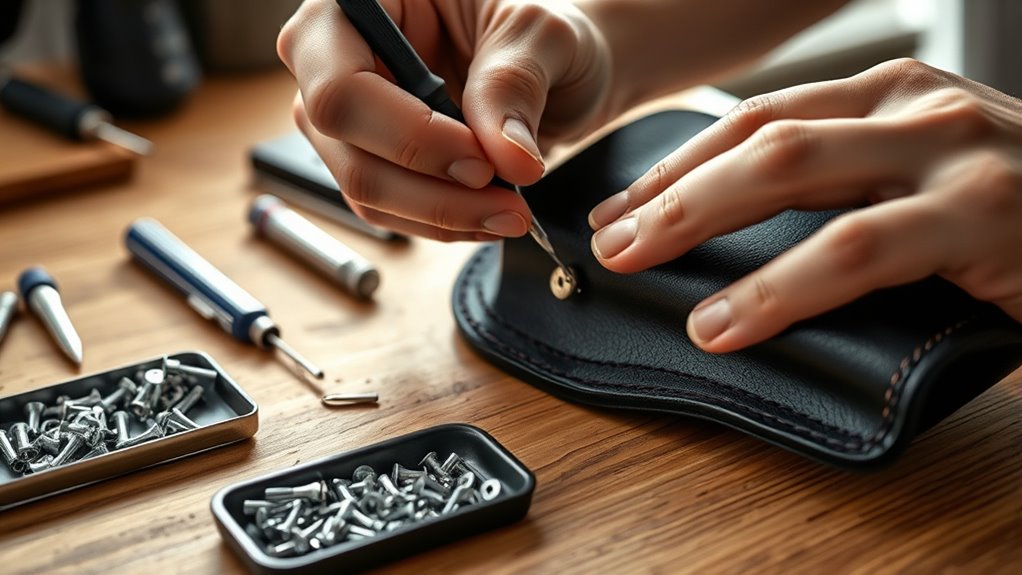
To remove screws from your holster easily, start by gathering the right screwdriver and a small container for screws. Having the proper tools is essential for smooth screw removal. Cleaning around the screws helps prevent dirt from interfering with the process.
Next, check the screws for rust or damage that might make removal harder. Use steady counterclockwise pressure with a firm grip to loosen them. This method ensures you don’t strip the screw heads.
If screws are stuck or stripped, try using rubber bands, penetrating oil, or gentle tapping. These techniques can help free stubborn screws without causing damage.
Keep your tools handy, and if you want to master the full process and tackle tricky screws, there’s more helpful advice ahead.
Key Takeaways
- Identify the screw type and gather appropriate precision screwdrivers or multi-bit drivers for removal.
- Apply penetrating oil to rusted or tight screws and let it sit for 10-15 minutes before attempting removal.
- Use steady, controlled counterclockwise pressure with a firm grip to avoid stripping or damaging the screw head.
- Employ rubber bands or screw extractors to remove stripped screws, or use pliers if the screw protrudes.
- Clean around screws with soft tools and keep removed screws in a magnetic tray to prevent loss during disassembly.
Why and When to Remove Holster Screws
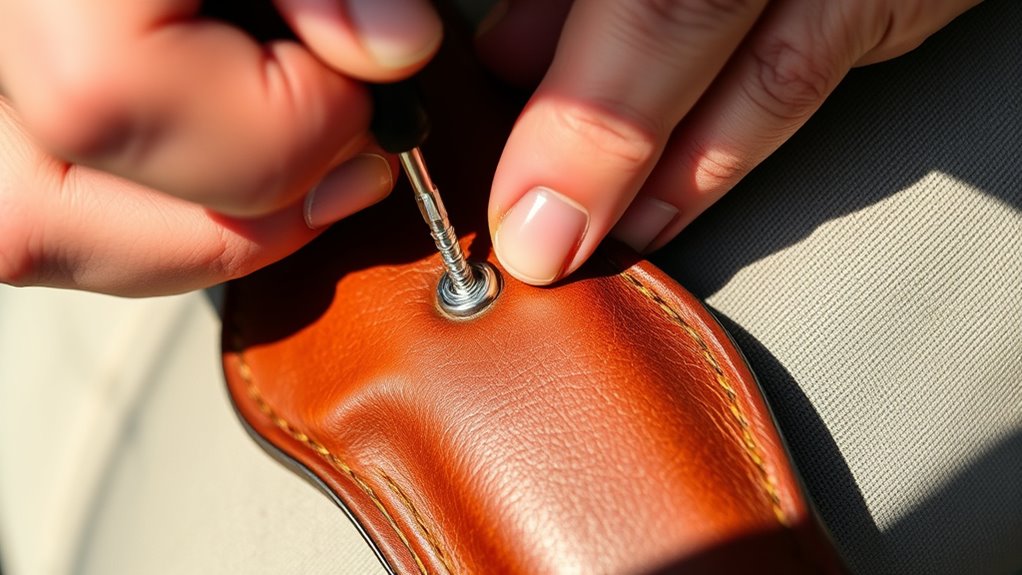
Although holster screws are designed to stay put, you might need to remove them when adjusting retention, replacing worn parts, or customizing your setup. For example, if your holster feels too tight or loose, loosening or tightening the screws lets you fine-tune how securely your firearm fits.
Over time, screws can loosen or parts may wear out, so removing and replacing them guarantees your holster remains safe and functional. You might also want to swap out components, like different belt clips or shells, to better suit your carry style or comfort preferences.
Additionally, if you’re cleaning your holster thoroughly, taking the screws out allows you to separate parts and remove dirt or debris trapped in hard-to-reach areas. Knowing when to remove these screws helps you maintain your gear’s performance and longevity. Just remember, removing screws only when necessary prevents unnecessary wear and keeps your holster reliable.
Gather Essential Tools for Holster Screws
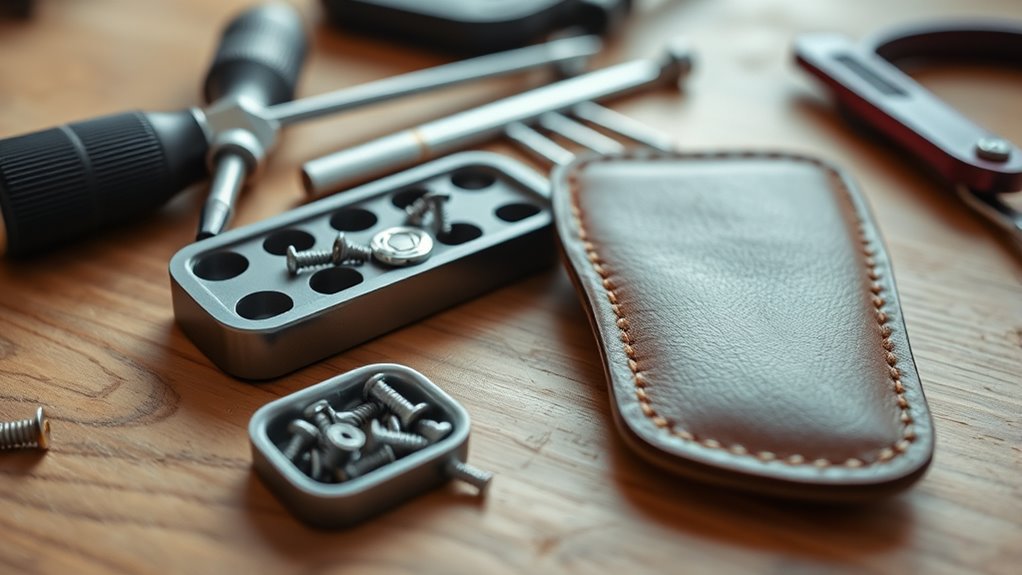
When you’re ready to adjust or clean your holster by removing its screws, having the right tools on hand makes the process much smoother. First, identify the type of screws your holster uses—Phillips, flathead, Torx, or hex—so you can pick the correct screwdriver or bit. Using the wrong tool can strip the screw heads, making removal difficult.
Gather a set of precision screwdrivers or a multi-bit driver, which gives you flexibility for different screw types and sizes. You’ll also want a small magnetic tray or container to keep the screws safe once removed. If the screws are tight, a bit of penetrating oil can help loosen them, but don’t forget a clean cloth to wipe away excess.
Having these essentials ready before you start ensures you won’t get stuck halfway through, saving time and preventing damage to your holster or screws.
Clean Around Holster Screws to Remove Dirt
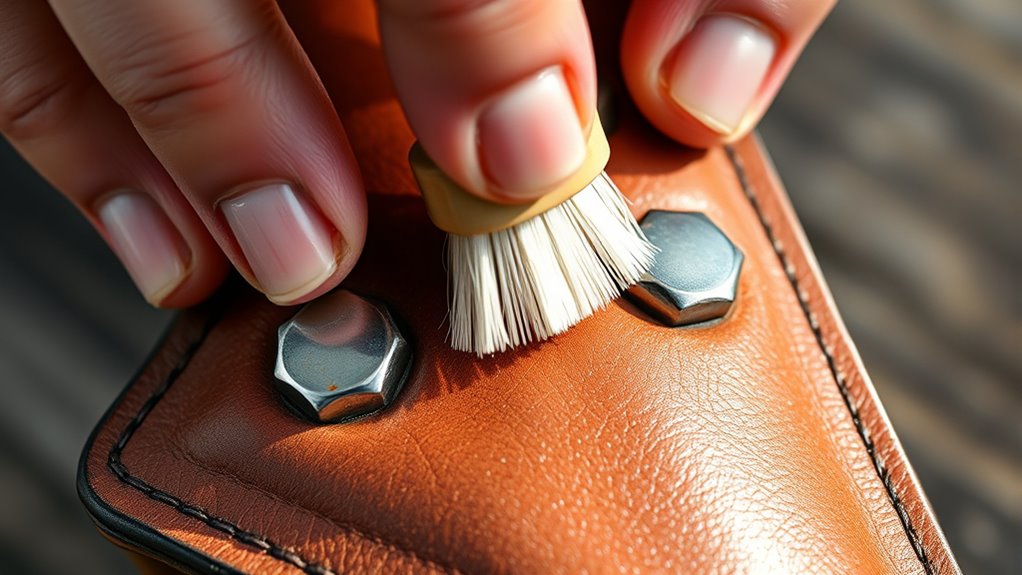
Before you start removing screws, it’s important to clean the area around them to get rid of any dirt or debris. Using a small brush or a cloth can help prevent damage to the screws and guarantee they turn smoothly.
Taking this step will make the removal process much easier and protect your holster from unnecessary wear.
Importance Of Cleaning
Why is cleaning around your holster screws so essential? Dirt and debris can build up in those tiny crevices, making it harder to loosen or remove the screws when needed. If you skip cleaning, grime might cause the screws to stick or even damage the threads, leading to frustrating repairs or replacements.
Keeping the area clean also helps maintain your holster’s overall condition and ensures smooth adjustments. Plus, it prevents rust or corrosion that could weaken the screws over time. By regularly cleaning around the screws, you’re protecting both the hardware and your holster’s functionality.
Tools For Dirt Removal
Although cleaning around holster screws might seem simple, having the right tools makes the job much easier and more effective.
You’ll want tools that reach tight spots and remove dirt without damaging the screws or holster material.
Here’s a quick guide to essential tools for dirt removal:
| Tool | Purpose | Tip |
|---|---|---|
| Toothbrush | Scrubs dirt from crevices | Use soft bristles |
| Cotton swabs | Cleans tight spots | Slightly dampen for better cleaning |
| Microfiber cloth | Wipes away loosened debris | Avoid rough fabrics |
| Compressed air | Blows out loose particles | Hold at an angle to avoid moisture |
| Small pick tool | Removes stubborn grime | Be gentle to prevent damage |
Using these tools, you’ll clean around screws thoroughly and prepare for easy removal.
Preventing Screw Damage
One key step to prevent screw damage is to thoroughly clean around your holster screws before attempting removal. Dirt and grime can cause your screwdriver to slip, stripping the screw head. To avoid this, follow these steps:
- Use a soft brush to remove loose dirt around the screws.
- Apply a small amount of rubbing alcohol or mild cleaner to a cloth.
- Gently wipe the area surrounding each screw to dissolve stubborn grime.
- Dry the cleaned area completely before proceeding to unscrew.
Inspect Screws and Holster for Rust and Damage
Before you remove the screws, take a close look for any rust that might have built up. You’ll also want to check the holster itself for signs of wear or damage. Catching these issues early can save you from bigger problems later.
Check For Rust
Start by closely examining the screws and the holster for any signs of rust or damage. Rust can weaken the screws, making removal tricky and potentially damaging the holster. Here’s how to check effectively:
- Look for reddish-brown discoloration on the screws and around the holes.
- Inspect for any flaking or rough texture, indicating corrosion.
- Check if rust has caused the screw heads to become rounded or stripped.
- Examine the surrounding holster area for discoloration or signs of moisture damage.
If you spot rust, consider treating the screws with a rust remover or applying a penetrating oil before attempting removal. This will help loosen stubborn screws and protect your holster from further damage during the process.
Assess Holster Condition
Although it might seem straightforward, evaluating your holster’s condition is crucial before attempting to remove screws. Take a close look at both the screws and the holster body for any signs of rust, cracks, or other damage. Rust can weaken screws, making removal tricky and increasing the risk of stripping.
Similarly, cracks or wear in the holster material might mean you need to handle it gently to avoid further damage. If you spot corrosion, consider applying a rust remover or penetrating oil before proceeding. Also, check if any screws are stripped or loose, as this will affect your approach.
Identify and Choose the Correct Screwdriver
Choosing the right screwdriver is essential for removing screws from your holster without causing damage. Using the wrong type or size can strip the screw head or harm the holster material.
Selecting the correct screwdriver prevents screw damage and protects your holster during removal.
To pick the correct one, first examine the screw head carefully. Most holster screws are either flathead, Phillips, Torx, or hex.
Here’s a quick guide to help you:
- Match the Screw Type: Identify if the screw is flathead (single slot), Phillips (cross), Torx (star-shaped), or hex (hexagonal).
- Select the Right Size: The screwdriver tip should fit snugly into the screw head without any wiggle room.
- Check the Handle: Choose a screwdriver with a comfortable grip to give you better control.
- Avoid Makeshift Tools: Don’t substitute with knives or coins; this risks damage.
Use Penetrating Oil to Free Stuck Holster Screws
Once you’ve selected the right screwdriver to avoid damaging your holster screws, you might still encounter some that are stubborn or stuck. In these cases, penetrating oil can be a real lifesaver. Apply a small amount of oil directly onto the screw heads and around the threads where they meet the holster.
Let it sit for at least 10 to 15 minutes to allow the oil to seep into the tight spaces and loosen any rust, dirt, or grime causing the screw to stick. Be sure to apply the oil carefully to avoid getting it on the holster’s surface, especially if it’s made from delicate materials.
After the waiting period, the penetrating oil will have softened the bond holding the screw in place, making it easier to remove. Using this method helps prevent stripping the screws or damaging your holster, saving you time and frustration during the removal process.
Turn Screws Counterclockwise With Steady Pressure
When turning screws counterclockwise, make sure you have a firm grip on your screwdriver to prevent slipping. Apply steady, consistent pressure to avoid stripping the screw head.
This controlled force helps loosen the screw smoothly without causing damage.
Proper Grip Techniques
Although it might seem simple, getting a proper grip on your screwdriver can make all the difference when removing screws from your holster. A secure hold guarantees control and prevents slipping, which could damage your holster or strip the screw.
To master proper grip techniques, follow these steps:
- Use your dominant hand: It provides better strength and control.
- Hold the screwdriver handle firmly: Wrap your fingers around it without excessive tension.
- Position your thumb: Place it opposite your fingers for balanced pressure.
- Keep your wrist straight: This alignment helps maintain consistent torque as you turn.
Adopting these techniques lets you confidently and safely turn screws counterclockwise with steady pressure, making removal smoother and protecting your gear.
Applying Consistent Force
Even if you have a solid grip, you won’t get far without applying consistent force while turning the screw counterclockwise. Sudden jerks or inconsistent pressure can strip the screw head or damage your holster. Keep your movements steady and controlled to guarantee the screw loosens smoothly.
If you feel resistance, pause and adjust rather than forcing it.
Here’s a quick guide to applying consistent force effectively:
| Action | Tip |
|---|---|
| Start Turning | Use moderate pressure |
| Maintain Pressure | Keep a steady, even grip |
| If Stuck | Stop, reposition screwdriver |
Tap the Screwdriver to Loosen Rusty Screws
Why does that rusty screw refuse to budge? Rust creates a stubborn bond between the screw and metal, making it tough to loosen. One effective trick is to tap the screwdriver gently while turning it.
This helps break the rust’s grip without damaging your holster.
Here’s how to do it:
- Fit the screwdriver snugly into the screw head to avoid slipping.
- Hold the screwdriver firmly and tap the handle lightly with a small hammer or a similar tool.
- While tapping, slowly start turning the screwdriver counterclockwise.
- Repeat the tapping and turning until the screw begins to move.
This method combines impact and torque, loosening rust without stripping the screw. Just be careful not to hit too hard, as it can damage the screw or holster. If the screw still won’t move, try applying penetrating oil before tapping again.
Remove Stripped Holster Screws With Rubber Bands or Extraction Tools
If the screw head is stripped and your screwdriver just slips, don’t worry—you can often get a better grip using a simple rubber band or a specialized extraction tool designed for stripped screws.
Place a rubber band flat over the screw head, then press the screwdriver firmly into the rubber band as you turn. The rubber adds friction, helping the driver bite into the stripped slot.
If this doesn’t work, try a screw extractor tool, which bites into the damaged screw and lets you twist it out smoothly.
| Method | Best Use Case |
|---|---|
| Rubber Band | Slightly stripped screw heads |
| Screw Extractor | Severely stripped or damaged screws |
| Flathead Driver | When Phillips head is stripped |
| Pliers | Screws protruding enough to grip |
Both options increase your chances of removing stubborn screws without damaging the holster.
Organize Holster Screws and Replace Damaged Ones
Once you’ve removed the screws from your holster, it’s important to organize them carefully so you don’t lose any and can easily identify which ones need replacing. Start by laying out all the screws on a clean surface, preferably sorted by size and type. This helps you spot any that are stripped, bent, or rusted.
Next, check each screw’s condition and separate damaged ones from the reusable batch.
Here’s a simple way to organize and assess your screws:
- Group screws by length and thread type.
- Inspect each screw for damage or wear.
- Discard any screws that are stripped, bent, or corroded.
- Set aside replacement screws that match your holster’s specifications.
Frequently Asked Questions
Can I Use Power Tools to Remove Holster Screws?
Yes, you can use power tools to remove holster screws, but you should be careful not to strip them or damage the holster. Using a low-speed setting and the correct bit will help you avoid any problems.
Always ensure the bit fits snugly to the screw head to prevent slipping. Applying steady, gentle pressure is better than forcing the tool. This approach helps maintain the integrity of both the screw and the holster.
How Do I Prevent Screws From Loosening Over Time?
Imagine your holster screws loosening during a hike. To prevent that, you can apply a small amount of thread locker like Loctite before tightening. It keeps screws secure, avoiding annoying loosening over time.
This ensures reliability and peace of mind while you’re on the move.
What Materials Are Holster Screws Typically Made Of?
Holster screws are typically made of stainless steel, brass, or sometimes aluminum. You’ll find stainless steel is popular for its strength and corrosion resistance, while brass offers corrosion resistance and a softer grip that won’t damage the holster.
Aluminum is occasionally used for its lightweight properties, though it may not be as durable as the other materials. Each material offers different benefits depending on the specific needs of the holster and user.
Choosing the right screw material helps ensure the longevity and functionality of the holster.
Are There Alternative Fasteners to Screws for Holsters?
Like choosing Excalibur over a common blade, you can opt for rivets, snaps, or even hook-and-loop fasteners instead of screws for holsters. These alternatives offer quick adjustments and a sleek look without the fuss of tools.
How Often Should Holster Screws Be Checked or Replaced?
You should check your holster screws every few months or after heavy use to make certain they’re tight. Replace them if they show signs of wear, stripping, or corrosion to keep your holster secure and reliable.
Regular inspection helps prevent unexpected loosening during use.
Keeping screws in good condition ensures your holster functions properly and safely.
Conclusion
Now that you’ve mastered these simple steps, removing holster screws doesn’t have to be a hassle. With the right tools and a bit of patience, even rusty or stripped screws can come out smoothly. Why struggle with a stuck screw when a few tricks can make the job easy?
Keep your holster in top shape by regularly checking and maintaining its screws. Proper maintenance will save you time and avoid frustration down the road. Use these easy steps to remove screws from your holster and extend its lifespan.