7 Steps to Aim With a Red Dot Sight
To aim with a red dot sight effectively, start by securely mounting the sight on your firearm. Proper alignment is crucial, so position your eye naturally with the sight while keeping both eyes open for better situational awareness.
This foundational step ensures you can quickly acquire your target.
Next, zero the sight at your preferred distance to guarantee accuracy. Adjust the brightness and dot size to suit the lighting conditions and your target’s environment. These settings help enhance visibility and precision.
Once set, steady your stance and grip to maintain control for a precise shot. If you experience any issues, double-check the mounting and sight settings.
Keep practicing to sharpen your aiming skills and troubleshoot like a pro.
Key Takeaways
- Mount and securely align the red dot sight on your firearm’s rail, ensuring it is stable and centered.
- Position your head naturally with both eyes open, focusing on placing the red dot over the target.
- Adjust the brightness and dot size to suit lighting conditions and target distance for clear visibility.
- Zero the sight by firing groups and adjusting windage and elevation until the point of aim matches impact.
- Maintain a stable stance, firm grip, and practice controlled breathing and smooth trigger squeeze for accuracy.
How a Red Dot Sight Works
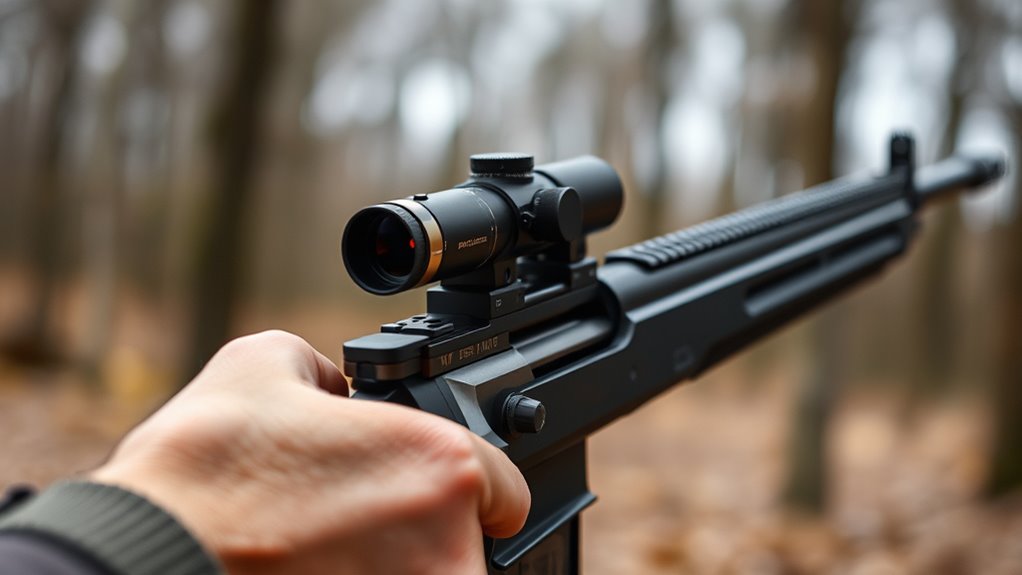
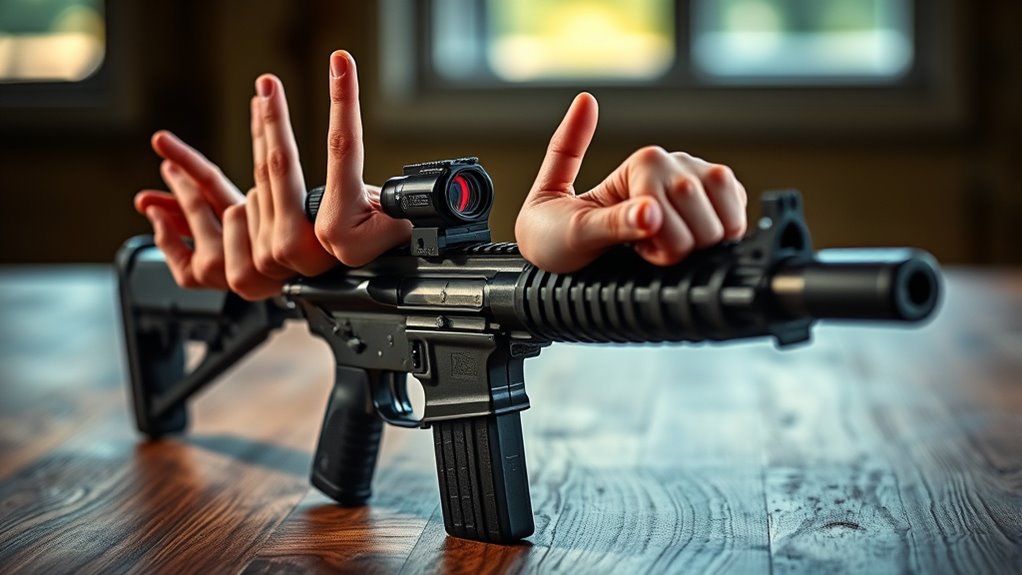
Before you can effectively use a red dot sight, it helps to understand how it works. Basically, it projects a small red dot onto a lens, which you see when you look through the sight. This dot acts as your aiming point, allowing you to focus on your target without aligning traditional iron sights.
The dot is created by an LED light reflecting off a specially coated lens, keeping the image clear and sharp. When you look through the sight, your eye naturally superimposes the red dot over your target. This means you don’t have to perfectly align front and rear sights, speeding up your aim.
The dot’s brightness adjusts so you can see it clearly in different lighting conditions. Since the sight is parallax-free at a certain distance, the dot stays on target even if your head moves slightly. Understanding this will help you use your red dot sight more confidently and accurately.
Mount Your Red Dot Sight Correctly
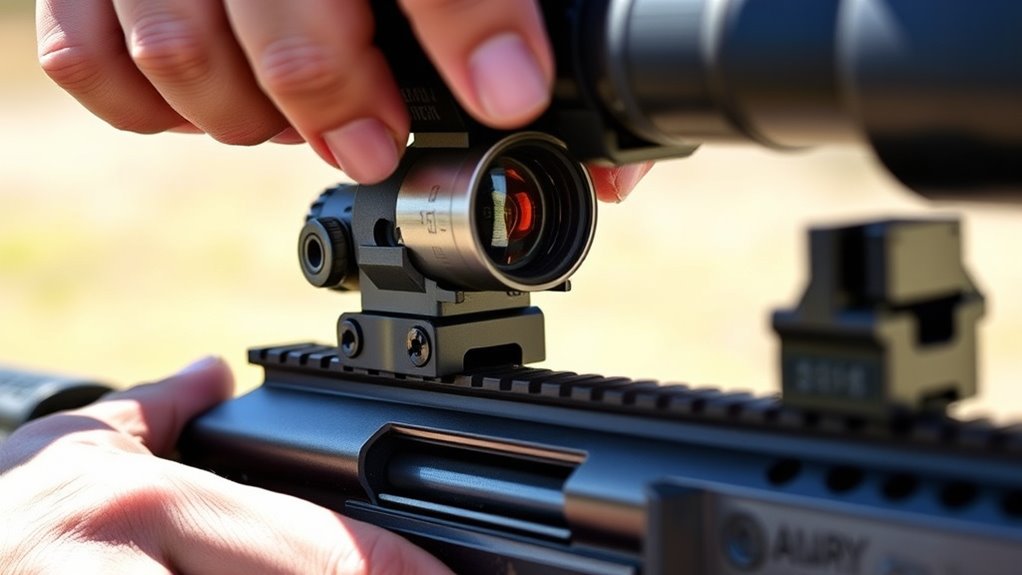
Once you’ve chosen the right red dot sight for your needs, you’ll want to mount it securely to guarantee consistent accuracy. First, verify your firearm is unloaded and safe to handle. Locate the mounting rail—typically a Picatinny or Weaver rail—on your firearm.
Align the sight’s base with the rail slots, making sure it sits flush and straight. Use the appropriate screws or clamps included with your sight, tightening them firmly but without over-torquing to avoid damage. If your sight comes with a quick-detach mount, follow the manufacturer’s instructions to lock it in place securely.
Double-check that the sight is centered and stable; any wobble can affect your shot placement. Finally, inspect your work to confirm everything is tight and properly seated before moving on. Proper mounting ensures your red dot maintains zero and performs reliably every time you use it.
Align Your Eye With the Red Dot Sight
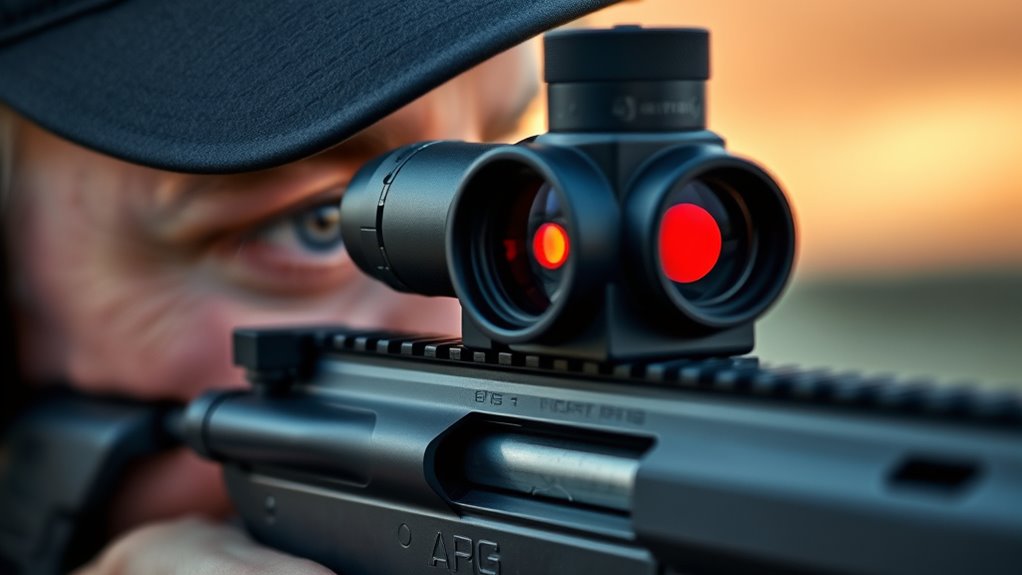
Although mounting your red dot sight correctly is essential, aligning your eye with the sight is what lets you make quick, accurate shots. To do this, position your head so that your eye naturally looks through the sight without strain. You don’t have to be perfectly centered; red dot sights are designed for a wide eye relief, meaning your eye can be several inches away and still see the reticle clearly.
Focus on placing the red dot directly over your target while keeping both eyes open if possible, which improves situational awareness and depth perception. Avoid tilting your head or squinting, as this can cause the dot to appear distorted or off-center. If the dot seems blurry, adjust your distance slightly until it’s crisp.
Zero Your Red Dot Sight at the Right Distance
To get the most out of your red dot sight, you’ll want to zero it at the right distance for your typical shooting range. This means carefully selecting the ideal zero distance and then adjusting the windage and elevation to guarantee your shots hit exactly where the dot points.
Taking the time to fine-tune these settings will improve your accuracy considerably.
Selecting Optimal Zero Distance
How do you know the best distance to zero your red dot sight? It depends on how you plan to use your firearm. For close-quarters or home defense, zeroing at 10 to 15 yards is practical because it aligns your point of aim with your point of impact where you’ll likely engage targets.
If you’re hunting or shooting at longer ranges, zeroing at 25 to 50 yards gives a better balance, allowing your shots to stay accurate over varied distances. Consider your typical shooting scenarios and select a zero distance that matches those needs.
Adjusting Windage and Elevation
Once you’ve chosen the right zero distance, you’ll need to adjust your red dot sight’s windage and elevation to guarantee your point of aim matches your bullet’s impact. Start by securing your firearm on a stable rest and firing a group of shots at the target. Note where the bullets hit in relation to your red dot.
Use the sight’s adjustment knobs or dials to move the dot horizontally (windage) if shots are left or right, and vertically (elevation) if shots are high or low. Make small, deliberate adjustments and fire another group to confirm changes. Repeat this process until the red dot aligns precisely with where your bullet strikes at the chosen zero distance, ensuring accuracy during actual use.
Set Brightness and Dot Size for Clear Visibility
Now that you’ve zeroed your red dot sight, it’s time to adjust the brightness and dot size. You want the reticle to be clearly visible without overpowering your target. Finding the right balance helps you aim quickly and accurately in any lighting condition.
Adjust Brightness Levels
Why is adjusting brightness levels essential when using a red dot sight? Because the right brightness guarantees your dot is clearly visible against different backgrounds without overwhelming your vision. If the dot’s too dim, you might struggle to see it, especially in bright daylight.
Too bright, and it can blur or create a halo effect, making precise aiming difficult. Start by setting the brightness to a comfortable level in your current lighting, then adjust as conditions change. Many red dot sights have multiple brightness settings—use them to match the environment.
Choose Optimal Dot Size
Although you’ve set the brightness for clear visibility, choosing the right dot size is just as essential to quick and accurate aiming. A dot that’s too large can obscure your target, making precision difficult, while a dot that’s too small might be hard to see quickly in dynamic situations.
Consider the distance and size of your target—smaller dots work better for long-range shots, while larger dots are ideal for close-quarters. Many red dot sights offer adjustable reticles, so take advantage of this feature to find a balance that suits your shooting style and environment.
Test different sizes during practice until you find one that allows you to acquire targets swiftly without sacrificing accuracy. Remember, the ideal dot size enhances both speed and precision.
Steady Your Aim Using a Red Dot Sight
How can you keep your aim steady when using a red dot sight? Start by adopting a comfortable shooting stance that provides a solid base. Keep your feet shoulder-width apart and lean slightly forward to maintain balance.
Next, grip your firearm firmly but not too tight; excessive tension can cause shaking. Use both hands for support, ensuring your dominant hand controls the weapon while your other hand stabilizes it. When you raise your firearm, focus on aligning the red dot with your target while keeping your elbows tucked in to reduce movement.
Grip your firearm firmly with both hands and keep elbows tucked to minimize movement and improve accuracy.
Practice controlled breathing—inhale, exhale slowly, and gently squeeze the trigger during a natural pause between breaths. This minimizes body sway. Finally, engage your core muscles to further steady your upper body.
With consistent practice, these techniques will help you maintain a steady aim, making your shots more accurate and reliable when using a red dot sight.
Fix Common Red Dot Sight Aiming Issues
Even with proper technique, you might still encounter common aiming issues when using a red dot sight. One frequent problem is the dot appearing blurry or doubled. This usually happens if the sight isn’t aligned properly with your eye or if your eye relief is off.
Make sure your eye is centered and at the correct distance from the sight. Another issue is the red dot not staying on target after recoil. Check that your sight is securely mounted and tightly fastened.
If the dot drifts, it may need recalibration or you might need to tighten screws. Also, if the dot seems to shift when you move your head, ensure you’re looking straight through the sight, not at an angle. Finally, if the dot is too bright or dim, adjust the brightness settings to suit lighting conditions.
Addressing these common problems guarantees your red dot sight performs accurately every time.
Frequently Asked Questions
Can a Red Dot Sight Be Used in Low-Light Conditions?
Yes, you can use a red dot sight in low-light conditions. It’s designed to provide a bright aiming point, so you won’t struggle to see your target, even when lighting’s poor or fading quickly.
What Types of Firearms Are Compatible With Red Dot Sights?
You can use red dot sights on pistols, rifles, shotguns, and even some airguns. They’re versatile and work well on most firearms with a flat mounting surface or rail system, making aiming quicker and more accurate.
Red dot sights enhance target acquisition speed and precision across various firearm types. Their adaptability makes them a popular choice among shooters. Whether for tactical use or recreational shooting, they offer significant benefits.
How Long Does It Typically Take to Master Aiming With a Red Dot Sight?
It usually takes you about 2 to 4 weeks of regular practice to master aiming with a red dot sight. Notably, studies show shooters improve target acquisition speed by 30% within the first month. Keep practicing consistently!
Are There Any Maintenance Tips for Red Dot Sights?
You should regularly clean the lens with a microfiber cloth, check battery life, and keep the sight dry to prevent corrosion.
Also, store it in a protective case when not in use to maintain accuracy and longevity.
Can Red Dot Sights Be Used for Moving Targets?
Oh sure, because hitting a flying squirrel with your eyes closed is totally easy! Yes, you can use red dot sights on moving targets, but you’ll need to lead properly and practice to avoid looking like you missed the point entirely.
Conclusion
Now that you’ve mastered these 7 steps, aiming with your red dot sight should feel second nature. Remember, practice makes perfect—just like they say, “slow and steady wins the race.” Take your time to mount, align, and zero your sight properly.
Adjust brightness and maintain a steady aim to enhance your shooting experience. With patience and consistency, you’ll see your accuracy improve drastically. Making every shot count when it matters most becomes easier with a well-maintained red dot sight.
Keep at it! Regular practice and proper adjustment of your red dot sight are key to becoming a proficient marksman. Aim with confidence and watch your shooting skills advance.