7 Steps to Zero Iron Sights Without Shooting
To zero your iron sights without shooting, start by gathering essential tools such as a target, measuring tape, and adjustment tools. Proper zeroing of iron sights is crucial for accuracy and confidence in shooting. Rest your firearm steadily to ensure consistent alignment and reduce errors.
Pick a clear, distant target and focus carefully on your sight picture. You can check zero indoors using a wall or paper target, which allows for safe and controlled adjustments.
Adjust windage and elevation screws in small increments to fine-tune your aim.
Using a bore sighter or laser provides precise verification of your iron sights’ alignment. Follow these steps closely, and you’ll quickly improve your shooting accuracy. There’s much more to mastering this zeroing process ahead.
Key Takeaways
- Use a stable rest and steady sight alignment to ensure consistent sight picture during adjustments.
- Choose a clear, contrasting target at a realistic distance for precise focus on front and rear sights.
- Perform an indoor zero check against a wall or paper target at 3-5 yards to identify sight deviations.
- Make small, incremental windage and elevation adjustments using appropriate tools to refine sight alignment.
- Verify adjustments with bore sighters or laser tools to confirm accuracy without firing live rounds.
Gather Tools for Zeroing Iron Sights
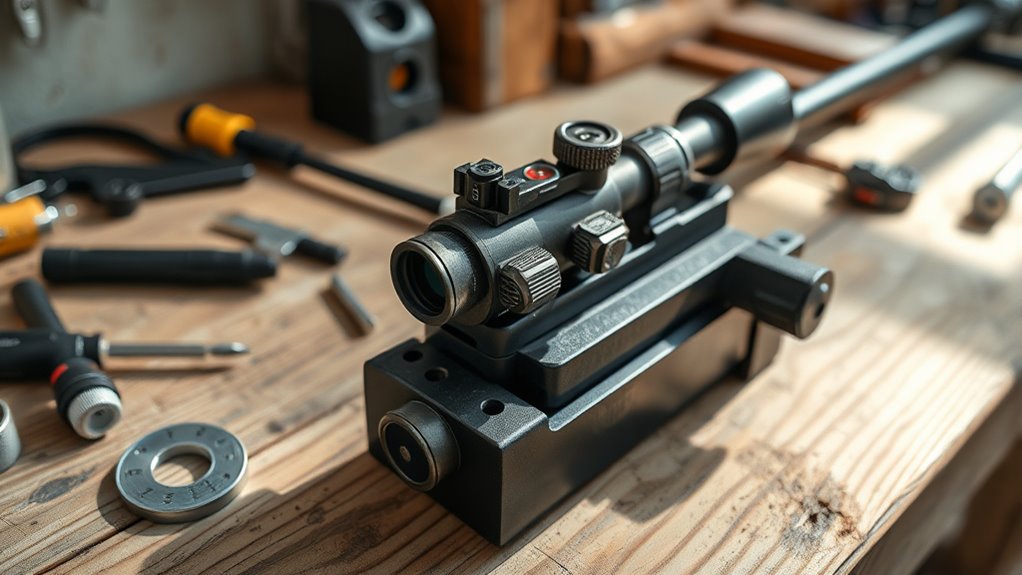
Before you begin zeroing your iron sights, you’ll need to gather a few essential tools to make the process accurate and efficient. First, have a reliable target or aiming point, such as a printed bullseye or a clearly defined mark on a wall. You’ll also want a measuring tape or ruler to measure distances precisely, ensuring consistency between adjustments.
A flashlight or good lighting source is vital if you’re working indoors or in low light conditions, helping you see the sights clearly. Additionally, bring a small screwdriver or the appropriate tool to adjust your iron sights, whether they’re windage screws or elevation dials. A level or small bubble level can help you keep the firearm perfectly aligned while making adjustments.
Finally, keep a notebook or smartphone handy to document each change you make. Having these tools organized before you start will save time and help you zero your iron sights more effectively without firing a single shot.
Use a Stable Rest to Steady Your Iron Sights
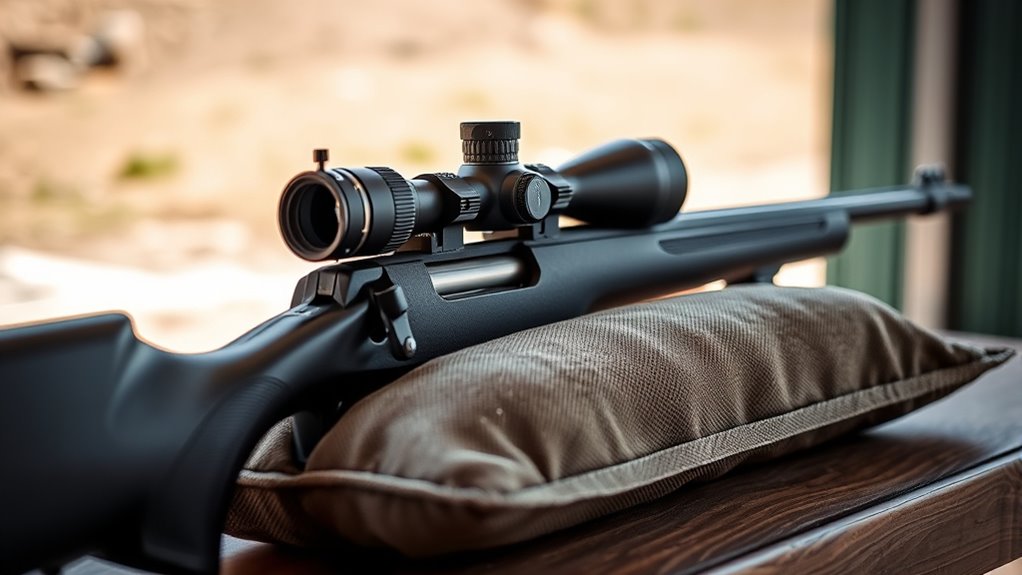
Although zeroing iron sights without shooting requires careful adjustments, using a stable rest will make the process much easier and more precise. When your firearm is steady, you can focus solely on making accurate sight adjustments without the frustration of movement throwing you off. Stability builds confidence and saves time.
Here’s why you should always use a stable rest:
- Eliminates shake and wobble – Your hands naturally tremble, but a rest keeps the firearm rock solid, ensuring consistent sight alignment.
- Improves accuracy – With less movement, you can pinpoint your adjustments more precisely, reducing guesswork.
- Boosts your confidence – Knowing your firearm is stable lets you trust the process and avoid second-guessing each tweak.
Align Your Iron Sights With a Distant Target
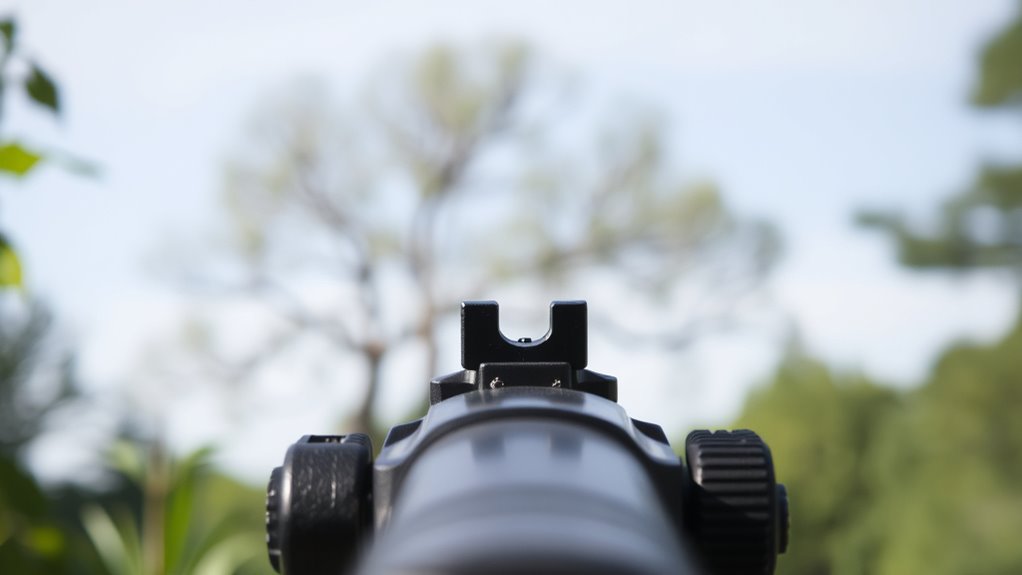
You’ll want to pick a clear, distant target that’s easy to focus on for accurate alignment. Make sure your front and rear sights line up perfectly with that target to get a proper sight picture.
This step sets the foundation for zeroing your iron sights without firing a shot.
Choosing A Suitable Target
Where should you focus your sights when zeroing iron sights without firing a shot? Choosing the right target is crucial for accuracy and confidence. You want a target that challenges your focus and helps you align your sights perfectly.
Consider these three factors when selecting a suitable target:
- Visibility: Pick a target with clear, sharp edges that stand out against the background, making it easier to lock your sights.
- Distance: Choose a target far enough to simulate real shooting conditions but within a range where you can still see details.
- Contrast: Opt for a target with colors contrasting your sights and surroundings to improve your eye’s ability to align the sights effortlessly.
Selecting the right target sets you up for success before you even pull the trigger.
Sight Picture Alignment
How exactly do you align your iron sights with a distant target without firing a shot? First, focus on the front sight post and center it precisely within the rear sight notch. The top of the front sight should be level with the top of the rear sight, creating a clean, even sight picture.
Next, position the aligned sights so the front sight covers the exact spot you want to hit on your target. Keep both eyes open for better depth perception and situational awareness. Remember, any misalignment will cause your shot to stray, so take your time to ensure the front post is perfectly centered and level.
Practicing this alignment repeatedly will build your confidence before firing a single round.
Check Sight Zero Indoors With a Wall or Paper Target
Although checking your sight zero outdoors is ideal, you can effectively verify it indoors using a plain wall or a paper target. This method lets you confirm your iron sights are aligned before heading outside, saving time and ammo.
Here’s how to get the most out of your indoor check:
- Set a Clear Aim Point: Tape a distinct mark or a bullseye-sized paper target on the wall at eye level. This gives you a consistent spot to focus on each time.
- Maintain Proper Shooting Stance: Stand at a fixed distance, usually 3-5 yards, and hold your firearm as you would on the range to mimic real conditions.
- Align Your Sight Picture Carefully: Look through your iron sights and ensure the front post is perfectly centered on your target. Any noticeable deviation tells you your zero needs adjusting.
Adjust Windage and Elevation Screws
When should you make adjustments to your windage and elevation screws? You should tweak them whenever your point of aim doesn’t align with the target on your indoor setup. These screws control horizontal (windage) and vertical (elevation) alignment of your iron sights.
Turning the windage screw adjusts left or right, while the elevation screw moves the point of impact up or down.
Here’s a quick guide to help you visualize:
| Screw Type | Direction to Turn |
|---|---|
| Windage | Right to move point of impact right |
| Windage | Left to move point of impact left |
| Elevation | Up to raise point of impact |
| Elevation | Down to lower point of impact |
Make small adjustments and recheck your sight picture. This method helps you zero your sights precisely, even without live firing.
Double-Check Your Sights With a Bore Sighter or Laser
You’ll want to double-check your adjustments using a bore sighter or laser to guarantee accuracy before hitting the range. Bore sighters help you align your sights quickly by projecting a reference point down the barrel.
Laser alignment tools offer precise feedback, making it easier to fine-tune your iron sights without firing a single shot.
Benefits of Bore Sighters
Because zeroing your iron sights without firing can be tricky, using a bore sighter or laser offers a reliable way to double-check your alignment before you head to the range. Bore sighters give you confidence that your sights are close to perfect, saving time and ammo. They help you avoid frustration by minimizing guesswork.
Here are three key benefits you’ll appreciate:
- Save Ammo and Money – You won’t waste rounds making basic adjustments.
- Increase Accuracy Quickly – Get on target faster when you finally shoot.
- Boost Confidence – Knowing your sights are right makes shooting more enjoyable.
Using a bore sighter guarantees you start with a solid baseline, making your range time more efficient and satisfying.
Using Laser Alignment Tools
Although aligning your iron sights by eye can be challenging, using a laser alignment tool makes the process much easier and more accurate. You simply place the laser device in the barrel or chamber, then project a precise beam onto a target. This instantly shows where your barrel is aiming without firing a shot.
Adjust your iron sights until they line up perfectly with the laser dot. Laser alignment tools save time and reduce guesswork, especially when combined with a bore sighter. Just remember to secure your firearm safely and ensure the laser is properly seated before starting.
Using these tools lets you confidently zero your sights indoors or in tight spaces, making your setup both efficient and reliable.
Fine-Tune Your Iron Sights Before the Range
Before heading to the range, make sure your iron sights are as close to zeroed as possible. Fine-tuning now saves you time and frustration later. You want your first shots to feel confident, not like guesswork.
Ensure your iron sights are nearly zeroed before the range for confident, accurate first shots.
Here’s how to get it right:
- Check alignment with your eyes: Look through the sights and ensure the front post is perfectly centered and level with the rear notch. Misalignment here is the biggest culprit for missed shots.
- Adjust windage and elevation carefully: Use your sight adjustment tools to make small, precise tweaks. Don’t rush—tiny changes can make a big difference.
- Confirm consistent sight picture: Practice your sight picture several times without shooting. This builds muscle memory and helps you trust your sights when you do fire.
Frequently Asked Questions
What Types of Iron Sights Are Best for Beginners?
You’ll find open sights like notch-and-post or ghost ring iron sights best for beginners because they’re simple, easy to use, and help you quickly learn aiming fundamentals without complicated adjustments or electronic distractions.
How Often Should I Zero My Iron Sights?
You should zero your iron sights whenever you notice accuracy issues, after cleaning or disassembling your firearm, or if you switch ammo types.
Regular checks keep you confident and precise, especially before any important shooting session.
Can Weather Conditions Affect Iron Sight Accuracy?
Yes, weather conditions can affect your iron sight accuracy. Wind, rain, and temperature changes might shift your point of impact or make sighting difficult, so you’ll want to account for those factors when aiming or zeroing your sights.
What Is the Difference Between Iron Sights and Red Dot Sights?
Oh, sure, because you love squinting—iron sights are your classic, no-frills aiming method, relying on your eyeballs aligning with the target.
Red dot sights? They slap a glowing dot on your lens, making aiming way easier.
Are There Safety Precautions When Adjusting Iron Sights?
Yes, you should always guarantee the firearm is unloaded and pointed in a safe direction before adjusting iron sights. Wearing eye protection and making small, careful adjustments will help keep you safe throughout the process.
Conclusion
By following these steps, you can zero your iron sights without firing a single shot. Did you know that even a tiny adjustment of just 1/4 MOA can shift your point of impact by nearly an inch at 100 yards? Imagine making those precise tweaks confidently from your own home, saving ammo and time.
With patience and the right tools, you’ll head to the range knowing your sights are already on target. This method not only improves accuracy but also enhances your shooting experience. Zeroing iron sights without shooting is a smart way to achieve precise alignment efficiently.