How to Sight a Rifle Scope for 100 Yards in 7 Easy Steps
To sight your rifle scope at 100 yards accurately, start by thoroughly cleaning and securely mounting your scope. Proper mounting ensures stability and precision, which are crucial for effective sighting.
Using a reliable rifle scope is essential for hitting your target consistently.
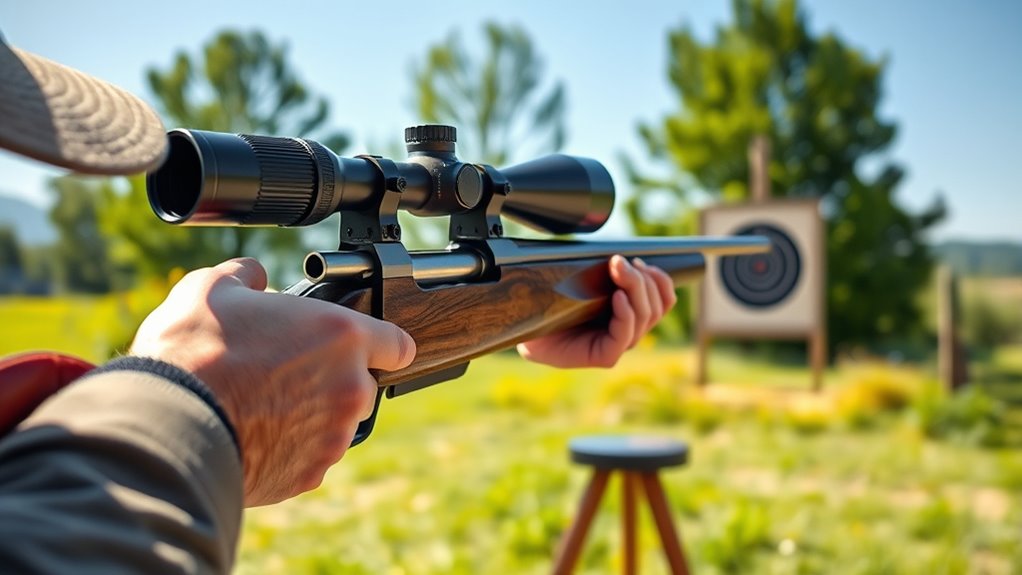
Find a stable shooting position by using rests or sandbags to minimize movement. Align your reticle carefully on the target before firing.
Fire a group of 3-5 shots to test your initial zero.
Analyze the shot group and make small adjustments to the turrets. Continue adjusting until your shots cluster tightly on the bullseye.
Finally, confirm your zero with a precise final group to build confidence in your setup.
Keep going to discover tips for perfecting every step.
Key Takeaways
- Clean and mount the rifle scope securely with proper eye relief and alignment before beginning zeroing.
- Use a stable shooting position with supports and control your breathing for steady, consistent shots at 100 yards.
- Adjust scope turrets to an approximate zero, then fire a 3-5 shot group aiming at the same target point.
- Analyze the shot group, make small turret adjustments, and repeat shooting until the group is centered on the bullseye.
- Confirm zero by firing a final tight group, ensuring shots are consistently centered and the scope is accurately sighted.
Why Zero Your Rifle Scope at 100 Yards?
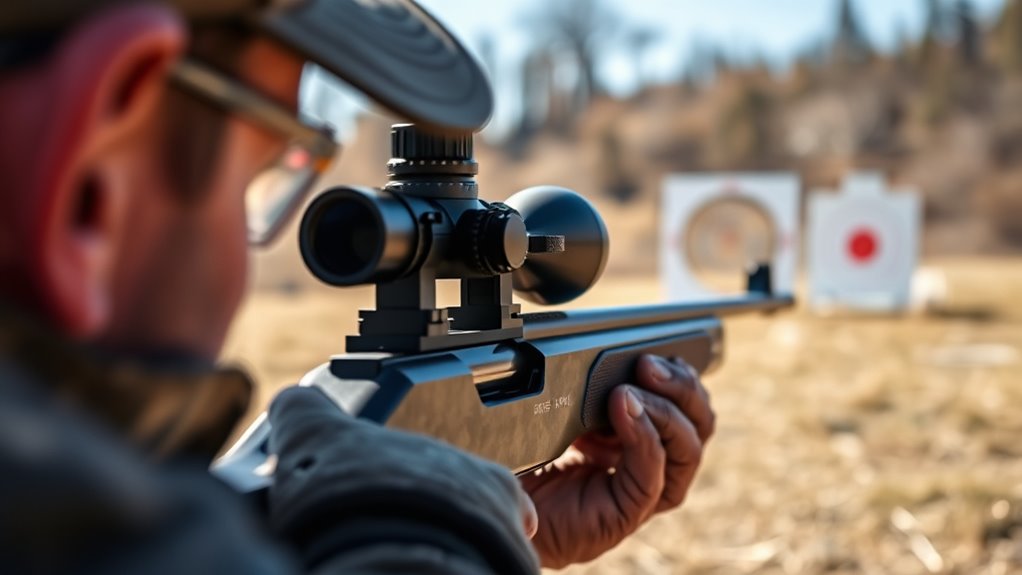
Although you can zero your rifle scope at various distances, 100 yards is the most practical choice because it offers a reliable baseline for accuracy and bullet trajectory. When you zero at 100 yards, you create a consistent reference point that simplifies adjustments and helps you predict where your bullet will hit at other ranges. This distance balances the effects of bullet drop and wind drift, making it easier to estimate shots at both shorter and longer distances.
Zeroing at 100 yards also aligns well with most shooting environments, whether you’re hunting or target shooting. It’s close enough to safely set up in many outdoor ranges while still providing meaningful ballistic data. By choosing 100 yards, you ensure your scope’s reticle adjustments correspond to realistic shooting conditions, helping you make precise shots without guesswork.
Ultimately, zeroing at this distance streamlines your shooting experience and improves overall accuracy.
Prepare Your Rifle and Scope: Cleaning, Mounting, and Inspection
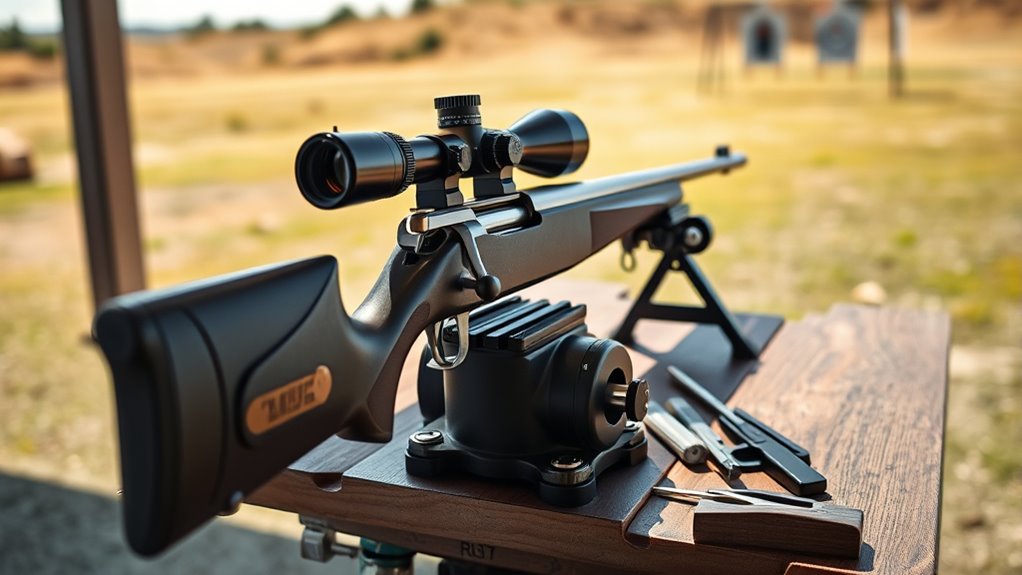
Before you start sighting in your rifle scope, make sure your rifle is clean to guarantee accuracy. You’ll also want to properly mount the scope and check its alignment to avoid any sighting errors.
Taking these steps sets a solid foundation for precise adjustments at 100 yards.
Cleaning The Rifle
How often you clean your rifle can make a big difference in its performance and the accuracy of your scope. Dirt, powder residue, and grime can all affect your shots, causing inconsistent results.
Before you sight your rifle at 100 yards, a thorough cleaning ensures every shot counts.
Focus on these three key areas:
- Barrel: Use a bore brush and solvent to remove fouling; a clean barrel means a clear path for your bullet.
- Action: Wipe down the bolt and chamber to prevent jams and ensure smooth operation.
- Exterior: Clean the stock and metal parts to avoid rust and maintain reliability.
Taking these steps not only improves accuracy but also extends your rifle’s lifespan.
Mounting The Scope
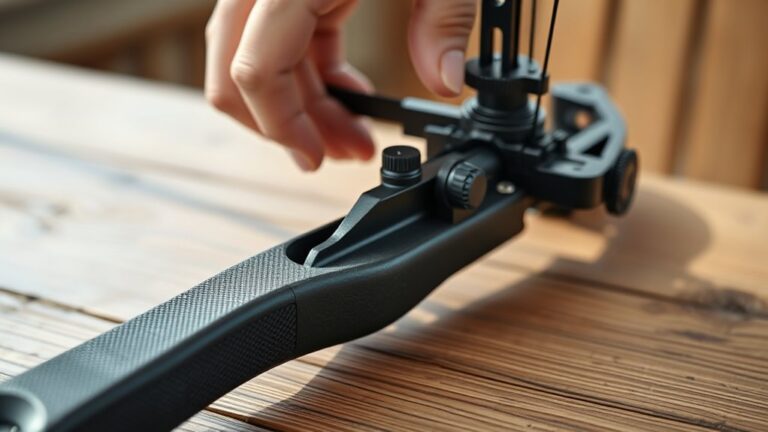
Now that your rifle is clean and ready, it’s time to focus on mounting the scope. Begin by selecting quality rings and bases compatible with your rifle and scope. Attach the bases securely to the rifle’s receiver, ensuring they’re tight but not over-torqued.
Next, position the bottom halves of the rings onto the bases. Carefully place the scope into the rings, adjusting it for proper eye relief—make sure you can see a full, clear sight picture without straining. Once aligned, set the top halves of the rings and tighten the screws evenly, alternating sides to maintain balance.
Avoid overtightening, which can damage the scope tube. Finally, double-check that the scope is stable and won’t shift during recoil before moving on to fine-tuning your sighting.
Inspecting Scope Alignment
Although you’ve mounted your scope carefully, it’s crucial to examine its alignment to guarantee accuracy when shooting. Misalignment can cause frustrating misses and wasted ammunition.
Here’s how to inspect your scope’s alignment effectively:
- Check eye relief – Ensure your eye naturally centers behind the scope without strain, providing a full sight picture.
- Verify reticle level – Use a bubble level or a flat surface to confirm the reticle sits perfectly horizontal and vertical. An off-level reticle skews your shot placement.
- Perform bore sighting – Remove the bolt, look down the barrel, and adjust the scope so the reticle matches the barrel’s point of aim. This saves time and ammo during live-fire zeroing.
Taking these steps will boost your confidence, prevent errors, and help you achieve precise, consistent shooting.
Establish a Stable Shooting Position at 100 Yards
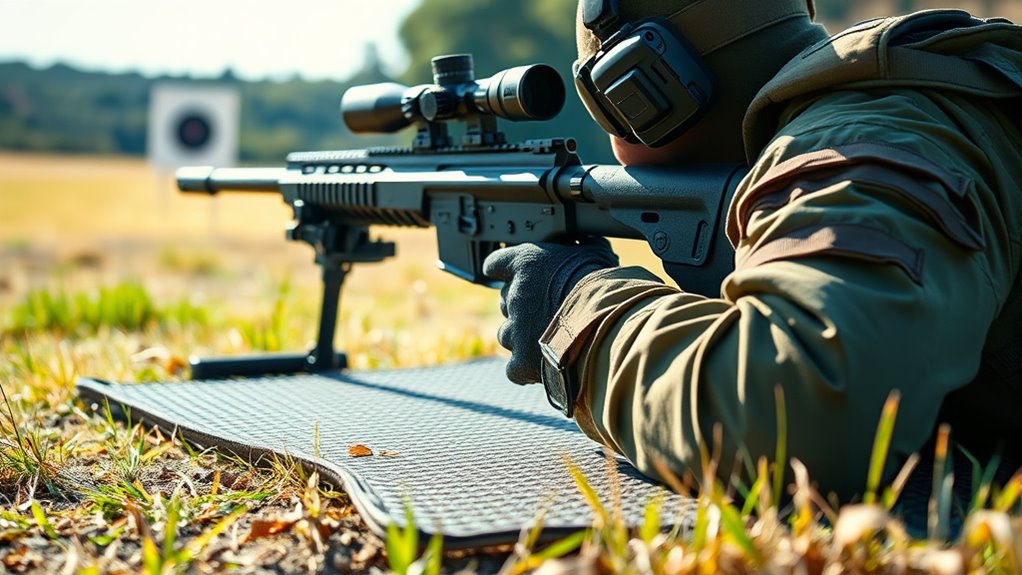
Before you begin adjusting your rifle scope, you’ll want to establish a stable shooting position that minimizes movement and maximizes accuracy. Start by finding a comfortable spot where you can support your rifle steadily. Use a solid rest like a bench or sandbags to reduce shaking.
Keep your body relaxed but firm to avoid unnecessary tension that can affect your shot.
Consider the following factors to set up your position:
| Factor | Tips |
|---|---|
| Body Position | Sit or prone for better stability |
| Rifle Support | Use a rest, bipod, or sandbags |
| Breathing Control | Take slow, steady breaths before shooting |
Align Your Scope Reticle With the Target
Once you’ve settled into a stable shooting position, the next step is to align your scope reticle precisely with your target. This alignment is crucial because even a slight misplacement can throw off your shot.
To get it right, focus on these three key points:
- Center the Crosshairs – Make sure the crosshairs are exactly on the bullseye or your desired point of impact. Don’t rush; take your time to avoid any drift.
- Check for Parallax – Confirm that your eye is perfectly aligned with the scope to prevent parallax error, which can cause the reticle to appear off-center.
- Steady Your Aim – Keep your breathing steady and avoid any unnecessary movement. A calm, controlled approach helps maintain reticle alignment.
Fire a Shot Group to Test Your Scope
Now it’s time to fire a group of shots to see how your scope is performing. Pay close attention to the pattern your shots create on the target.
You’ll use this information to make precise adjustments to your scope for better accuracy.
Analyzing Shot Group Patterns
Although you’ve adjusted your scope, the real test comes when you fire a shot group to see how your adjustments affect accuracy. Carefully analyzing the group pattern tells you if you’re on target or need more tweaks.
Focus on:
- Group Size: Smaller groups mean better precision. If your shots cluster tightly, you’re doing great.
- Group Location: Are your shots centered around the bullseye or off to one side? This shows if your scope alignment is right.
- Consistency: Look for patterns like vertical or horizontal drift, which could indicate external factors or scope issues.
Adjusting Scope Based On Shots
After firing your initial shot group, you’ll need to carefully assess where your rounds hit compared to your point of aim. If your shots cluster consistently left, right, high, or low, it means your scope requires adjusting. Use the turrets on your scope—usually marked with directional arrows—to shift the reticle accordingly.
For example, if your group is low, adjust the elevation turret upward. If it’s left, adjust the windage turret to the right. Remember, most scopes move the point of impact in the direction you turn the turret.
Make small, precise adjustments, then fire another group to confirm the change. Repeat this process until your shot group centers on your target. This method ensures your scope is sighted in accurately at 100 yards.
Adjust Scope Turrets After Shooting
Once you’ve taken a few shots at your target, you’ll need to adjust the scope turrets to guarantee your point of impact matches your point of aim. This step is essential—it’s where precision meets confidence. Here’s how to nail it:
- Identify your adjustment direction: If your shots land left, turn the windage turret right; if low, turn the elevation turret up. This ensures your scope moves toward the target, not away.
- Know your turret’s click value: Most scopes move ¼ MOA per click. At 100 yards, one click shifts the point of impact about ¼ inch. Count your clicks carefully to avoid overshooting your adjustment.
- Make incremental adjustments: Don’t rush. Adjust a few clicks, then shoot again to verify. This lets you zero in with confidence and avoid frustration.
Confirm Your Zero With a Final Group
Adjusting your scope turrets gets you close, but to be sure your zero is spot on, you’ll want to verify it with a final group of shots. Find a stable shooting position and fire a group of three to five rounds at the 100-yard target. Take your time to aim carefully at the same point for each shot, guaranteeing consistency.
Once you’ve fired, examine the group’s placement on the target. If your shots cluster tightly around your bullseye, congratulations—your zero is confirmed. If the group is off-center, note the direction and distance from the bullseye.
You may need to make small turret adjustments and repeat the process. Confirming your zero with a final group gives you confidence that your scope is accurately aligned for precise shooting. This step reduces guesswork and ensures every shot counts when you’re out in the field or at the range.
Frequently Asked Questions
What Tools Do I Need to Sight My Rifle Scope?
You’ll need a stable rifle rest or sandbags, a target placed at 100 yards, a reliable spotting scope or binoculars.
Screwdrivers or an Allen wrench for adjustments, and a bore sight or laser bore sighter to speed up initial alignment.
Can I Sight My Scope at Distances Other Than 100 Yards?
You’re not limited to the classic 100 yards; you can absolutely sight your scope at other distances. Just keep in mind, adjusting at closer or longer ranges might require extra patience and fine-tuning, but it’s totally doable.
How Often Should I Re-Zero My Rifle Scope?
You should re-zero your rifle scope anytime you notice a change in accuracy, after cleaning, or if you drop your rifle.
Regularly checking after every few hundred rounds guarantees consistent precision and confidence in your shots.
What Is the Difference Between MOA and MIL Adjustments?
Think of MOA and MIL adjustments like inches and centimeters on a ruler. MOA measures 1.047 inches at 100 yards, while MIL is a metric unit, roughly 3.6 inches.
You’ll use whichever fits your preference or gear.
How Does Weather Affect Sighting in a Rifle Scope?
Weather affects your rifle scope’s sighting by causing bullet drop, wind drift, and mirage. Temperature, humidity, and wind speed all change how your bullet travels, so you’ll need to adjust your aim accordingly for accuracy.
Understanding these weather factors is crucial for making precise shots. Even slight changes in conditions can impact your bullet’s path. Adapting your scope settings helps maintain accuracy in varying environments.
Conclusion
Zeroing your rifle scope at 100 yards is like tuning a musical instrument—it guarantees everything’s perfectly in harmony before you perform. By following these simple steps, you’ll improve your accuracy and confidence every time you take a shot. Remember, patience and precision are key.
Once you’ve confirmed your zero with that final group, you’re ready to hit your target with consistency. Proper sighting ensures your shots are on point and reliable. Now, get out there and enjoy shooting with your perfectly sighted rifle, knowing your rifle scope sighting at 100 yards is spot on!