How to Sight a Single Pin Bow Sight in 7 Simple Steps
To sight a single pin bow sight accurately, it’s essential to understand its components and the proper setup. Start by familiarizing yourself with the sight’s parts and creating a stable shooting area with good lighting to ensure clear visibility. This preparation is key to achieving precise adjustments and consistent results.
Begin by zeroing your sight at 20 yards. Aim carefully and adjust the pin until your arrows consistently hit the target. After zeroing at 20 yards, fine-tune your sight for 10, 30, and 40 yards to cover various distances.
Check your shot groupings for consistency and make necessary adjustments for factors like wind or arrow weight. Regularly maintain your sight to guarantee long-term accuracy. Following these basics will help you improve quickly and effectively.
Key Takeaways
- Mount the single pin sight securely and ensure all components are tight and aligned with the bow.
- Position the target at 20 yards and shoot to observe arrow impact relative to the aiming pin.
- Adjust the sight pin up or down based on arrow impact to achieve consistent bullseyes at 20 yards.
- Fine-tune the sight for other distances (10, 30, 40 yards) by making small incremental adjustments after shots.
- Regularly test with different arrow weights and maintain the sight to ensure ongoing accuracy and reliability.
Learn Your Single Pin Bow Sight Components
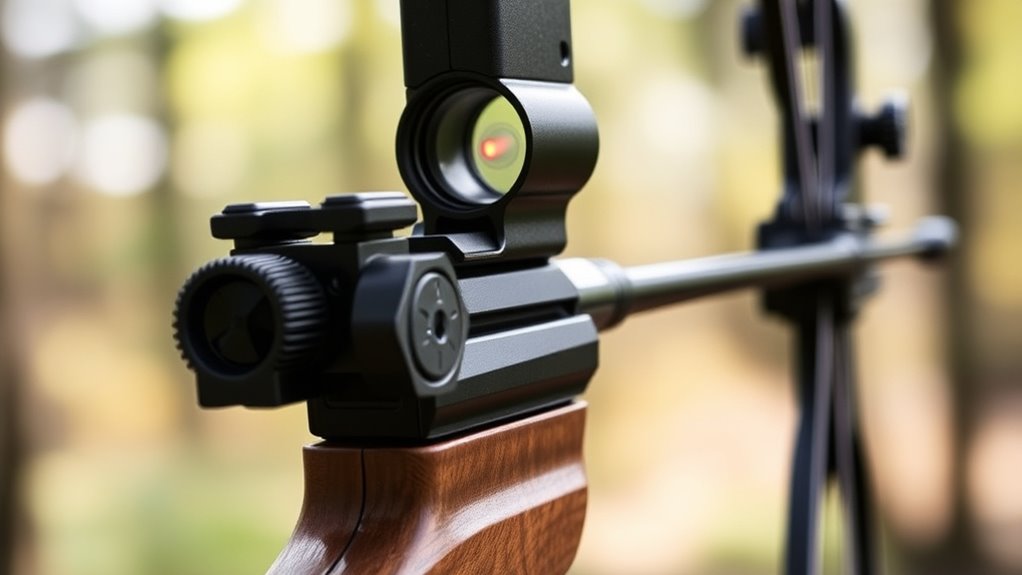
Before you can effectively use your single pin bow sight, you need to understand its basic components. The main part is the sight housing, which holds the pin that you’ll use to aim. This pin is usually adjustable, allowing you to set it for different distances.
Attached to the housing is the mounting bracket, which secures the sight to your bow. You’ll also find windage and elevation adjustment knobs; these let you fine-tune the pin’s position left, right, up, or down for accuracy. Some sights include fiber optic pins that glow, helping you see your aiming point clearly in various lighting conditions.
A level may be integrated or added to ensure your bow stays properly aligned, minimizing canting errors. Knowing each part’s function helps you make precise adjustments, so you can trust your sight when aiming. Understanding these components is the foundation before you move on to zeroing your sight for the best performance.
Set Up Your Shooting Area for Accurate Zeroing
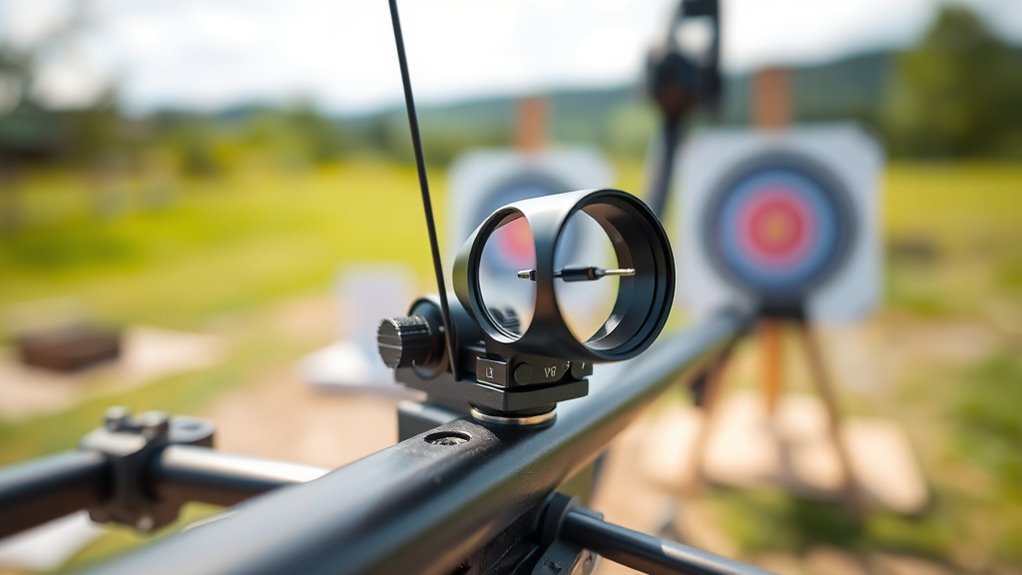
To get an accurate zero, you’ll want to set up a stable shooting platform that keeps you steady. Make sure the lighting is good enough to see your target clearly without shadows or glare.
Also, double-check that your target is placed at the exact distance you plan to zero for.
Choose Stable Shooting Platform
Since even the steadiest hands can’t control every movement, choosing a stable shooting platform is essential for accurate zeroing. You want to minimize any sway or bounce when drawing and releasing your bow.
A bench rest, shooting sticks, or a solid table can help stabilize your aim. Confirm the platform’s height lets you shoot comfortably without straining.
Here’s a quick comparison of common shooting platforms:
| Platform | Stability | Portability |
|---|---|---|
| Bench Rest | High | Low |
| Shooting Sticks | Medium | High |
| Solid Table | High | Medium |
Pick a platform that suits your environment and preferences. Stability reduces errors, making your sight adjustments more reliable and your shots more consistent.
Ensure Proper Lighting Conditions
Although stable footing is essential, proper lighting plays an equally important role in zeroing your single pin bow sight accurately. You want to guarantee your shooting area is well-lit, preferably with natural light or consistent artificial lighting. Avoid harsh shadows or glaring sunlight that can distort your sight picture or make the pin harder to see.
If shooting indoors, position lights to illuminate the target and sight without creating reflections or glare on your sight lens. Consistent lighting helps you clearly see the pin against the target, reducing errors. Before you begin shooting, take a moment to adjust your position or lighting setup if needed.
This attention to lighting ensures the sight settings you make today remain reliable in similar conditions during actual use.
Set Target Distance Accurately
How far should you place your target when zeroing your single pin bow sight? Typically, start at 20 yards, a common distance for accurate sight adjustments. Setting your target distance accurately guarantees your sight’s pin matches your arrow’s point of impact.
Here’s how to set up your shooting area:
- Choose a flat, open space free from obstructions
- Mark exactly 20 yards using a tape measure or pre-measured range
- Secure your target firmly to prevent movement during shooting
- Maintain consistent shooting posture and stance for every shot
Zero Your Single Pin Bow Sight at 20 Yards
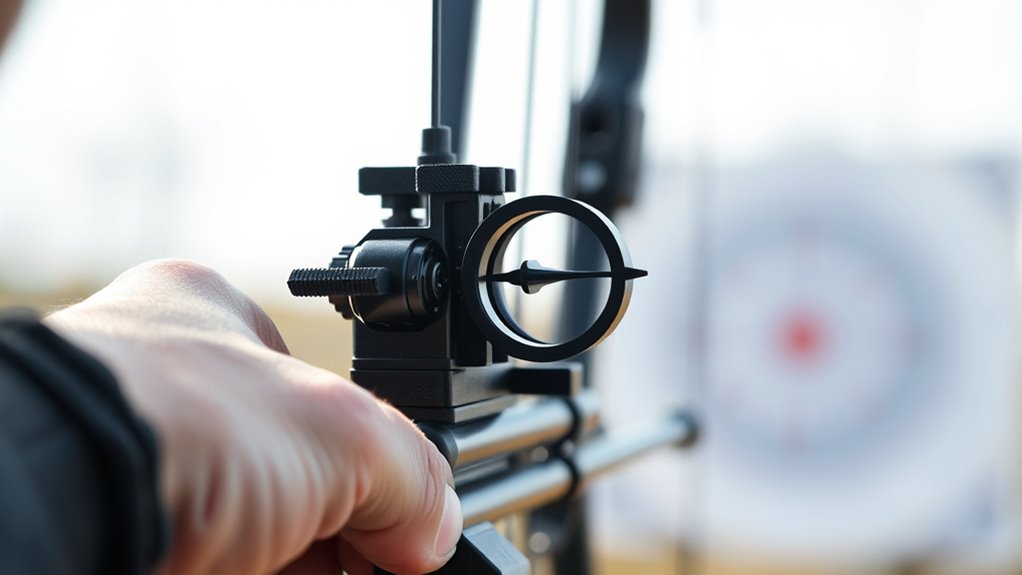
Before you start zeroing your single pin bow sight at 20 yards, make sure your bow is properly set up and stable. Position yourself comfortably at the 20-yard mark, ensuring your stance is consistent every time you shoot. Aim at the center of your target, focusing on a precise spot rather than a general area.
Ensure your bow is stable and your stance consistent before zeroing at 20 yards for precise aiming.
Draw and anchor your bow as you normally would, then release the arrow smoothly.
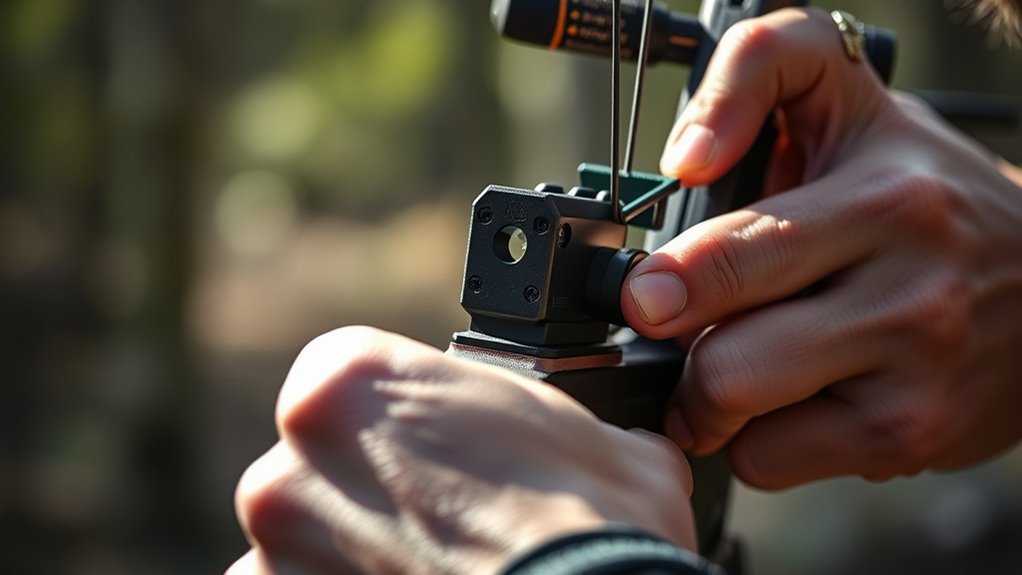
After shooting, observe where the arrow lands relative to your aiming point. If it’s off, adjust the sight pin accordingly—move it up or down, left or right—depending on the arrow’s placement. Make small adjustments, then shoot again to confirm the new alignment.
Repeat this process until your arrows consistently hit the bullseye at 20 yards. Once you’ve zeroed your sight here, you’ll have a reliable baseline for shooting at other distances. This method guarantees accuracy and builds confidence in your single pin bow sight setup.
Fine-Tune Your Pin for 10, 30, and 40 Yards
Once you’ve zeroed your sight at 20 yards, it’s time to fine-tune your pin for 10, 30, and 40 yards to guarantee consistent accuracy across common shooting distances. Start by shooting at 10 yards; adjust your pin slightly higher since gravity has less effect at close range.
Next, move to 30 yards, where your pin will need to be lowered to compensate for the arrow’s drop. Finally, at 40 yards, expect a more significant drop and make precise adjustments to your pin’s position.
Here’s how to approach it:
- Shoot a group at 10 yards and move your pin up or down as needed.
- At 30 yards, test and modify your pin to align with the arrow’s natural arc.
- For 40 yards, fine-tune the pin to ensure the arrow hits where you aim.
- Make small, incremental adjustments after each shot to avoid overcorrecting.
This process guarantees your single pin sight performs reliably at varied distances.
Check Your Shot Groupings for Consistency
Although you’ve adjusted your pin for multiple distances, you’ll want to check your shot groupings to verify consistency. Shooting several arrows at each distance helps reveal if your adjustments are accurate or if further tweaks are needed.
Consistent groupings indicate your sight is properly aligned, while scattered shots suggest you should revisit your settings or shooting form.
Use the table below to track your groupings and assess consistency:
| Distance (yards) | Grouping Size (inches) |
|---|---|
| 10 | 1-2 |
| 30 | 2-3 |
| 40 | 3-4 |
Aim for tight groupings within these ranges. If your shots fall outside these sizes, consider rechecking your sight adjustments or your shooting technique.
Consistency across distances will boost your confidence and improve overall accuracy.
Adjust Your Sight for Wind and Arrow Weight
Now that your shot groupings are consistent, you’ll need to adjust your sight for wind and arrow weight. Wind can push your arrow off course, so compensating for wind drift is crucial. Also, different arrow weights affect your trajectory, so fine-tuning your sight ensures accuracy.
Compensate for Wind Drift
How do you make sure your arrow hits the mark even when the wind picks up? You need to compensate for wind drift by adjusting your sight accordingly. First, observe the wind’s direction and strength.
Then, make small sight adjustments to counteract the arrow’s push. Keep in mind:
- A steady breeze from the left means aiming slightly right
- Strong gusts require larger sight shifts
- Light winds may only need minimal compensation
Always test and confirm adjustments before shooting.
Adjust for Arrow Weight
Adjusting your sight for arrow weight is essential to maintain accuracy because heavier or lighter arrows will affect your arrow’s trajectory differently. When you switch to a heavier arrow, it generally drops more quickly, so you’ll need to raise your pin slightly.
Conversely, lighter arrows tend to fly faster and flatter, requiring a lower pin adjustment. Keep track of how these changes impact your shot grouping.
| Arrow Weight | Trajectory Effect | Sight Adjustment |
|---|---|---|
| Light (<350 gr) | Flatter, faster | Lower pin slightly |
| Medium (350-450 gr) | Standard trajectory | No major adjustment |
| Heavy (>450 gr) | Drops faster | Raise pin slightly |
Fine-tune your sight after testing different arrow weights to maintain precision.
Keep Your Sight Accurate Over Time
Because regular use can gradually affect your bow sight’s alignment, you’ll need to check and maintain its accuracy consistently. Even small bumps or changes in weather can shift your pin, so make it a habit to inspect your sight before each session.
Here’s how you can keep your sight reliable over time:
- Regularly tighten all screws and mounting hardware to prevent loosening.
- Clean the lens and pin with a soft cloth to avoid dirt or moisture buildup.
- Store your bow in a stable environment to avoid extreme temperature or humidity changes.
- Periodically shoot at a known distance target to confirm your pin still aligns correctly.
Frequently Asked Questions
Can I Use a Single Pin Sight for Hunting Different Game?
Yes, you can use a single pin sight for hunting different game, but you’ll need to adjust your aim for varying distances since it has only one pin.
Practice helps you get accurate shots at multiple ranges.
How Do Weather Conditions Affect My Single Pin Sight Accuracy?
Think of your single pin sight as a lighthouse in fog—weather like rain, wind, or temperature shifts can blur your aim and shift your arrow’s path.
You’ll need to adjust and trust your feel in these conditions.
What’s the Best Bow Draw Length for Using a Single Pin Sight?
Your best bow draw length with a single pin sight is the one that feels natural and consistent for you. Don’t force it; it should allow steady aim and smooth release, ensuring accuracy and comfort throughout your shot.
Can I Install a Single Pin Sight on a Compound Bow?
Yes, you can install a single pin sight on a compound bow. Just make sure it’s compatible with your bow model, follow the mounting instructions carefully, and adjust the sight properly for accurate aiming and improved shooting performance.
How Often Should I Replace the Fiber Optic Pins?
Just like a flashlight losing brightness, you should replace your fiber optic pins when they dim or crack, usually every 1-2 seasons.
I once missed shots until fresh pins restored my clear aim instantly.
Conclusion
Now that you’ve mastered sighting your single pin bow sight, you’re ready to let your arrows fly like whispers on the wind. Remember, each adjustment is a brushstroke painting your path to precision. Keep practicing these steps, and your aim will become as steady as a mountain breeze.
With patience and care, your bow sight will stay true, guiding every shot straight to the heart of your target. Following these simple steps ensures your single pin bow sight remains perfectly aligned. Happy shooting and enjoy the confidence that comes with a well-sighted bow!