How to Zero a Red Dot Sight in 10 Easy Steps
To zero your red dot sight accurately, begin by inspecting your rifle and sight for cleanliness, secure mounting, and proper battery power. Zeroing your red dot sight is essential for precision shooting and ensures your shots hit the intended target.
Choose the appropriate zero distance based on your needs to maximize effectiveness in different shooting scenarios.
Next, align the sight with your rifle’s bore to establish a baseline. Set up a stable shooting position to minimize movement and improve shot consistency.
Fire a group of shots, then adjust windage and elevation accordingly to correct your point of impact.
Finally, confirm your zero through practical shooting to verify accuracy in real conditions. Maintain your zero with regular checks to ensure ongoing reliability.
Following these steps guarantees accuracy and reliability—there’s more to mastering your zero for any condition.
Key Takeaways
- Inspect and clean rifle, sight, and battery before starting to ensure equipment reliability and clear sight visibility.
- Secure the rifle in a stable rest and align the bore with a distant target for initial red dot sight alignment.
- Shoot a 3-5 shot group at the chosen zero distance, keeping the same position and aiming point for consistency.
- Adjust windage and elevation turrets incrementally based on shot group deviation to align impact with the red dot.
- Confirm zero by testing shots from typical stances and lighting conditions, making fine adjustments as needed.
Why Zeroing Your Red Dot Sight Matters
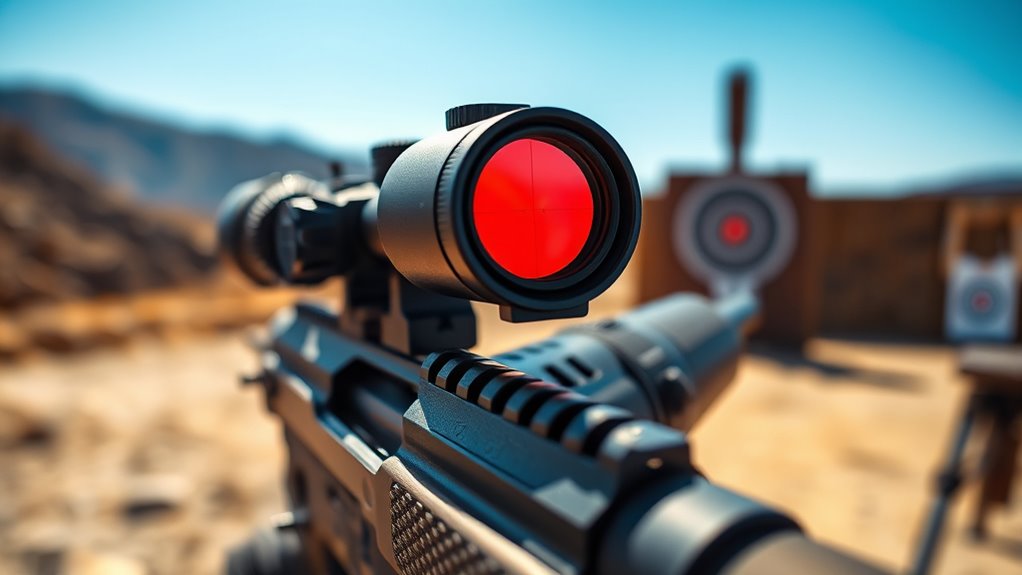
Although your red dot sight might seem ready to go right out of the box, zeroing it guarantees that what you see aligns precisely with where your bullet will land. Without zeroing, the dot may appear accurate at one distance but can be off at others, leading to missed shots and frustration.
You want every shot to count, whether you’re on the range or in the field. Zeroing your sight guarantees consistent accuracy by calibrating the dot to your specific rifle and ammunition. It accounts for variations like barrel alignment, bullet trajectory, and even environmental factors.
If you skip this step, you risk relying on a sight that doesn’t reflect your rifle’s true point of impact.
Prepare Your Rifle and Red Dot Sight for Zeroing
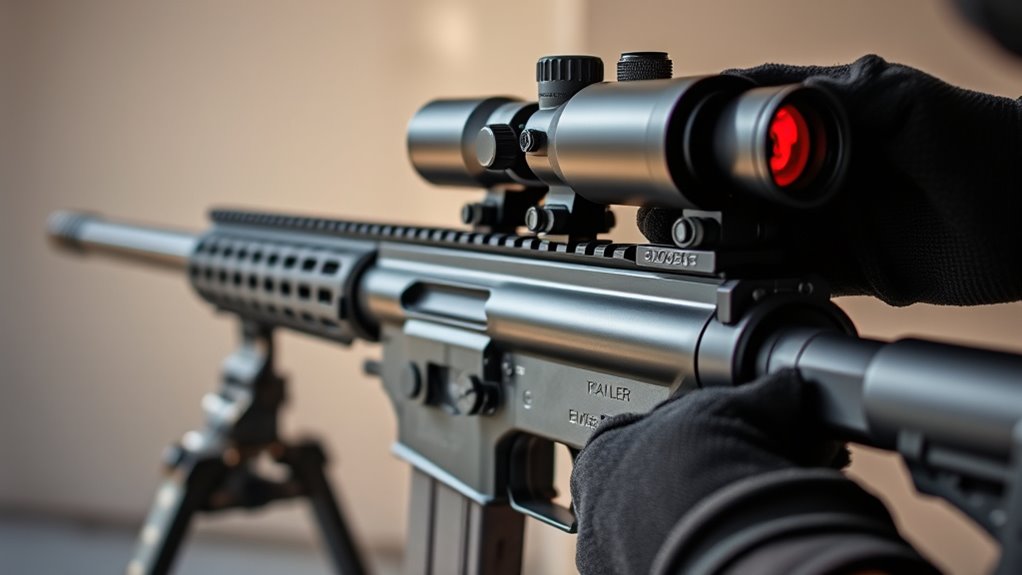
Before zeroing your red dot sight, make sure your rifle is in good condition and the sight is mounted securely. Check the battery level and adjust the brightness to suit your shooting environment.
These steps guarantee accurate and consistent results when zeroing.
Inspect Rifle Condition
Why is it important to inspect your rifle and red dot sight before zeroing? Making sure both are in good condition prevents issues that could throw off your zero. Start by checking your rifle’s barrel for obstructions or debris; a clean barrel ensures consistent bullet trajectory.
Examine the action and trigger for smooth operation—any irregularities can affect accuracy. For your red dot sight, verify the lenses are clean and free of scratches that might distort the dot. Confirm the battery is fresh and the brightness settings work properly.
Also, inspect the sight’s housing for damage or loose parts. Taking these steps makes certain your equipment functions reliably, making the zeroing process smoother and more precise. Skipping this could lead to frustrating inconsistencies downrange.
Mount Red Dot Securely
Once you’ve confirmed your rifle and red dot sight are in good condition, you’ll need to mount the sight securely to maintain accuracy. Start by attaching the red dot sight to your rifle’s rail system, usually a Picatinny or Weaver rail. Make sure the sight sits flush and aligns properly with the barrel.
Tighten the mounting screws evenly, but don’t overtighten—they should be snug enough to prevent movement under recoil. Use a torque wrench if available to apply the manufacturer’s recommended torque settings. After securing the sight, double-check that it hasn’t shifted by visually inspecting and gently trying to move it.
Proper mounting guarantees your zeroing adjustments hold steady, so take your time to get this step right before moving on.
Check Battery And Brightness
After securing your red dot sight, the next step is to guarantee its battery is functional and the brightness is set correctly. Start by checking the battery life; replace it if there’s any doubt to avoid interruptions during zeroing. Turn on your sight and adjust the brightness so the dot is clearly visible without overpowering the target or creating glare.
If the dot is too dim, you might miss it; too bright, it can obscure your aim. Test the brightness in different lighting conditions to ensure visibility outdoors and indoors. Confirm the sight powers on reliably each time.
Taking these steps ensures your red dot will perform consistently, making the zeroing process smoother and more accurate from the start.
Choose the Best Distance to Zero Your Red Dot Sight
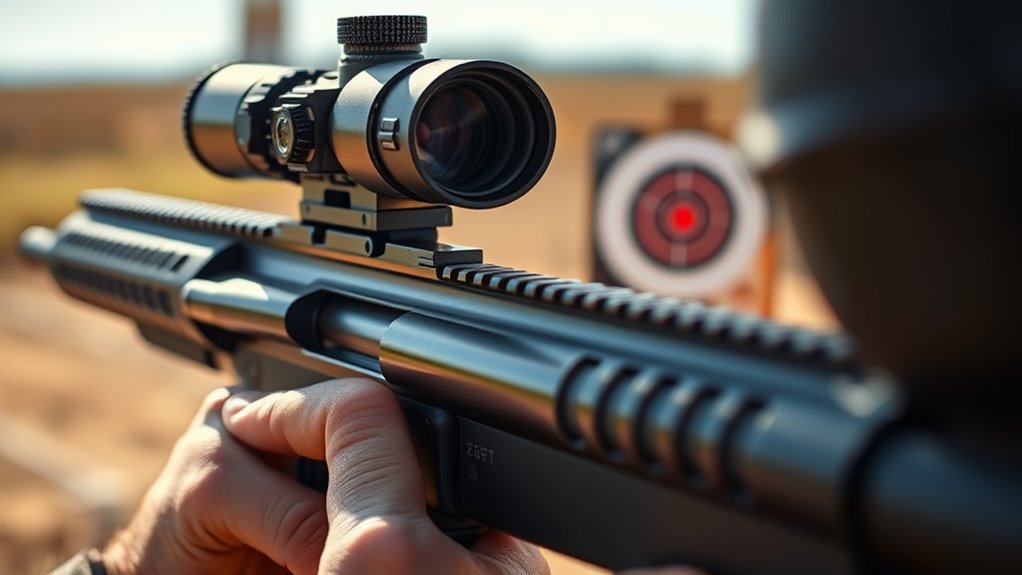
Although it might seem straightforward, choosing the right distance to zero your red dot sight is essential for accuracy in the field. The distance you pick depends largely on what you plan to use the sight for. If you’re hunting or shooting at close to medium ranges, zeroing at 25 yards is common because it gives you a good balance between near and far targets.
For longer-range shooting, zeroing at 50 or 100 yards is better since it aligns your sight with the bullet’s trajectory over greater distances. Keep in mind your firearm’s caliber and bullet drop when selecting this distance. Also, consider the typical engagement range you expect, whether it’s tight quarters or open fields.
Choosing the right zero distance ensures your point of aim matches your point of impact, reducing guesswork and improving your shot confidence every time you pull the trigger.
Align Your Red Dot Sight With Your Rifle’s Bore
Before you start firing, you’ll want to align your red dot sight with your rifle’s bore to make sure your shots hit where you aim. Begin by ensuring your rifle is unloaded and secure it in a stable rest or vice. Look through the bore from the rear of the rifle, aiming at a clear, distant target.
Adjust your position until the target is centered perfectly in the bore. Next, without moving your head, glance through the red dot sight. You’ll notice the dot isn’t aligned with the target yet.
Use the windage and elevation adjustments on your sight to move the red dot until it sits exactly over the target as you see it through the bore. This process aligns your sight’s point of aim with the rifle’s actual barrel. Once aligned, you’re ready to proceed with precise zeroing, confident that your red dot corresponds accurately to your bore’s line of fire.
Set Up a Stable Shooting Position and Target
Once you’ve aligned your sight with the bore, you’ll need to establish a stable shooting position and set up a clear target to guarantee consistent accuracy during zeroing. Find a solid surface like a bench or shooting rest to support your rifle, minimizing movement and recoil impact. Use sandbags or a bipod if available to steady your aim.
Position yourself comfortably, ensuring your body is relaxed but firm to maintain consistency shot after shot.
Next, select a target with clear markings or a bullseye at an appropriate distance, typically 25 to 50 yards for initial zeroing. Place the target at eye level to avoid unnecessary adjustments. Make sure the target is well-lit and unobstructed, so you can easily see your point of impact.
Fire a Group of Test Shots and Read Your Shot Group
Now it’s time to fire a group of test shots to see how your red dot sight is performing. You’ll want to analyze the pattern of your shots, measure the group size, and identify the point of impact on the target.
This info will help you make precise adjustments to zero your sight.
Analyzing Shot Group Patterns
Although you’ve carefully mounted your red dot sight, you’ll need to fire a group of test shots to understand how your rounds are grouping. Analyzing these patterns helps you identify if your sight is properly aligned or needs adjustment. When you look at your shot group, focus on:
- The overall shape and consistency of the group
- Whether the group is centered around the aiming point
- Any visible drift to one side or vertical shift
- Patterns indicating mechanical issues or shooter error
- How tightly the shots cluster together
Recognizing these details tells you if your zero is accurate or if you need to tweak windage and elevation. This step is essential before moving on to measuring group size precisely.
Measuring Group Size
After analyzing your shot group patterns, the next step is to measure the group size to determine your red dot sight’s accuracy. To do this, fire a group of at least three to five shots at your target without adjusting the sight between shots.
Next, measure the distance between the two farthest holes in the group, either center-to-center or edge-to-edge, using a ruler or caliper. This measurement gives you the size of your shot group, reflecting how consistent your shots are.
A smaller group size means better precision, while a larger one suggests you might need to adjust your technique or sight settings. Keep in mind, a tight group size is essential before moving on to fine-tuning your point of impact.
Identifying Point Of Impact
Once you’ve measured your group size, you’ll need to fire a fresh group of test shots to identify your point of impact. This step lets you see exactly where your rounds are hitting relative to your red dot sight’s aiming point. To do this effectively:
- Use the same distance and shooting position as before
- Fire a tight group of 3-5 shots without adjusting your aim
- Mark the center of the group on your target
- Measure how far and in which direction the group’s center is from your intended point of aim
- Record this information to guide your sight adjustments
Adjust Windage (Left/Right) to Correct Your Zero
The windage adjustment controls the horizontal alignment of your red dot sight, allowing you to move the point of impact left or right. To correct your zero, first determine if your shots are grouping left or right of the target.
Then, use the windage turret, typically located on the side of the sight, to dial the reticle in the opposite direction of the shift. For instance, if your shots are left of target, turn the windage knob clockwise to move the point of impact right.
Here’s a simple guide to help visualize adjustments:
| Shot Grouping | Turn Windage Knob | Resulting Adjustment |
|---|---|---|
| Left of target | Clockwise | Point of impact moves right |
| Right of target | Counterclockwise | Point of impact moves left |
| Centered | No adjustment | Zero is correct |
Keep fine-tuning until your point of impact aligns horizontally with your aiming point.
Adjust Elevation (Up/Down) to Perfect Your Zero
Now that you’ve adjusted windage, it’s time to focus on elevation—moving your point of impact up or down. Pay attention to how each click changes your shot placement, and avoid common mistakes like over-adjusting too quickly.
Getting this right will bring you closer to a perfect zero.
Elevation Adjustment Basics
Although adjusting elevation might seem straightforward, getting it just right is essential for an accurate zero. Elevation controls the vertical placement of your red dot, helping make certain your shots land exactly where you want.
Here’s what you need to know when making elevation adjustments:
- Locate the elevation turret, usually on top of the sight
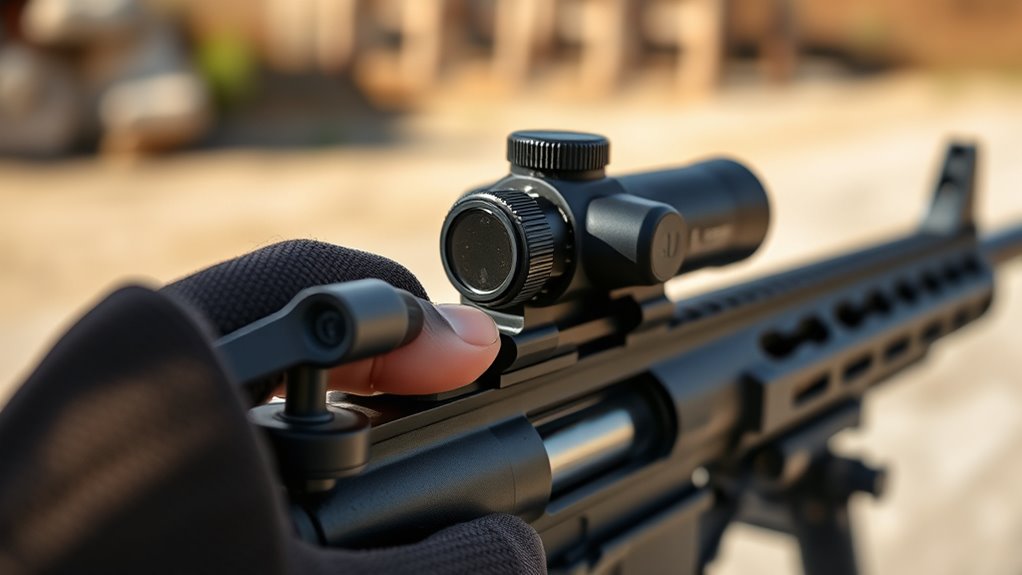
- Use the correct tool or your fingers to turn the turret
- Clockwise typically moves the point of impact down
- Counterclockwise moves the point of impact up
- Make small, incremental adjustments and confirm by shooting at your target
Common Elevation Mistakes
Getting your elevation just right takes more than knowing which way to turn the turret. One common mistake is not confirming your initial zero distance before making adjustments. If you’re zeroing at 25 yards but expect results at 100, your shots will be off.
Another error is over-adjusting—turning the elevation turret too much at once can throw off your zero and waste ammo. Also, don’t forget to tighten the turret cap after adjustments; a loose turret can shift and ruin your zero.
Finally, failing to account for shooter position or inconsistent hold can mimic elevation issues. Always maintain the same stance and cheek weld to guarantee your elevation adjustments are accurate and effective.
Confirm and Fine-Tune Your Zero for Real-World Use
Before you consider your red dot sight fully zeroed, you’ll want to test it under conditions that mimic how you’ll actually use it. This step guarantees your adjustments work well outside the controlled range environment. Start by shooting from your typical stance and positions you expect in real use.
Pay attention to factors like lighting and target movement.
To confirm and fine-tune your zero:
- Shoot at various distances relevant to your needs
- Test in different lighting conditions (bright sunlight, low light)
- Try shooting from different shooting positions (standing, kneeling, prone)
- Use targets that simulate real-world scenarios (silhouettes, moving targets)
- Adjust windage and elevation as needed based on your observations
This approach helps you make precise tweaks so your sight stays accurate when it really counts. After this, your red dot will be truly dialed in for practical use.
Maintain Your Red Dot Sight Zero Over Time
Once you’ve fine-tuned your red dot sight for real-world conditions, keeping it zeroed over time becomes your next priority. Regularly check your sight’s zero, especially after extensive use, impacts, or transporting your firearm. Even minor bumps can affect alignment, so a quick confirmation before each outing saves frustration.
Store your firearm in a stable environment to prevent temperature and humidity fluctuations from affecting the sight’s components. When cleaning your firearm, avoid harsh chemicals or excessive force around the sight to prevent damage. If your red dot has adjustable brightness, use consistent settings to maintain a familiar point of aim.
Periodically test your zero at the range, making minor adjustments as needed. Keeping a log of your sight’s performance and adjustments can help you identify patterns or issues early. By staying proactive, you guarantee your red dot remains reliable and accurate, ready whenever you need it.
Frequently Asked Questions
Can I Zero a Red Dot Sight Without a Rifle Rest?
Yes, you can zero a red dot sight without a rifle rest, but it’s harder to stay steady.
Try stabilizing your elbows or using a makeshift support like a sandbag to improve accuracy while adjusting your sight.
How Often Should I Re-Zero My Red Dot Sight?
You’ll want to revisit your red dot’s settings whenever the stars don’t quite align—like after heavy use, bumps, or changes in ammo.
Regular check-ins keep your aim sharp and your confidence steady out there.
Does Weather Affect the Zeroing Process?
Yes, weather can affect zeroing. Wind, temperature, and humidity might alter bullet trajectory or sight performance.
You’ll want to zero your red dot in conditions similar to where you’ll be shooting for best accuracy.
Can I Zero Multiple Rifles With One Red Dot Sight?
Think of your red dot sight as a chameleon; yes, you can zero it on multiple rifles, but each one demands its own unique adjustment to truly blend in and perform perfectly at its target.
What Tools Do I Need Besides the Sight Adjustment Knobs?
You’ll need a stable shooting rest or bipod, quality ammunition, a target at your desired zero distance, and a small screwdriver or coin for adjustments if your sight lacks built-in knobs.
A spotting scope helps spotting hits too.
Conclusion
Zeroing your red dot sight is like tuning a musical instrument—get it right, and every shot sings true. By following these simple steps, you’re setting yourself up for precision and confidence every time you pull the trigger. Remember, patience and practice make your sighting as reliable as a trusted companion.
Keep your zero maintained, and you’ll always hit the mark, turning your shooting experience from guesswork into mastery. Consistent zeroing of your red dot sight ensures accuracy and enhances your shooting skills. With dedication, your red dot sight will become an extension of your aim, delivering precision shot after shot.