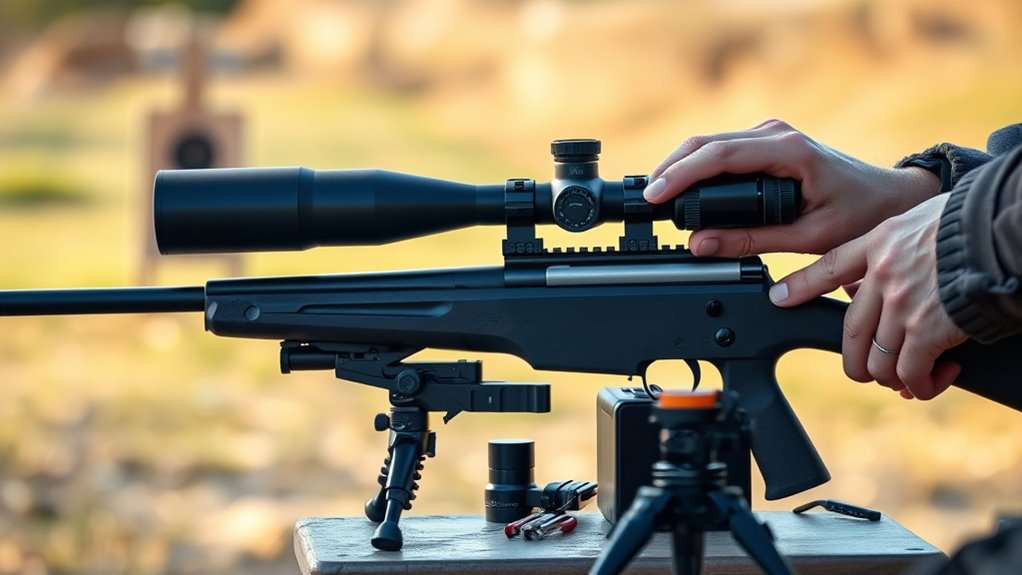
How to Bore Sight Your Thermal Rifle Scope in 10 Easy Steps
To bore sight your thermal rifle scope in 10 easy steps, start by gathering all essential tools like a bore sight tool and a stable rest. Ensuring you have the right equipment is crucial for accurate alignment.
Secure your rifle firmly and power on the scope, adjusting brightness and focus for clear visibility.
Next, carefully remove the bolt to insert the bore sight.
Align the barrel with a distant target to establish a baseline.
Adjust windage and elevation settings to match this alignment precisely.
Double-check your settings at a short range to confirm accuracy.
After initial adjustments, fine-tune the scope following live fire tests.
Maintaining proper calibration guarantees reliable accuracy and optimal performance—keep following to obtain detailed tips.
Key Takeaways
- Secure your rifle on a stable rest and remove the bolt to insert the bore sight tool safely.
- Power on the thermal scope, adjust brightness, contrast, focus, and select a color palette for clear target visibility.
- Align the rifle barrel with a target at 50 yards, ensuring the bore is centered before adjusting the scope reticle.
- Adjust the scope’s windage and elevation knobs to center the reticle precisely on the target.
- Fire test shots at 25 yards, fine-tune adjustments, and verify that the point of aim matches the point of impact.
Gather Essential Tools for Bore Sighting
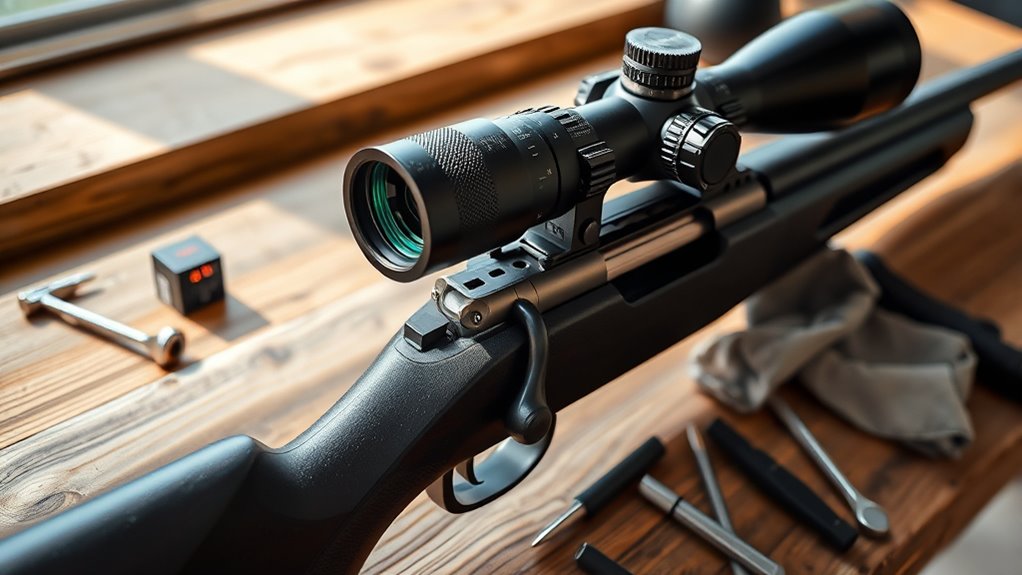
Before you begin bore sighting your thermal rifle scope, you’ll need to gather a few essential tools. First, you’ll want a bore sighting tool compatible with your rifle’s caliber—this could be a laser bore sighter or a mechanical one. Make sure it fits securely into the barrel or chamber.
You’ll also need your thermal rifle scope, obviously, along with the rifle’s user manual for specific instructions. A stable rest or sandbags can help keep the rifle steady during the process. Don’t forget a target with clear markings placed at a known distance, usually 25 yards, to ensure accurate alignment.
A flashlight or headlamp might be helpful if you’re working in low light. Finally, bring any necessary batteries or chargers for your thermal scope. Having all these tools ready before you start will make the bore sighting process smoother and more precise, saving you time in the long run.
Secure Your Rifle and Set Up a Stable Position
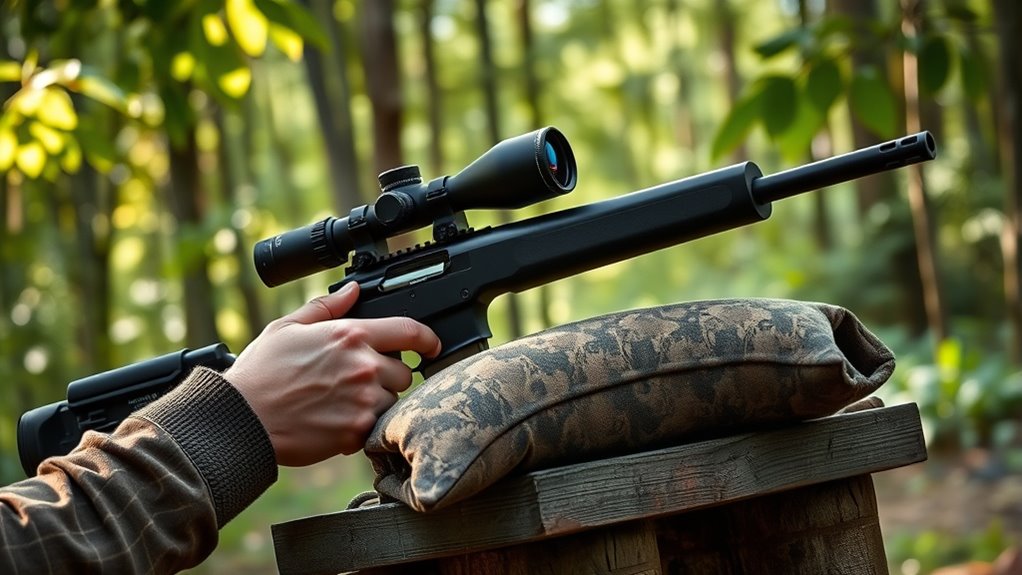
Once you have all your tools ready, the next step is to secure your rifle in a stable position. This stability is essential for accurate bore sighting, as any movement can throw off your alignment. You want to make certain your rifle won’t shift during the process.
To do this effectively, consider the following:
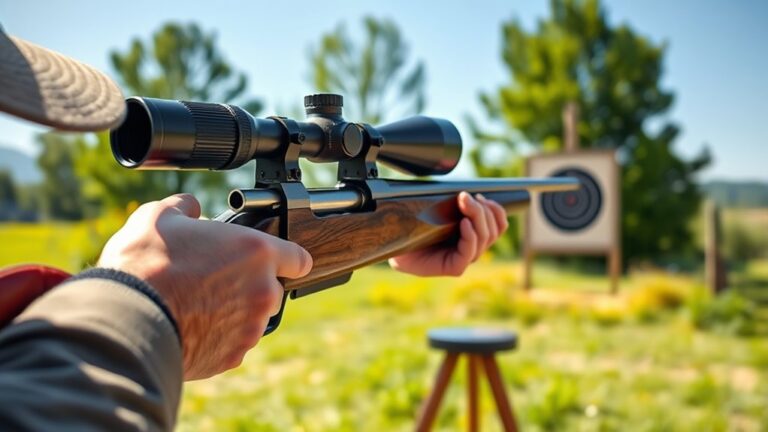
- Use a sturdy shooting rest or sandbags to support the rifle firmly.
- Position yourself comfortably to maintain steady control without straining.
Make sure the rifle is level and pointed safely downrange before proceeding.
Power On Your Thermal Scope and Adjust Settings
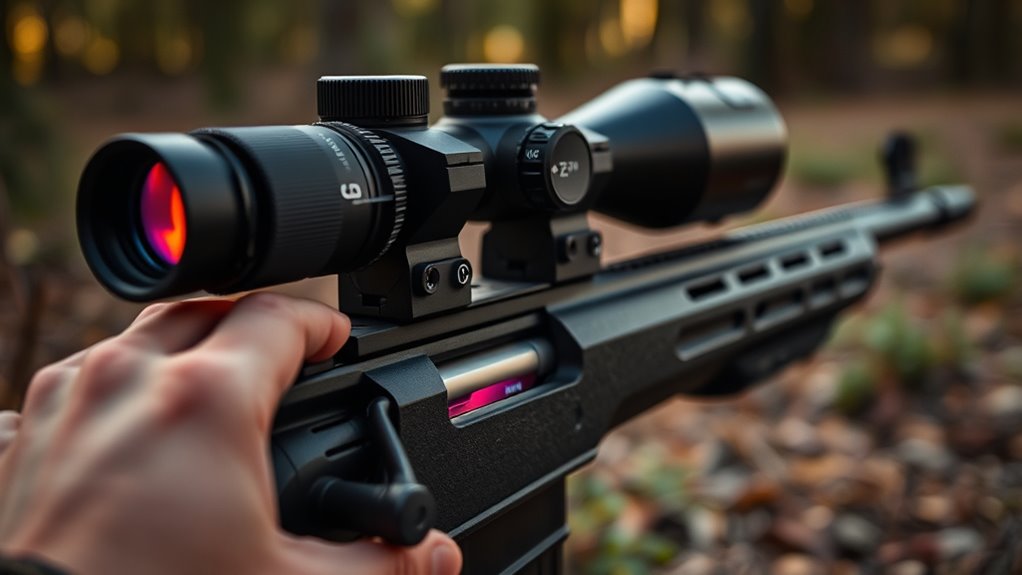
Now that your rifle is secure, power on your thermal scope to get started. Take a moment to adjust the settings until the image is clear and sharp.
Proper clarity will make bore sighting much easier and more accurate.
Initial Power Activation
Although turning on your thermal scope might seem straightforward, getting the settings right is essential for accurate bore sighting. When you power up, the scope initializes its sensors and display, so patience during this startup phase guarantees everything functions correctly.
Here’s what you should do during initial activation:
- Power on the device by pressing and holding the main button until the screen lights up.
- Wait for the startup sequence to complete, confirming the thermal sensor is active.
- Set the basic parameters like brightness and contrast to default or mid-level settings to prevent skewed images.
These steps prepare your scope for precise adjustments later, laying the groundwork for reliable bore sighting results. Avoid rushing to optimize the image just yet; focus on stable activation first.
Optimize Image Clarity
How do you guarantee the clearest image on your thermal scope? Start by powering it on and letting it warm up for a few minutes. Then, adjust the brightness and contrast settings to suit your environment.
Fine-tuning these assures you see the most detail possible. Next, tweak the focus to sharpen the image, paying attention to any blur. Your scope might also have a color palette option—choose one that highlights the target best.
| Step | Action |
|---|---|
| Power On | Turn on and warm up |
| Adjust Brightness | Increase or decrease |
| Set Contrast | Optimize detail visibility |
| Focus | Sharpen image clarity |
Following this routine will make your thermal view crisp and clear, crucial for accurate bore sighting.
Remove the Bolt or Use a Bore Sight to Align Your Thermal Scope
Before you can properly align your thermal scope, you’ll need to either remove the bolt from your rifle or use a dedicated bore sight tool. This step is vital because it lets you look straight down the barrel, guaranteeing the scope’s reticle matches the actual line of fire. Removing the bolt gives you a clear, unobstructed view through the bore.
Properly aligning your thermal scope requires removing the bolt or using a bore sight tool for an unobstructed view.
If you don’t want to remove the bolt, a bore sight tool is a great alternative. These tools fit into the chamber or barrel and project a laser or optical reference point you can use to align your scope.
Here’s what you need to do:
- Remove the bolt carefully following your rifle’s manual to avoid damage.
- Insert a bore sight tool into the chamber or barrel if you prefer not to remove the bolt.
- Look through the barrel or bore sight to center the scope’s crosshairs on a target.
This guarantees your thermal scope starts off aligned before fine-tuning at a distance.
Align the Barrel With a Distant Target
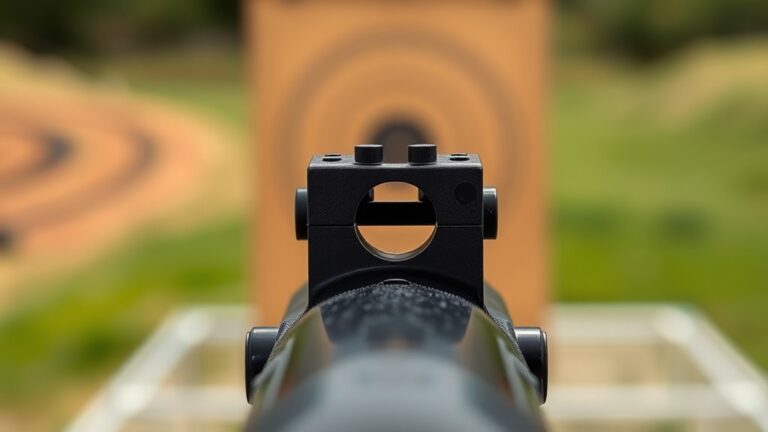
Once you’ve centered the crosshairs through the bore or bore sight, it’s time to take your rifle outside and align the barrel with a distant target. Choose a target at least 50 yards away to guarantee better accuracy during this initial alignment. Secure your rifle on a stable rest or sandbags to minimize movement.
Look downrange and physically adjust the rifle’s position so the barrel points directly at the center of the target. Don’t rely on the scope just yet—your goal here is to confirm the barrel itself is properly aimed. Once the barrel is aligned, you’re setting a solid foundation for fine-tuning the scope later.
Take your time with this step because any misalignment here will affect your overall accuracy. Check your work by visually confirming that the barrel’s bore axis is centered on the target before moving on. This process makes subsequent scope adjustments much easier and more precise.
Center the Thermal Scope Reticle on the Target
After you’ve aligned the barrel with your target, the next step is to adjust the thermal scope’s reticle so it sits perfectly on the center of that same target. This guarantees your point of aim matches the point of impact before you fine-tune the scope’s settings.
To do this effectively: Look through the scope and use the adjustment knobs to move the reticle horizontally and vertically until it’s centered on the target. Make small, deliberate corrections to avoid overshooting the mark; thermal scopes can be sensitive to large adjustments.
Confirm the reticle remains steady on the center as you slightly move your head to ensure the alignment isn’t parallax-induced.
Adjust Windage and Elevation to Match the Bore Alignment
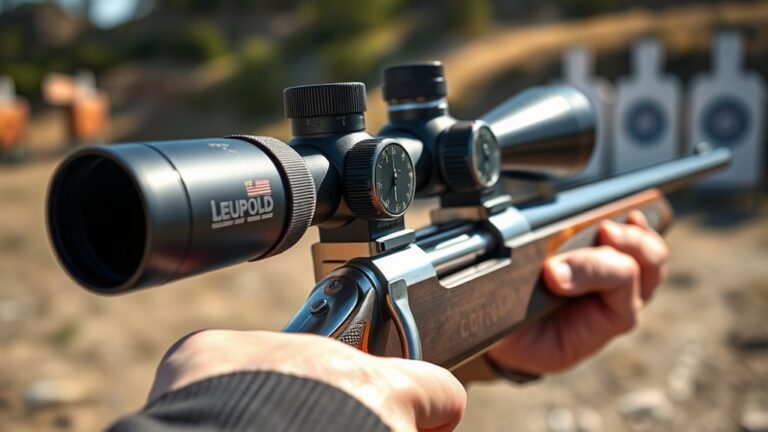
Although you’ve centered the reticle on your target, you’ll still need to fine-tune the windage and elevation adjustments to align the scope’s point of aim precisely with the bore axis. Start by using the scope’s adjustment turrets—windage controls horizontal movement, and elevation adjusts vertical alignment.
Turn the windage turret slowly, shifting the reticle left or right until it matches the bore’s aim. Then, adjust the elevation turret to move the reticle up or down accordingly. Make small, deliberate adjustments, noting the number of clicks you make, as each click corresponds to a specific measurement (usually MOA or MIL).
This helps you track changes for future reference. Take your time and avoid rushing; even minor misalignments can affect accuracy. Once you’ve adjusted both windage and elevation, the reticle should align with the bore axis, setting a solid foundation for accurate shooting.
Double-Check Alignment at Short Range
Before you move to longer distances, you’ll want to double-check your thermal scope’s alignment at a short range. This step verifies your adjustments made during bore sighting are accurate and your point of aim matches the point of impact.
Start by setting up a target about 25 yards away in a safe, controlled environment.
Here’s what you should do:
- Take several shots at the target and observe where the rounds land relative to your reticle.
- Adjust windage and elevation if the shots don’t group around the center of the target.
- Repeat the process until your point of aim and point of impact are closely aligned.
Fine-Tune Your Thermal Scope After Live Fire
Once you’ve confirmed your shots are grouping near the target center, it’s time to fine-tune your thermal scope for peak accuracy. Begin by firing a few more rounds at your chosen distance, noting where each shot lands relative to the point of aim. Use your scope’s windage and elevation adjustments to shift the reticle so your point of aim matches your point of impact.
Make small, incremental changes—usually one click at a time—to avoid overcorrecting. After each adjustment, fire another group to verify improvement. Repeat this process until your shots consistently hit the target center.
Maintain Your Bore Sight Setup for Reliable Accuracy
To keep your bore sight setup reliable, you’ll need to perform regular calibration checks to catch any shifts early. Proper storage is just as important to prevent damage or misalignment.
Let’s look at how these steps help maintain your scope’s accuracy over time.
Regular Calibration Checks
How often should you check your bore sight calibration? Regular calibration checks are essential to keep your thermal rifle scope accurate and reliable. You don’t want to trust your shots to a setup that might have shifted or drifted over time.
Ideally, you should verify calibration before every hunting trip or shooting session. Also, check after any significant impact or rough handling of your rifle.
Additionally, verify calibration whenever you change or adjust your scope or mounts.
Proper Storage Techniques
Keeping your bore sight calibration accurate means more than just regular checks—it also involves how you store your thermal rifle scope. To maintain reliable accuracy, always store your scope in a padded, secure case to protect it from bumps and moisture. Avoid exposing it to extreme temperatures or humidity, which can damage internal components and affect calibration.
Remove batteries if you won’t use the scope for an extended period to prevent corrosion. Keep lens covers on to protect the optics from dust and scratches. When storing, place the scope in a stable position, preventing it from shifting or falling.
Frequently Asked Questions
Can I Bore Sight a Thermal Scope in Low Temperatures?
Yes, you can bore sight a thermal scope in low temperatures, but you’ll want to let your equipment acclimate first. Cold can affect calibration, so warming it up guarantees more accurate sighting and consistent performance in the field.
How Often Should I Recalibrate My Thermal Scope?
You should recalibrate your thermal scope every few months or after any significant impact, temperature change, or firmware update.
Regular recalibration guarantees accuracy, so don’t skip it, especially before important shoots or hunts.
Will Bore Sighting Affect My Scope’s Battery Life?
No, bore sighting won’t affect your scope’s battery life substantially. It’s a quick process, so the scope isn’t on long enough to drain much power.
Just remember to turn it off when you’re done.
Can Bore Sighting Be Done Without Removing the Bolt?
You can bore sight without removing the bolt—about 70% of shooters do it this way for convenience. Just make sure your rifle is stable and aligned properly to avoid misalignment and get accurate initial zeroing.
What Safety Precautions Are Needed During Bore Sighting?
You’ll want to keep the firearm unloaded, point it in a safe direction, and wear eye protection. Always double-check the chamber and make sure no one’s downrange before you start bore sighting.
Stay alert and cautious.
Conclusion
Now that you’ve got your thermal scope bore sighted, you’re ready to hit the mark with confidence. Remember, practice makes perfect, and keeping your setup well-maintained guarantees your accuracy stays sharp.
Don’t forget to double-check everything before you take that first shot—after all, it’s better to be safe than sorry. Follow these steps, and you’ll be seeing eye to eye with your target in no time!
By mastering how to bore sight your thermal rifle scope, you ensure precise alignment and improved shooting performance. Consistent maintenance and careful adjustments will keep your thermal scope functioning at its best. Embrace these tips to enhance your accuracy and make every shot count.