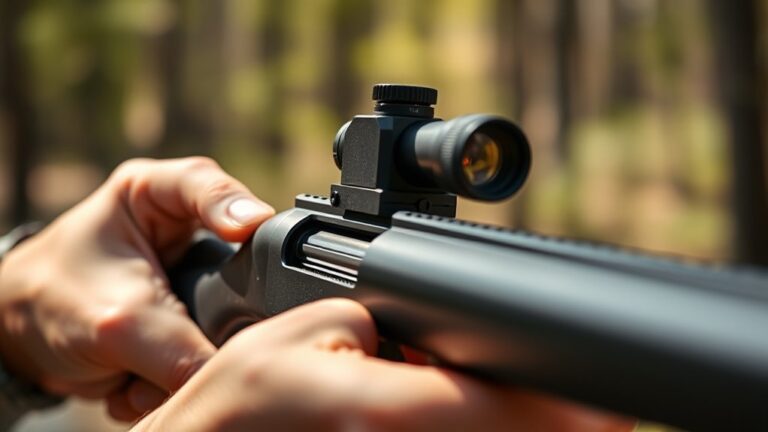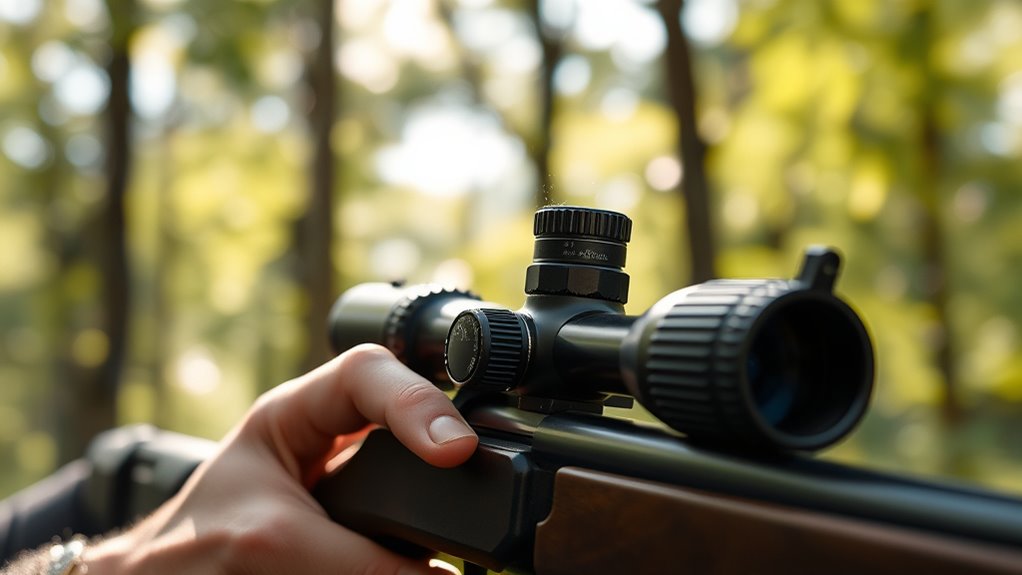
How to Sight an Air Rifle in 10 Easy Steps
To sight your air rifle accurately, follow these 10 easy steps designed to improve your shooting precision. Properly sighting your air rifle ensures better accuracy and consistency, whether for target practice or small game hunting.
Begin by preparing a safe, well-lit shooting area with a stable target stand and gather all necessary tools before starting.
Securely mount and align your sights with the barrel to establish a solid foundation. Set your target at 10-20 yards and take a few test shots using a steady rest to minimize movement.
Observe where the pellets hit and adjust windage and elevation accordingly. Make small tweaks until your grouped shots center on the bullseye for optimal accuracy.
Regularly maintain your setup to ensure lasting performance. Mastering each step in this process will lead to greater precision and confidence in your shooting skills.
Key Takeaways
- Securely mount and align the sights to the barrel’s centerline, ensuring a firm, level fit without over-tightening screws.
- Set a stable target at 10-20 yards with clear bullseyes, using good lighting and a steady shooting rest.
- Fire 3-5 test shots, marking pellet impacts to evaluate grouping and identify necessary sight adjustments.
- Adjust elevation and windage knobs opposite to pellet impact shifts, making small changes until shots center on the target.
- Regularly check and maintain sight mounts, clean lenses, and re-zero after transport or heavy use to ensure consistent accuracy.
Preparing Your Shooting Area for Air Rifle Sighting
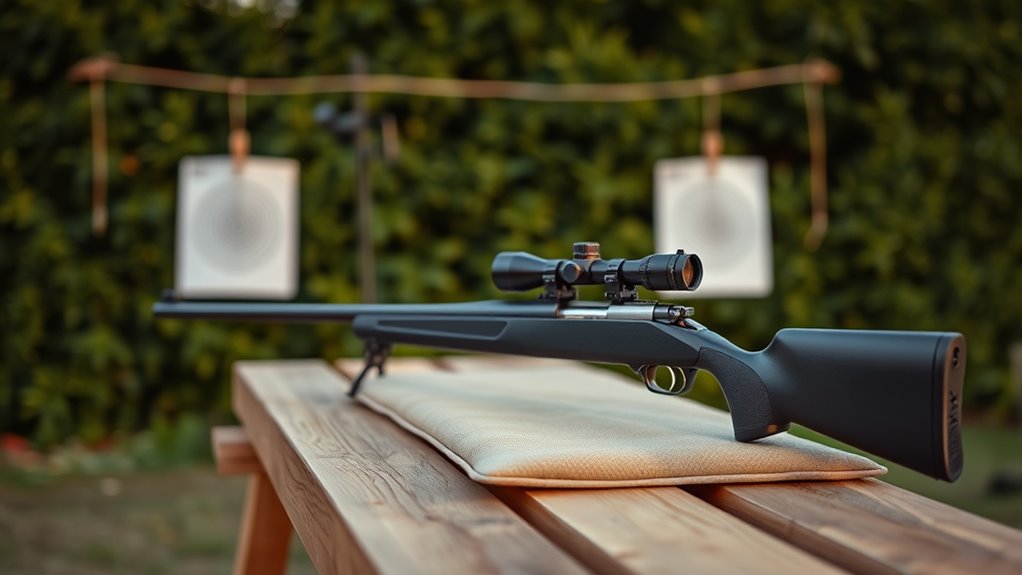
Before you begin sighting your air rifle, make sure your shooting area is safe and free from distractions. You want a clear, open space where no one can accidentally walk into your line of fire. Check for any obstacles or reflective surfaces behind your target, as they can interfere with your sighting process.
It’s best to set up your target at a fixed distance, preferably on a sturdy stand that won’t move if hit. Confirm your shooting bench or rest is stable to keep your rifle steady. Good lighting is essential, so pick a spot with consistent daylight or use an adjustable light source to avoid shadows that might affect aiming.
Keep noise and movement to a minimum around you, so you can concentrate fully. By preparing your area carefully, you’ll create an environment that helps you sight your air rifle accurately and safely every time.
Tools Needed to Sight Your Air Rifle
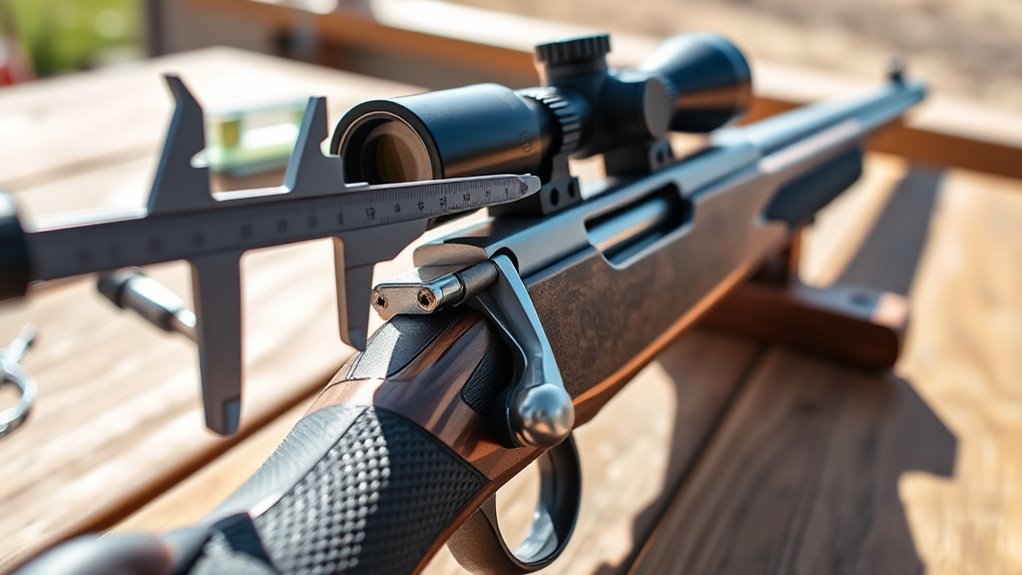
Though sighting your air rifle might seem straightforward, having the right tools can make the process much easier and more accurate. First, you’ll want a reliable target to aim at—preferably one with clear, visible markings to help you track adjustments.
A stable rest or shooting bench is essential to keep your rifle steady while you fine-tune the sights. You’ll also need a screwdriver or Allen wrench set that fits your air rifle’s sight screws; having the correct size prevents damage and ensures precise adjustments.
A good quality pellet or BB supply is important too, so you’re working with consistent ammunition. Ultimately, a measuring tape or ruler helps you note distances and verify changes in point of impact. With these tools at hand, you’ll be set to sight your air rifle efficiently and with confidence.
Mounting and Aligning Your Air Rifle Sights
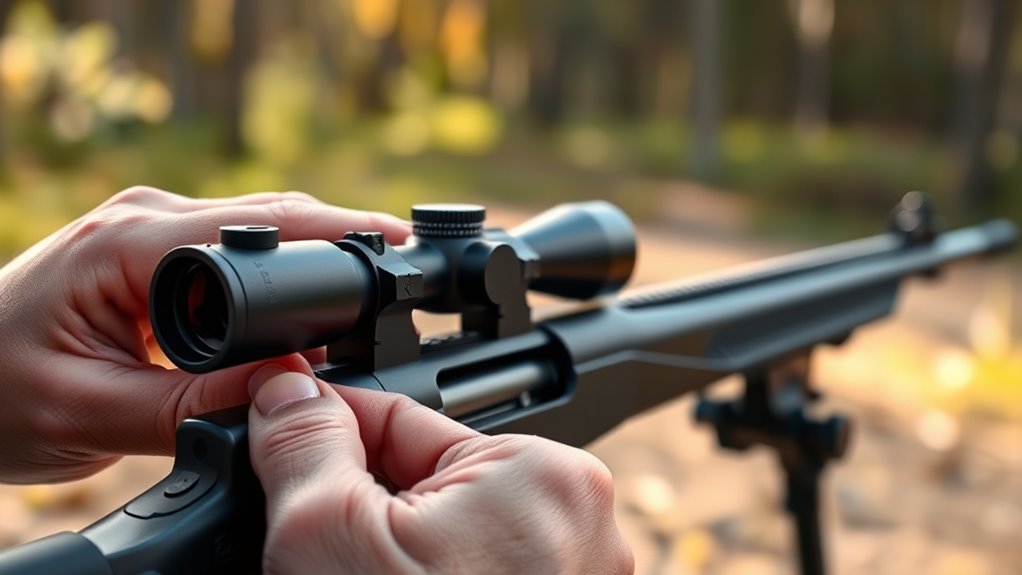
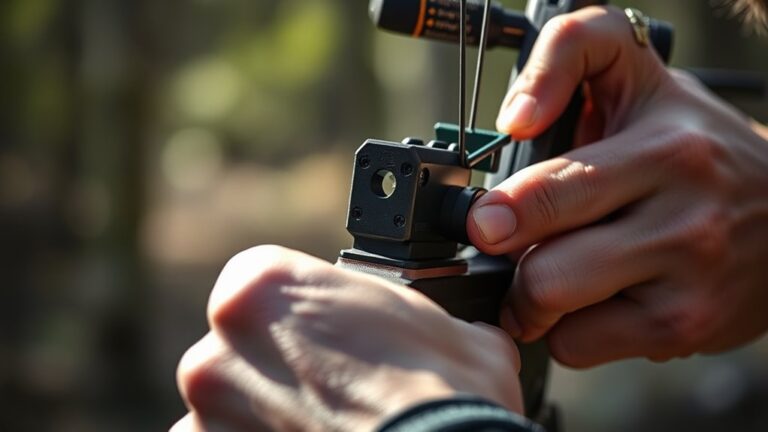
Once you have your tools ready, you’ll want to carefully mount your air rifle sights to guarantee accuracy. Start by securely attaching the sight base to your rifle, ensuring it’s tight but not over-torqued to avoid damage.
Carefully mount your air rifle sights, securely attaching the base without over-tightening to ensure accuracy and prevent damage.
Next, position the sights so they’re aligned with the barrel’s centerline. Proper alignment prevents shots from veering off target.
Keep these key steps in mind:
- Clean mounting surfaces to remove dirt or oil
- Use the correct screws and tighten evenly
- Check that the sight is level both horizontally and vertically
- Adjust elevation and windage knobs to roughly center the reticle
- Inspect from multiple angles to confirm straight alignment
After mounting, give the sights a gentle shake test to confirm they’re firmly fixed. This careful setup lays the foundation for precise shooting and makes zeroing your rifle much easier.
Setting Up Targets for Accurate Zeroing
To zero your air rifle accurately, you’ll need a properly set up target that’s easy to see and aligned with your shooting position. Choose a target with a clear, contrasting bullseye so you can quickly identify your point of impact. Place the target at a consistent distance, commonly 10 to 20 yards for air rifles, ensuring it’s stable and won’t shift with each shot.
Use a target stand or backboard to keep it upright and prevent damage to surrounding areas. Position yourself so your eye, the rifle’s sights, and the target are in a straight line to avoid parallax errors. Make sure the target is well-lit, with no shadows obscuring the bullseye.
Avoid distractions behind the target that might interfere with your focus. By setting up your target thoughtfully, you’ll create the best conditions to zero your air rifle precisely and efficiently, laying a solid foundation for accurate shooting.
Taking Your First Test Shots
How should you approach taking your first test shots? Start by ensuring your rifle is stable and your position comfortable. You want consistent shots to gauge where your rifle’s sight is currently aimed.
Take your time with each shot; rushing can throw off your accuracy.
Here are key tips to keep in mind:
- Use a solid rest or sandbag to minimize movement.
- Aim carefully at the center of your target.
- Fire a small group of 3-5 shots rather than single shots.
- Keep track of each shot placement on the target.
- Stay relaxed and control your breathing for steadiness.
Interpreting Shot Results Before Adjusting
Before you make any adjustments, you’ll want to carefully analyze where your shots are grouping on the target. Notice if the cluster is tight or scattered. A tight group shows consistency, while a wide spread indicates you might need to work on steadiness before tweaking your sights.
Also, check if the group is off-center—left, right, high, or low—which tells you how your sights are currently aligned.
Here’s a quick way to interpret your results emotionally:
| Shot Pattern | Feeling | What It Means |
|---|---|---|
| Tight & Centered | Satisfaction | Perfect alignment |
| Tight & Off-Center | Hopeful | Minor sight adjustment |
| Scattered & Centered | Frustration | Stability needed |
| Scattered & Off-Center | Determined | Adjust sights & technique |
Understanding these feelings helps you stay motivated and focused on improving your aim before making any sight changes.
Adjusting Windage and Elevation on Your Sights
Now that you’ve interpreted your shot results, it’s time to adjust your sights for windage and elevation.
You’ll learn simple techniques to move your point of impact left or right and tips to raise or lower your aim accurately.
These adjustments will help you zero in on your target with precision.
Windage Adjustment Techniques
Although adjusting windage might seem tricky at first, it’s essential for ensuring your shots hit their target accurately. Windage controls the horizontal alignment of your sight, helping you compensate for crosswinds or slight misalignments.
To adjust windage effectively, identify the direction your shots consistently stray (left or right). Locate the windage knob or screw on your sight. Turn the knob in small increments, usually marked with directional arrows.
Fire a group of shots to confirm adjustment impact. Repeat as needed until your shots center perfectly.
Elevation Setting Tips
When you adjust your elevation, you control the vertical alignment of your sight, which is key to hitting targets at various distances. Start by zeroing your rifle at a known distance, usually 20 yards. If your shots land low, raise the elevation; if high, lower it.
Make small, consistent adjustments and test after each change. Remember, elevation adjustments affect bullet drop compensation.
| Distance (yards) | Elevation Adjustment Tip |
|---|---|
| 10 | Lower elevation slightly |
| 20 | Zero your rifle here |
| 30+ | Raise elevation for bullet drop |
Practicing with these tips will help you quickly fine-tune your sights and improve accuracy at any range.
Confirming Your Air Rifle Is Properly Zeroed
Now that you’ve adjusted your sights, it’s time to check your initial shot group to see where your pellets land. Make any fine adjustments needed to align your sights perfectly with the target.
Finally, verify consistent accuracy by shooting multiple groups to guarantee your air rifle is truly zeroed.
Checking Initial Shot Group
Before you can confidently adjust your air rifle, you need to check your initial shot group to see where your pellets are landing. This step confirms whether your rifle is properly zeroed or if adjustments are necessary.
Here’s how to effectively check your shot group:
- Set up a clear target at your preferred shooting distance.
- Fire a consistent number of pellets (usually 3 to 5) without adjusting the sights.
- Mark where each pellet hits the target.
- Observe the tightness and location of the group relative to your aim point.
- Note any consistent pattern like shots grouping high, low, left, or right.
Adjusting Sight Alignment
Once you’ve identified where your pellets are grouping on the target, you can begin adjusting your sight alignment to bring your shots closer to the bullseye. Start by noting the group’s position relative to the center—whether it’s high, low, left, or right. Use your air rifle’s elevation and windage knobs or screws to move the sight in the opposite direction of the group’s displacement.
For example, if your pellets hit low and left, adjust the sight upward and to the right. Make small, incremental adjustments and fire a few more shots to check the new grouping. Repeat this process until the pellet group centers on the bullseye.
Properly zeroing your air rifle guarantees your aim is accurate and reliable before moving on to further accuracy testing.
Verifying Consistent Accuracy
Even after adjusting your sights, you’ll want to confirm that your air rifle consistently hits where you expect. This confirms your rifle is properly zeroed and ready for accurate shooting. Start by firing a group of shots at your target from a fixed distance, ideally 10 to 20 yards.
Then, observe the shot pattern to ensure it’s tight and centered.
To verify consistent accuracy:
- Use the same pellet type for all shots.
- Maintain a steady shooting position.
- Check that your sights haven’t shifted.
- Record environmental conditions like wind.
- Adjust sights if the group isn’t centered.
Fine-Tuning Sighting for Different Distances
Adjusting your air rifle sight for different distances is essential to maintain accuracy as the bullet’s trajectory changes. When you aim at closer targets, your pellet drops less, so you’ll want to keep your sight close to zero or slightly adjusted for near range. As you increase distance, the pellet will drop more due to gravity, so raising your rear sight or lowering your front sight compensates for this drop.
Start by zeroing your rifle at a mid-range distance, then test shots at various ranges to see how much adjustment is needed. Use the windage and elevation knobs to fine-tune the point of impact. Small, incremental adjustments are key—move the sight a little, shoot, and observe the changes.
Maintaining Your Sight Setup for Consistent Accuracy
To keep your shots consistent, you’ll need to regularly maintain your sight setup and guarantee it stays secure. Over time, vibrations and handling can loosen screws or shift adjustments, causing your aim to drift. Make a habit of checking your sight before each shooting session to catch any issues early.
Here are five key maintenance tips to keep your sight reliable:
- Tighten all screws regularly to prevent movement.
- Clean lenses or sight windows gently to avoid smudges.
- Inspect mounting brackets for any signs of wear or damage.
- Store your rifle safely to avoid accidental knocks.
- Re-zero your sight periodically, especially after transport or heavy use.
Frequently Asked Questions
What Type of Air Rifle Is Best for Beginners?
You’ll want a break-barrel or multi-pump air rifle for beginners because they’re easy to use and maintain.
Look for one with moderate power and adjustable sights to help you build accuracy and confidence quickly.
How Often Should I Clean My Air Rifle?
You should clean your air rifle after every 500 shots or if you notice residue buildup.
Just like keeping your vision clear helps you aim better, regular cleaning guarantees your rifle performs consistently and lasts longer.
Can Weather Conditions Affect Air Rifle Accuracy?
Yes, weather conditions can affect your air rifle’s accuracy. Wind can push pellets off course, while humidity and temperature changes can alter pellet speed and trajectory.
Always consider the weather when you’re shooting for best results.
What Safety Precautions Should I Take When Shooting?
Did you know over 70% of air rifle accidents happen due to neglecting basic safety? Always wear eye protection, never point your rifle at anyone, make certain your target is safe,
and keep the safety on until you’re ready to shoot.
Are There Legal Restrictions on Air Rifle Use in My Area?
Yes, there are likely legal restrictions on air rifle use in your area. You’ll need to check local laws regarding age limits, permitted locations, and power limits to stay compliant and safe while shooting.
Understanding these regulations helps prevent legal issues and ensures responsible use. Always verify the specific rules that apply to your location before using an air rifle. This way, you can enjoy shooting safely and legally.
Conclusion
Now that you’ve followed these steps, imagine hitting your target dead center at 25 yards on your first try, just like Jake, who struggled until he zeroed his air rifle properly.
With patience and proper sighting, you’ll boost your accuracy and confidence every time you shoot. Keep practicing, maintain your setup, and soon you’ll be enjoying consistent, precise shots that make every session rewarding.
By mastering how to sight an air rifle, you enhance both your skill and enjoyment. You’ve got this!