10 Steps to Adjust Rifle Sights Accurately
To adjust your rifle sights accurately, it’s essential to understand how rifle sights work and gather the right tools and safety gear. Proper sight adjustment ensures precision and improves shooting accuracy. Following a systematic approach will help you achieve consistent results.
Secure your rifle on a stable rest to minimize movement during shooting. Fire test shots to observe where your bullets impact relative to your aiming point. Analyze your shot placement carefully to determine necessary adjustments in elevation or windage.
Make small adjustments to your sights based on your observations. After each tweak, fire additional test shots to confirm improvements. Remember to consider different shooting distances and ammunition consistency.
By following these steps, you will fine-tune your rifle sights for precise shooting under various conditions. Patience and attention to detail are key to mastering sight adjustments.
Key Takeaways
- Secure the rifle firmly using a stable rest and maintain a consistent shooting position for accurate test shots.
- Fire initial test shots to observe bullet impact and measure deviations from the aiming point.
- Adjust rear sight elevation and windage based on measured impact shifts, making small, precise corrections.
- Confirm adjustments by firing additional shots and analyzing shot groupings for consistency and accuracy.
- Fine-tune sights at various distances to compensate for bullet drop and environmental factors, ensuring reliable zeroing.
Learn How Rifle Sights Work
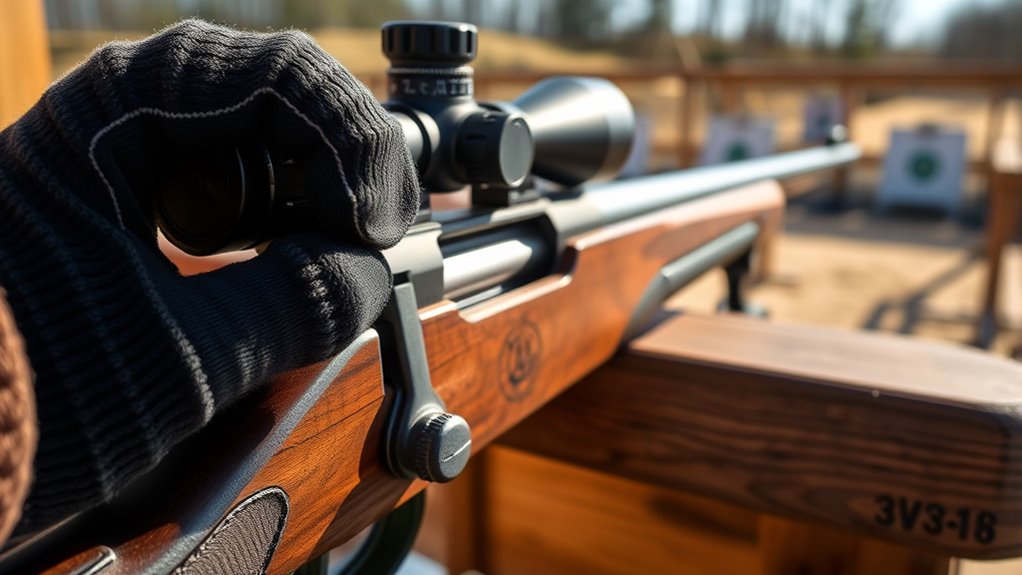
Before you can adjust your rifle sights accurately, you need to understand how they work. Rifle sights help you align your shot by providing reference points. Most rifles have two sights: the front sight, which is near the muzzle, and the rear sight, positioned closer to your eye.
When aiming, you’ll want the front sight centered within the rear sight’s notch or aperture. This alignment ensures your bullet hits where you intend. Each sight can be adjusted to change the bullet’s point of impact.
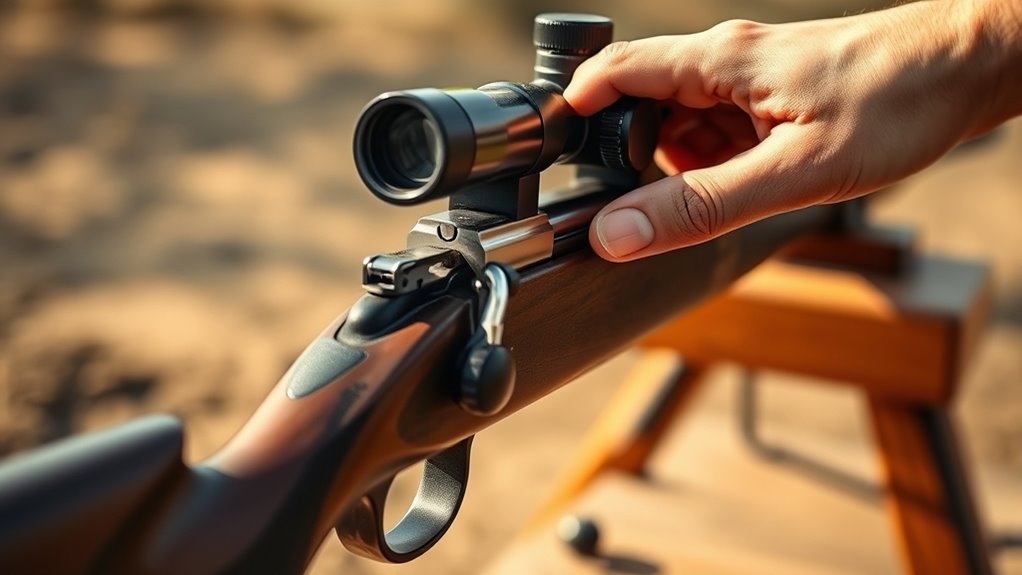
Moving the rear sight shifts your aim horizontally (windage) or vertically (elevation). The front sight can also be adjusted but is less common. Understanding this basic function lets you make precise corrections.
Gather Tools for Rifle Sight Adjustment
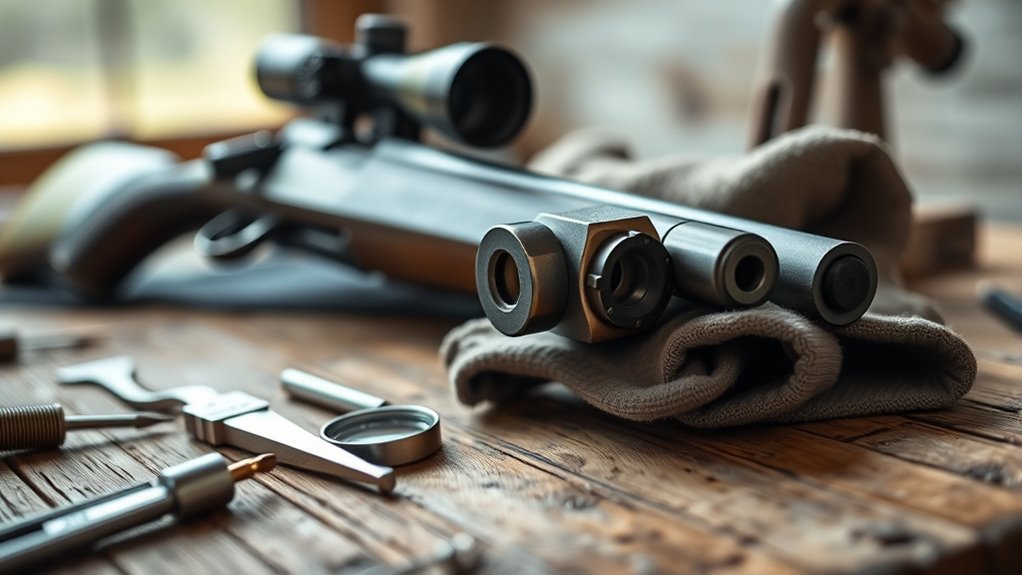
Before you start adjusting your rifle sights, make sure you have the right tools like screwdrivers and wrenches. Don’t forget to gather safety gear such as eye and ear protection.
Also, choose the proper ammunition that matches your rifle for accurate adjustments.
Essential Adjustment Tools
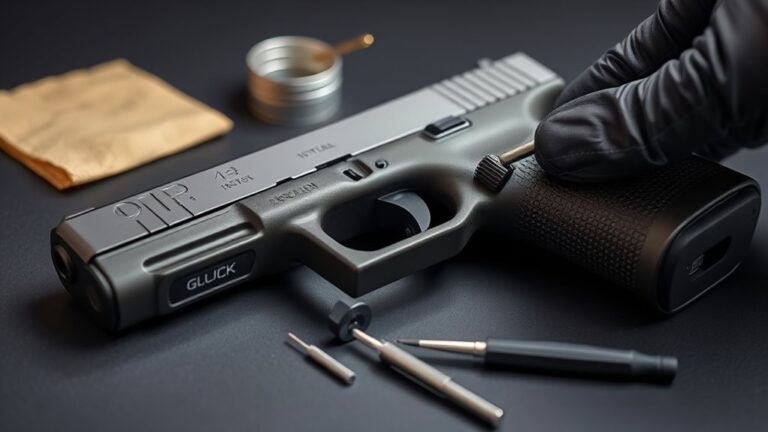
Although adjusting your rifle sights might seem straightforward, having the right tools on hand will make the process much smoother and more accurate. You’ll want a reliable screwdriver set with flat and Phillips heads to handle different screws without stripping them. A small wrench or sight adjustment tool is essential for precise elevation and windage tweaks.
Don’t forget a quality cleaning cloth to wipe away dirt and oil that could affect sight alignment. A magnifying glass or lens can help you see fine details clearly. Ultimately, a good set of feeler gauges or a dial caliper ensures you measure adjustments accurately.
With these essential tools ready, you’ll be well-equipped to fine-tune your rifle sights efficiently and confidently.
Safety Equipment Checklist
Along with gathering the right tools for adjusting your rifle sights, you’ll want to make sure you have the proper safety equipment on hand. Safety glasses are a must to protect your eyes from debris or accidental discharge. Ear protection, like earmuffs or earplugs, will shield your hearing during test firing.
Gloves can help protect your hands while handling tools and the rifle. A sturdy shooting rest or sandbag will keep your rifle steady, reducing the risk of slips. Ultimately, keep a first aid kit nearby just in case of minor injuries.
Ensuring you have this safety gear before starting will help you work confidently and securely while adjusting your rifle sights. Safety always comes first.
Choosing Proper Ammunition
Why does choosing the right ammunition matter when adjusting your rifle sights? Using consistent ammo ensures your adjustments reflect true sight alignment rather than variations in bullet performance. Different bullet weights, velocities, or brands can cause your point of impact to shift, misleading your sighting process.
Always pick ammunition that matches your rifle’s specifications and the conditions you’ll be shooting in. If you plan to use a specific load regularly, use that same ammo during sight adjustments. This consistency helps you achieve precise zeroing and reliable accuracy.
Avoid mixing ammo types during this process to prevent inconsistent results. Taking the time to select proper ammunition upfront saves you from repeated adjustments and improves your overall shooting experience.
Secure Your Rifle and Pick a Stable Position
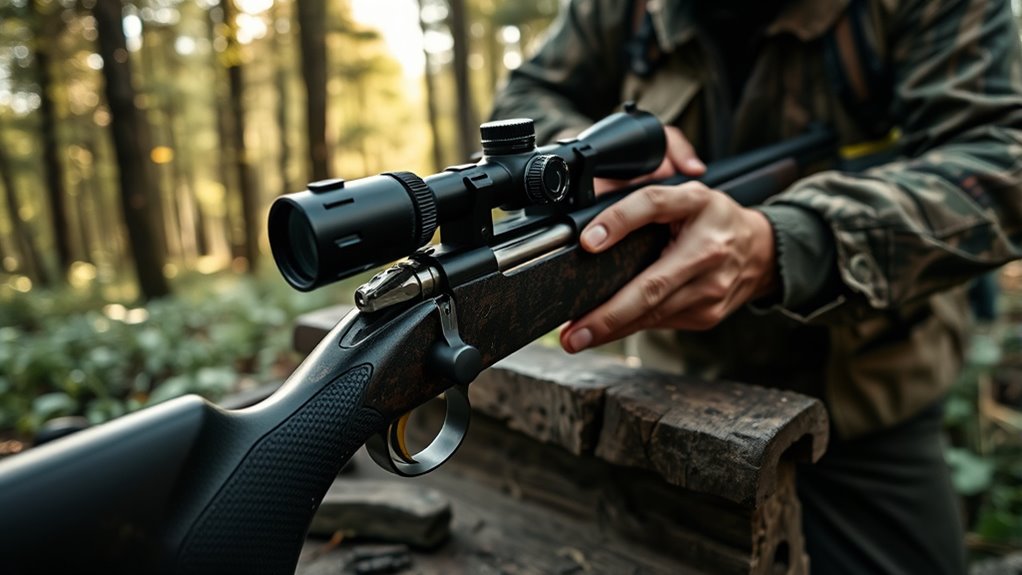
Before you start adjusting your rifle sights, you need to secure your rifle firmly and choose a stable shooting position. Stability helps reduce movement, ensuring your sight adjustments are accurate. Find a solid rest like a bench or sandbags to support your rifle.
Your body should be comfortable but steady, minimizing muscle strain. Whether you choose prone, sitting, or standing, make sure your stance provides balance and control.
Here’s a quick reference for stable positions and their support types:
| Position | Support Type |
|---|---|
| Prone | Ground, bipod |
| Sitting | Sandbags, knees |
| Standing | Sling, body brace |
| Kneeling | Elbows, sandbags |
| Bench | Rest, sandbags |
Securing your rifle and selecting the right position sets the foundation for precise sight adjustments and consistent shooting.
Fire Test Shots to Check Accuracy
How do you know if your sight adjustments are on point? The best way is to fire test shots and observe where the bullets hit. This step is essential because it gives you real feedback on your adjustments.
When you’re ready, follow these steps:
- Take a few shots at your target from your stable position to gather initial data.
- Observe the shot groupings and note how they relate to your aiming point — are they left, right, high, or low?
- Compare the impacts with your intended point of aim to determine if further adjustments are necessary.
Analyze Your Shots to Find Sight Errors
Now that you’ve fired your test shots, take a close look at the group patterns they form on the target. Notice where most shots cluster and measure how far they deviate from your intended point of aim.
This will help you pinpoint sight errors and guide your next adjustments.
Identify Shot Group Patterns
Although it might seem straightforward, identifying shot group patterns requires careful observation and analysis of where your bullets land on the target. You need to look beyond individual shots and focus on the overall cluster to understand how your sights are performing.
To do this effectively:
- Examine the shape and size of your shot group—tight clusters show consistency, while wide spreads indicate instability or sight issues.
- Note the group’s position relative to the bullseye—consistently off-center groups reveal directional errors in your sight alignment.
- Identify any recurring tendencies, like shots drifting left or high, which suggest specific sight adjustments are necessary.
Measure Impact Deviations
Once you’ve identified your shot group patterns, the next step is to measure exactly how far and in which direction your shots deviate from the bullseye. Use a ruler or caliper to measure the horizontal (left or right) and vertical (up or down) distances from the center of the group to the bullseye.
Record these measurements carefully, as they indicate how much your sights need adjustment. For example, if your group is consistently 2 inches left and 1 inch low at 100 yards, you’ll need to move your sights right and up accordingly.
Precise measurement helps avoid guesswork and guarantees your adjustments bring your point of impact closer to the target. Always measure from the center of your shot group, not just individual shots, for consistent accuracy.
Adjust Windage to Fix Horizontal Misses
If your shots are consistently landing to the left or right of the target, it’s time to adjust the windage settings on your rifle sights. Windage controls the horizontal alignment of your sight, helping you correct side-to-side misses.
Here’s how to do it effectively:
- Identify the direction of the miss: Determine whether your shots are hitting left or right of the bullseye.
- Adjust the windage knob or screw: Turn it in the opposite direction of your shot placement—if shots are left, move the sights right; if right, move them left. Typically, one click moves the point of impact a small, precise amount.
- Fire a confirmation group: After adjustments, shoot a few rounds to verify if your point of impact has shifted closer to the target center.
Repeat these steps until your shots consistently land on target horizontally. Don’t rush—small, incremental adjustments work best.
Adjust Elevation to Fix Vertical Misses
When your shots consistently land above or below the target, adjusting the elevation on your rifle sights is key to correcting vertical alignment. Elevation adjustments move the point of impact up or down without affecting horizontal placement. Typically, turning the elevation knob clockwise lowers the point of impact, while counterclockwise raises it.
Make small adjustments and note the changes in shot placement.
Here’s a quick guide to elevation adjustments:
| Miss Direction | Adjustment Direction | Effect on Point of Impact |
|---|---|---|
| Shots High | Turn knob clockwise | Lowers the impact point |
| Shots Low | Turn knob counterclockwise | Raises the impact point |
| Slightly High | Small clockwise turn | Slightly lowers impact |
| Slightly Low | Small counterclockwise turn | Slightly raises impact |
| On Target | No adjustment needed | Maintain current setting |
This method guarantees precise vertical alignment before moving to other sight adjustments.
Repeat Test Shots After Each Adjustment
After each adjustment, you’ll want to take repeat test shots to check for consistency in your shot placement. Carefully analyze the impact patterns to see if your changes are moving the group closer to the target.
Make sure to give yourself enough time between shots to maintain steady aim and avoid rushed errors.
Consistency in Shot Placement
Although adjusting your rifle sights can feel like a quick fix, you need to repeat test shots after each change to guarantee your adjustments are truly improving accuracy. Consistency in shot placement is key—without it, you can’t be sure if your sights are set correctly or if other factors are affecting your aim.
To maintain consistency:
- Use the same shooting position and stance every time.
- Control your breathing and trigger pull to minimize movement.
- Aim at the exact same point on the target for each shot.
Analyzing Impact Patterns
Because every adjustment you make to your rifle sights can change where your shots land, it’s crucial to analyze the impact patterns carefully before making further changes. After each adjustment, shoot a small group of test rounds to see how the point of impact shifts. Look for the cluster’s location relative to your target center and note any consistent drift in elevation or windage.
This helps you understand if your corrections are moving the group in the desired direction. Avoid jumping to conclusions from a single shot; patterns provide more reliable data. By repeating test shots after every adjustment, you can fine-tune your sights accurately and avoid overcompensating.
This methodical approach ensures your rifle is zeroed precisely for consistent and predictable performance.
Time Between Shots
How long should you wait between shots when adjusting your rifle sights? Taking the right amount of time between shots is essential to maintain accuracy and consistency. After each adjustment, you want to allow your rifle and your mind to reset.
Here’s a simple guide to help:
- Wait 15-30 seconds between shots to let the barrel cool slightly, preventing heat from affecting bullet trajectory.
- Take deep breaths and steady your aim before firing to maintain consistent shooting posture.
- Review your impact pattern carefully after each test shot before making the next adjustment—don’t rush this step.
Troubleshoot Common Sight Adjustment Issues
When your rifle sights don’t seem to align properly despite careful adjustments, it’s important to identify common issues that might be causing the problem. First, check if your sights are securely mounted; loose sights can shift between shots and throw off your aim.
Next, verify your rifle is held consistently—any change in grip or posture affects point of impact. Dirt or debris on the sights may also block your view or mislead your alignment, so clean them regularly.
If you’re using iron sights, confirm that the front and rear sights are correctly aligned and not damaged. Don’t overlook environmental factors like wind or lighting, which can affect how you perceive your sight picture.
Finally, confirm the ammunition matches your rifle’s specifications, as inconsistent ammo can cause erratic shot placement. By systematically addressing these common issues, you can quickly identify what’s preventing accurate sight alignment and get back on target.
Fine-Tune Sights for Different Distances
Once you’ve ruled out common sight issues, the next step is adjusting your sights to match different shooting distances. Fine-tuning your rifle sights guarantees you hit your target accurately, whether at close or long range. Here’s how to approach it:
After ensuring your sights are clear, adjust them precisely for accurate shooting at any distance.
1. Start at a Known Distance
Set your sights at a baseline distance, typically 25 or 50 yards. This gives you a reference point for all further adjustments.
2. Adjust Elevation for Distance
As your target moves farther, raise your sights incrementally to compensate for bullet drop. Use your rifle’s elevation knob or adjust the rear sight accordingly.
3. Compensate for Wind and Environment
At longer distances, wind and environmental factors can shift your bullet’s path. Make small windage adjustments based on conditions and keep testing.
Frequently Asked Questions
What Types of Rifle Sights Are Best for Beginners?
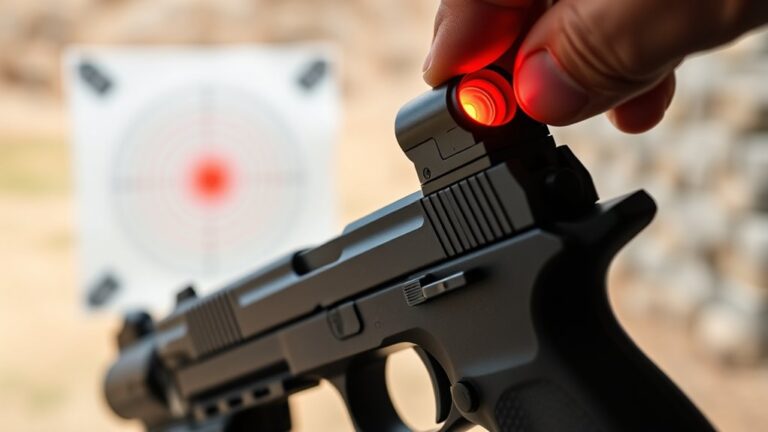
You’ll find red dot sights and basic iron sights best for beginners. They’re simple to use, quick to acquire targets with, and don’t require complicated adjustments.
This makes your shooting experience easier and more enjoyable right from the start.
How Often Should Rifle Sights Be Recalibrated?
You should recalibrate your rifle sights after every 100 to 200 rounds fired.
Studies show 70% of shooters notice accuracy drops without adjustments, so regular checks keep your shots precise and consistent in varied conditions.
Can Weather Conditions Affect Rifle Sight Accuracy?
Yes, weather conditions can definitely affect your rifle sight accuracy. Wind can push your bullet off course, while rain or fog can obscure your view. Temperature changes might also slightly alter your sight alignment.
Always consider conditions before shooting.
Are There Any Safety Precautions When Adjusting Rifle Sights?
You’ve got to keep safety front and center—always make sure the rifle’s unloaded and pointed in a safe direction. Don’t let your guard down; even small mistakes can turn into a big mess.
How Do Different Ammunition Types Impact Sight Adjustments?
Different ammo types change your bullet’s velocity and trajectory, so you’ll need to adjust your sights accordingly.
Lighter or heavier rounds can shift point of impact, meaning you can’t assume one setting works for all ammo.
Conclusion
Now that you’ve mastered these steps, adjusting your rifle sights will feel like tuning a finely crafted instrument. Each click brings your aim closer to perfection, turning wild shots into sharp arrows hitting their mark.
Remember, patience is your steady hand, and practice your guiding star. Keep tweaking and testing, and soon, your sights will dance with precision.
Making every shot a whispered promise of accuracy and skill starts with understanding how to adjust rifle sights accurately. With dedication, your shooting will improve, reflecting the true power of precise sight adjustments.