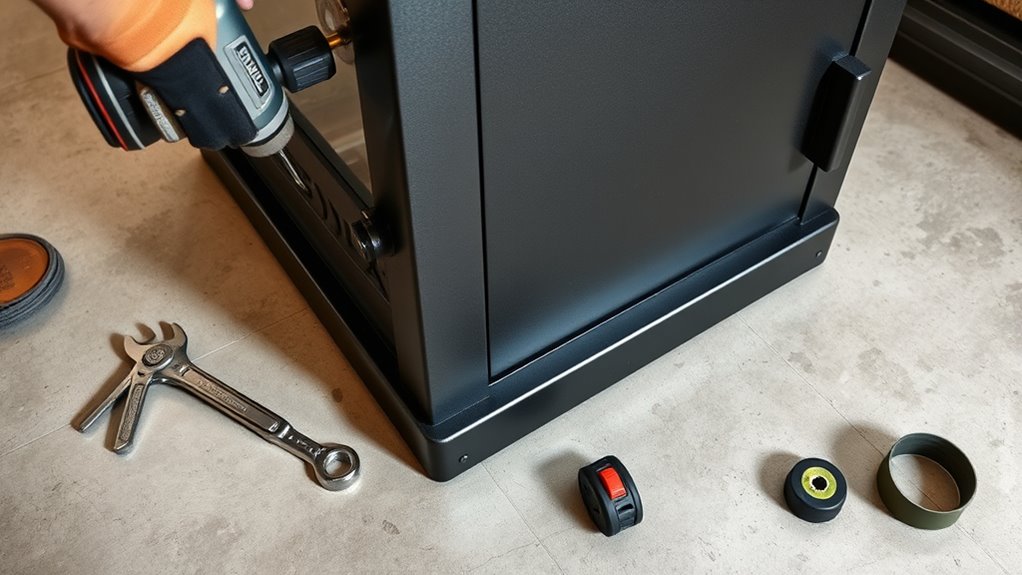
How to Anchor a Gun Safe in 10 Essential Steps
To anchor your gun safe securely, start by choosing a strong, stable location. Ideally, pick a spot away from windows and exterior walls, with a concrete floor for the best support. Proper placement is crucial for both safety and security.
Gather essential tools such as a drill, heavy-duty anchors, bolts, and safety gear before you begin. Clear and level the floor area to ensure the safe sits evenly.
Next, use the safe’s pre-drilled holes to mark the exact drill points for anchoring. Drill appropriately sized holes, then insert the anchors carefully.
Bolt the safe down tightly to prevent any movement. For added security, consider anchoring the safe to wall studs as well.
Regularly check and tighten the bolts to maintain stability over time. Following these steps will help protect your valuables and keep your gun safe secure.
Keep reading to discover more tips for maintaining your safe’s security.
Key Takeaways
- Choose a secure location on a solid, level floor away from exterior walls and windows for optimal stability and security.
- Gather appropriate tools and heavy-duty anchors specific to your floor type, like masonry bits for concrete or standard bits for wood.
- Mark the safe’s pre-drilled holes accurately on the floor, ensuring perfect alignment before drilling anchor holes.
- Drill perpendicular holes at the correct depth, clean debris, and insert heavy-duty anchors firmly for maximum hold.
- Secure the safe with strong bolts through its base into anchors, tighten evenly, and optionally fasten to wall studs for added security.
Choose the Best Location to Anchor Your Gun Safe
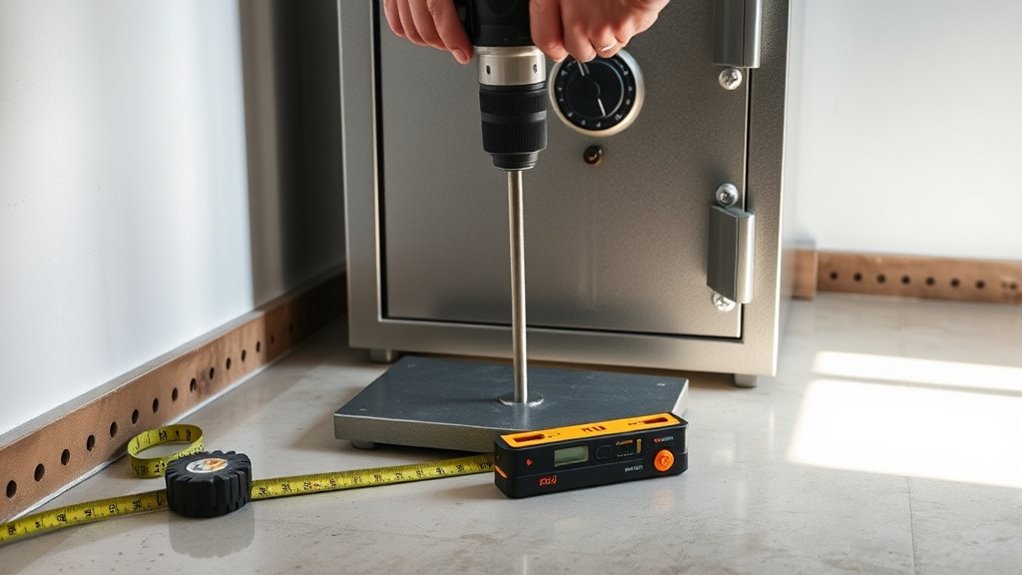
When deciding where to anchor your gun safe, the first step is picking a spot that offers both security and convenience. You want a location that’s not easily accessible to intruders but still easy for you to reach when needed. Avoid placing it near windows or exterior walls, as these areas are more vulnerable to break-ins.
Instead, look for a solid floor area, preferably concrete, since it provides a stable base for anchoring. If you must place it on wood flooring, verify the underlying structure is strong enough to support the safe’s weight and anchoring hardware. Also, consider the room’s humidity and temperature to protect your firearms from damage.
Ultimately, think about the safe’s placement in relation to your daily routine — you don’t want to struggle moving it each time you need access. Choosing the right location sets the foundation for effective anchoring and long-term safety.
Gather Tools and Materials for Anchoring Your Safe
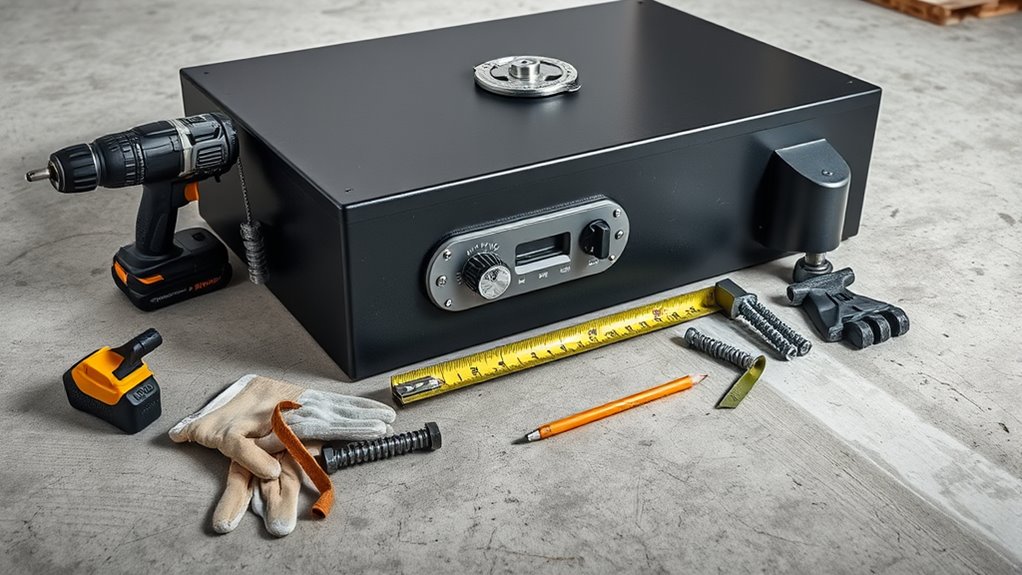
Before you start anchoring your gun safe, make sure you have the right tools and materials on hand. You’ll need essentials like a drill, anchor bolts, and a wrench to get the job done securely. Having a clear checklist will help you stay organized and avoid interruptions during installation.
Essential Tools Overview
What tools will you need to securely anchor your gun safe? First, a power drill is essential for creating holes in concrete or wood floors. Make sure you have the right drill bits—masonry bits for concrete and standard bits for wood.
You’ll also need a socket wrench or adjustable wrench to tighten bolts securely. A tape measure helps you mark precise anchor points, while a pencil or marker is useful for outlining where to drill. A level ensures your safe sits flat and stable.
Additionally, safety gear like gloves and eye protection is important to keep you safe during drilling and installation. Having these tools ready will make the anchoring process smoother and more efficient, avoiding unnecessary trips or delays.
Required Materials Checklist
Although having the right tools is essential, you’ll also need specific materials to secure your gun safe effectively. Start with heavy-duty anchor bolts or lag bolts designed to secure heavy objects to concrete or wood. Make sure you have washers and nuts to guarantee a tight fit.
Use a strong, durable anchoring plate or bracket to connect the safe to the floor or wall securely. Depending on your floor type, pick appropriate anchors—concrete expansion anchors for concrete floors or lag shields for wood. Don’t forget construction adhesive or epoxy if extra bonding is necessary.
Finally, gather safety gear like gloves and goggles to protect yourself during installation. Having these materials ready before you begin will streamline the anchoring process and ensure your safe stays firmly in place.
Prepare Your Floor Surface for Secure Installation
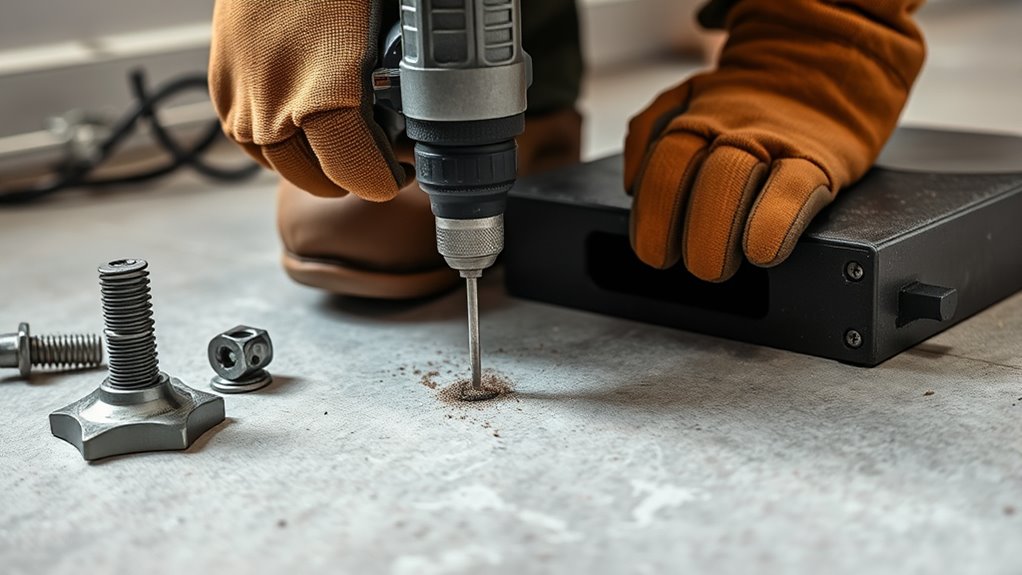
Before anchoring your gun safe, you’ll need to assess the type of flooring you have to choose the right installation method. Make certain the surface is clear of debris and level to guarantee a secure fit.
Taking these steps will help your safe stay firmly in place.
Assess Floor Material
How do you know if your floor can support a securely anchored gun safe? First, identify the floor material because it impacts the type of anchors and tools you’ll need. Concrete floors are ideal, offering strong support, while wooden floors require additional reinforcement.
Tile or laminate floors might be less stable, needing special care to avoid damage.
Here’s a quick guide to common floor materials and anchoring considerations:
| Floor Type | Stability | Anchoring Tips |
|---|---|---|
| Concrete | High | Use concrete anchors |
| Wood | Moderate | Reinforce with plywood base |
| Tile/Laminate | Low | Avoid drilling; use surface mounts |
Knowing your floor type helps guarantee a secure, long-lasting installation.
Clear and Level Surface
Two essential steps to guarantee your gun safe stays firmly in place are clearing and leveling the floor surface. Before anchoring, you need a clean, stable base to assure maximum security and prevent shifting.
Here’s how to prepare:
- Remove any debris, dust, or loose materials from the installation area.
- Inspect the floor for cracks, bumps, or uneven spots.
- Use a level tool to check for flatness in all directions.
- If needed, sand down high spots or fill low areas with a leveling compound.
Taking these steps helps your gun safe sit flush with the floor, making the anchoring process effective and safe. Don’t skip this critical preparation—it’s the foundation of secure installation.
How to Mark and Drill Anchor Holes Precisely
Once you’ve positioned your gun safe exactly where you want it, the next step is to mark and drill the anchor holes with precision to guarantee a secure fit. Start by using a pencil or marker to trace through the safe’s pre-drilled anchor holes onto the floor. Double-check the markings before drilling to avoid mistakes.
Use a drill bit suitable for your floor type and keep the drill perpendicular to the surface for straight holes. Drilling slowly helps maintain control and prevents damage.
| Step | Tips |
|---|---|
| Marking Holes | Use clear, visible marks |
| Drilling Technique | Keep drill vertical and steady |
| Drill Speed | Use slow, steady pressure |
Taking your time here ensures the anchors fit perfectly, providing the stability your gun safe needs without unnecessary floor damage.
Select the Best Anchors for Concrete, Wood, or Tile Floors
Since different flooring materials require different types of anchors, you’ll want to choose the ones that best suit your concrete, wood, or tile floor to guarantee a secure installation. Picking the right anchors ensures your gun safe stays firmly in place, preventing accidents or theft.
Choosing the right anchors for your floor type ensures your gun safe remains secure and stable.
Here’s a quick guide to help you select the best anchors:
- Concrete floors: Use wedge anchors or sleeve anchors, which expand inside the drilled hole for a strong hold.
- Wood floors: Heavy-duty lag bolts or wood screws work well, gripping deep into the wood for solid support.
- Tile floors: Avoid drilling directly into tiles; instead, anchor into the subfloor beneath using toggle bolts or molly bolts.
- Combination floors: If your floor has multiple layers, verify you select anchors compatible with the deepest layer to maximize stability.
Choosing the right anchor type tailored to your floor material is essential before you move on to attaching your safe securely.
Attach Your Gun Safe to the Floor With Heavy-Duty Bolts
Now that you’ve picked the right anchors for your floor type, it’s time to attach your gun safe using heavy-duty bolts. Make sure to drill holes that are secure and properly aligned with your safe’s mounting points.
Once the bolts are in place, tighten them firmly to keep your safe stable and secure.
Choose Appropriate Anchor Bolts
How do you make certain your gun safe stays firmly in place? Choosing the right anchor bolts is vital for security and stability. Here’s what you need to take into account:
- Material Strength – Pick heavy-duty steel bolts that resist cutting and shearing.
- Length – Verify bolts are long enough to penetrate both the safe base and the flooring securely.
- Diameter – Thicker bolts provide higher strength and prevent easy removal.
- Compatibility – Match bolts to the floor type—concrete anchors differ from wood anchors.
Selecting appropriate anchor bolts means your gun safe won’t budge, even under force. Don’t compromise on quality here; this is your first line of defense against theft.
Next up, you’ll learn how to drill secure floor holes for these bolts.
Drill Secure Floor Holes
Where exactly should you drill to guarantee your gun safe is anchored securely? First, locate the pre-drilled holes at the bottom of your safe designed for anchoring. Mark these spots on the floor precisely.
Make sure your floor surface is suitable—concrete is ideal, while wood requires special anchors. Use a hammer drill with a masonry bit to create holes matching the size of your heavy-duty anchor bolts. Drill straight down to the recommended depth to assure maximum hold.
Clear away dust and debris from the holes before inserting anchors. If your safe doesn’t have pre-drilled holes, identify sturdy points on the base plate, then mark and drill accordingly. Taking these steps guarantees your safe will be firmly attached and resistant to tipping or theft attempts.
Tighten Bolts Firmly
After drilling the holes and preparing the anchors, you’ll want to secure your gun safe by tightening the heavy-duty bolts firmly. This step guarantees your safe stays immovable and protected against theft or accidents.
Here’s how to do it effectively:
- Insert the bolts through the safe’s base into the anchored holes.
- Use a wrench or socket set to tighten each bolt gradually.
- Alternate tightening bolts to apply even pressure and avoid warping.
- Double-check that each bolt is snug and fully seated against the floor and safe base.
Anchor Your Gun Safe to Wall Studs for Extra Security
Securing your gun safe to wall studs considerably boosts its stability and theft resistance. Wall studs provide a solid anchor point compared to drywall alone, which can easily give way under force. To start, locate the studs using a stud finder, marking their positions clearly.
Position your safe where the anchor holes align with these studs for best support. Next, use heavy-duty lag bolts to fasten the safe through its pre-drilled holes directly into the studs. These bolts are strong enough to withstand attempts to pry or pull the safe away.
Be sure to use a power drill to drive the bolts firmly, ensuring a tight and secure fit without damaging the wall structure.
Keep Your Anchors Strong: How and When to Check Them
Once you’ve anchored your gun safe firmly to the wall studs, it’s important to keep those anchors in good condition over time. Regular checks ensure your safe remains secure and resistant to tampering or accidents.
Maintaining strong anchors over time keeps your gun safe secure and tamper-resistant.
Here’s how and when you should check your anchors:
- Schedule routine inspections: Check every 6 months to catch any loosening or damage early.
- Look for visible signs: Inspect for cracks, rust, or movement around the anchor points.
- Test stability: Gently shake the safe to detect any wobbling or shifting that indicates weakened anchors.
- Tighten bolts and screws: Use appropriate tools to tighten any loose fasteners without overdoing it and damaging the wall or safe.
Protect Your Anchors From Rust and Wear Over Time
Even though your anchors are solid now, exposure to moisture and daily wear can cause rust and deterioration over time. To keep them in top shape, make sure to apply a rust-resistant coating or spray after installation. Products like rust-inhibitor sprays or a light layer of grease can create a protective barrier against moisture.
Also, consider using galvanized or stainless steel anchors if you’re installing in damp areas, as they resist corrosion better. Regularly wipe down the anchor points to remove dust and debris that can trap moisture. If you notice any signs of rust, address it immediately by cleaning the area with a wire brush and reapplying a protective coating.
Avoid harsh chemicals that might damage the anchor’s integrity. Taking these steps guarantees your gun safe remains securely anchored for years, safeguarding both your investment and peace of mind.
Test Your Gun Safe’s Stability and Adjust Anchoring as Needed
Before you consider the job done, you’ll want to test your gun safe’s stability to guarantee it’s firmly anchored. This step ensures your effort provides the security you expect. Here’s how to do it effectively:
- Apply Pressure – Push and pull the safe gently from different angles to check for any movement.
- Check Anchors Visually – Inspect bolts and anchors for any signs of loosening or damage.
- Use a Level – Place a level on top of the safe to confirm it hasn’t shifted or tilted during installation.
- Make Adjustments – Tighten any loose bolts and reinforce anchors if you detect instability.
If the safe wobbles or shifts, don’t hesitate to re-anchor it. Stability is key to preventing theft or accidents. Taking these steps will help you feel confident that your gun safe stands secure and steady, protecting your valuables exactly as intended.
Frequently Asked Questions
Can I Anchor a Gun Safe Without Drilling Holes?
You can’t securely anchor a gun safe without drilling holes, but you can use heavy-duty adhesive or anti-slip mats for extra stability. However, these methods aren’t as reliable as bolting it down for maximum security.
What Is the Average Cost of Professional Gun Safe Anchoring?
You can expect to pay between $100 and $300 for professional gun safe anchoring. Costs vary based on safe size, location, and complexity.
Getting a pro guarantees secure installation, giving you peace of mind.
How Do I Move a Gun Safe After It’s Anchored?
Moving a gun safe after it’s anchored is like trying to lift a small mountain. You’ll need to unbolt the anchors, get help or use a dolly, then carefully transport and securely re-anchor it in the new spot.
Are There Legal Requirements for Anchoring Gun Safes?
You generally won’t find federal laws requiring gun safe anchoring, but some states or localities might have specific rules. It’s smart to check your area’s regulations to make sure you’re fully compliant and keep your firearms secure.
Can I Anchor a Gun Safe on Carpeted Floors?
Anchoring a gun safe on carpet’s like planting a tree in sand—it won’t hold firm. You can, but you’ll need to secure it through the subfloor or use specialized anchors to guarantee it stays put safely and securely.
Conclusion
Now that you know how to choose the best spot, gather the right tools, and prepare your floor, you’re ready to mark, drill, and anchor your gun safe securely.
Remember to select anchors suited for your floor type, fasten to wall studs for added strength, and regularly check for rust or wear.
Test stability often, adjust when needed, and protect your investment.
Anchor your gun safe with care, secure it with confidence, and rest easy knowing your safe stays put and fully anchored for maximum security.